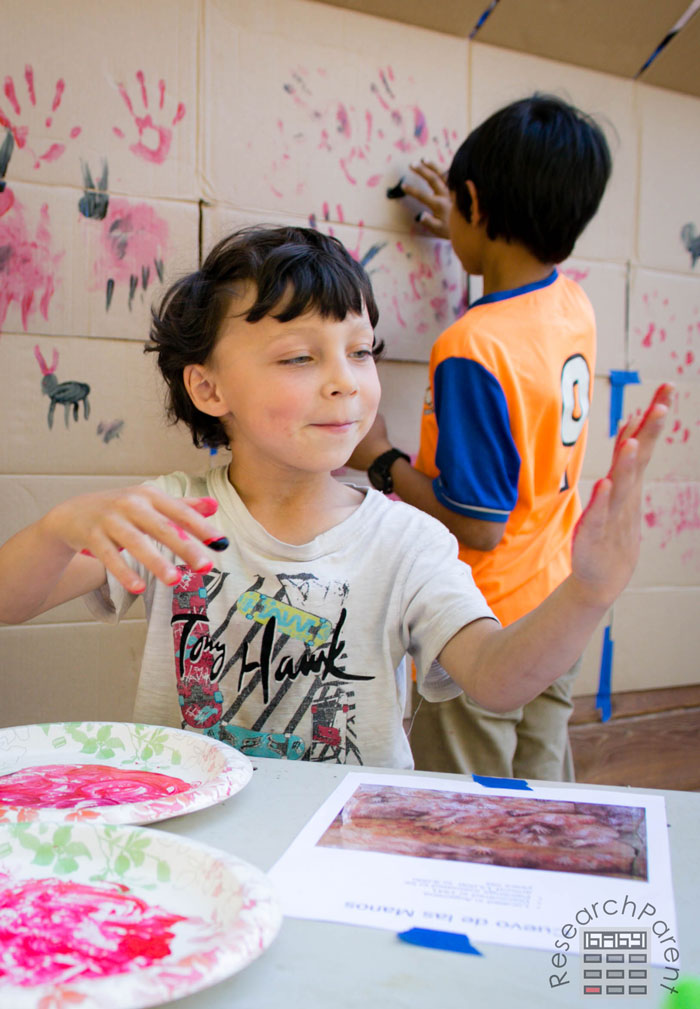
What better way to kick off Ancient History studies than with a simple cave painting activity? This activity requires only a few supplies and very little prep. For the small investment required, it is a ton of fun and even a little educational. (You are welcome to use my free printable if you would like to inspire your kids and teach them a little about famous cave paintings.) My kids had such a blast “cave” painting I’m wondering how I can possible maintain this level of history learning enthusiasm!
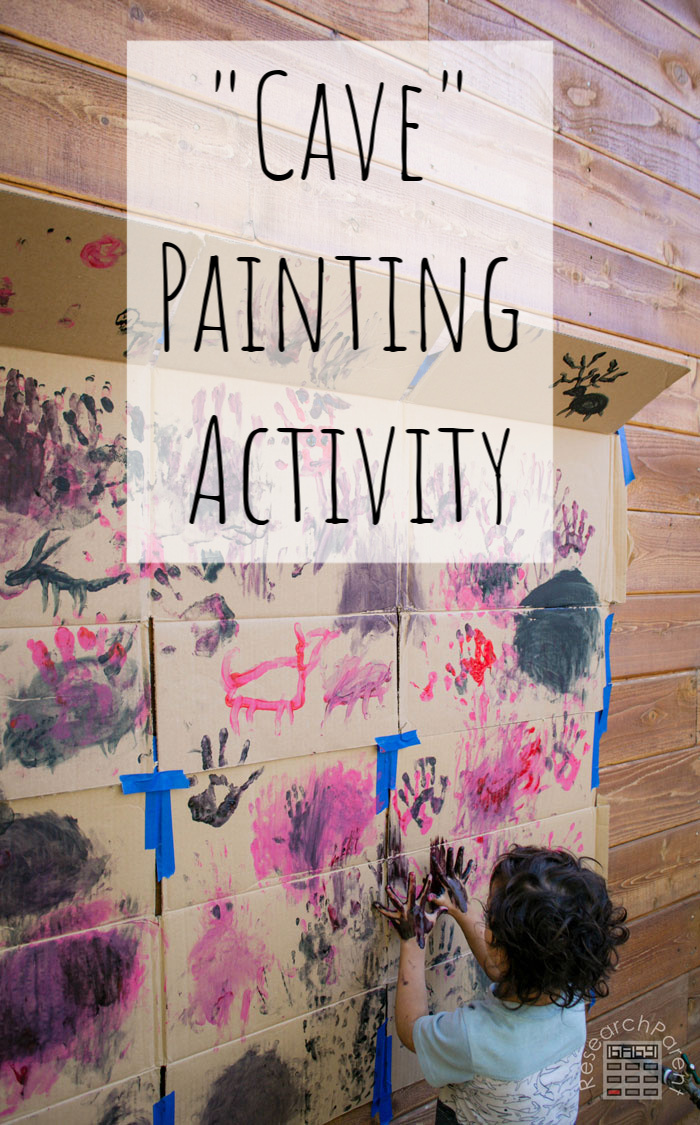
In our family, we have done the 4 year Story of the World cycle one time through. This coming fall, we are planning to start again with Ancient History. Since summer is about to begin, I thought, why not start a little early? That way we can take our time and go nice and slow through the first part of our history book.
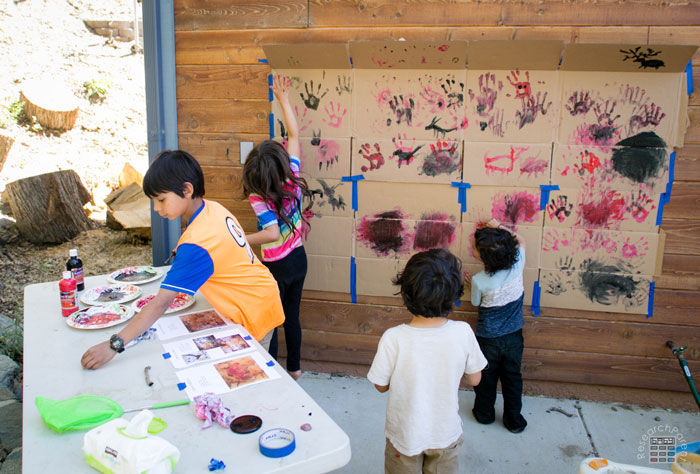
I don’t know how successful I will be at keeping up this spirit of hands-on learning, but our pilot event was a huge success. As soon as we started learning about prehistory (the period of history before the invention of writing), I knew that I wanted to do cave painting. How exactly to do the cave painting and had it meaningful took a little bit of thought.
At first, I was thinking we could find some natural clay and mix it with water to make the paints, but then that seemed like to much work. I wanted to keep things simple. Then I thought about just putting some butcher paper on the wall and letting the kids finger paint, but that seemed a little below the educational value I was hoping for.
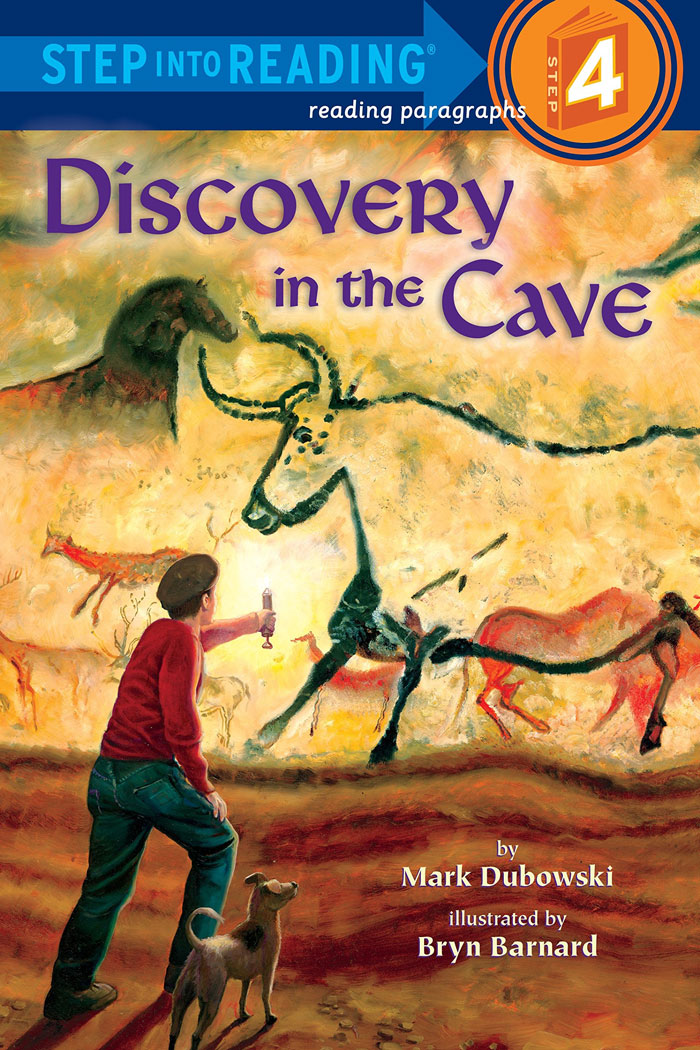
First I decided to up the educational value by learning about some real cave paintings. First, we read Discovery in a Cave by Mark Dubowski which thankfully was available for free through our library’s digital lending library. (Library’s are currently closed due to the pandemic.) I HIGHLY recommend this book. It is informative, not too long, and the story itself is extremely appealing to children.
For a fun treat, afterwards we watched the very first episode of Carmen Sandiego called The Stolen Smile. I happened to recall that this episode described the Lascaux Caves which are the same caves featured in the book above.
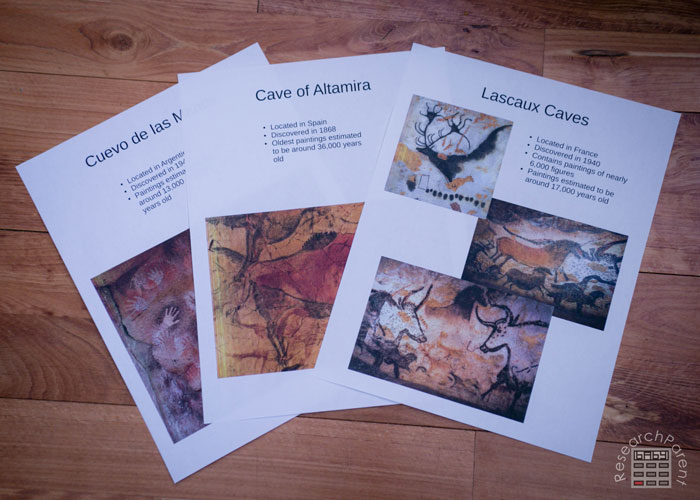
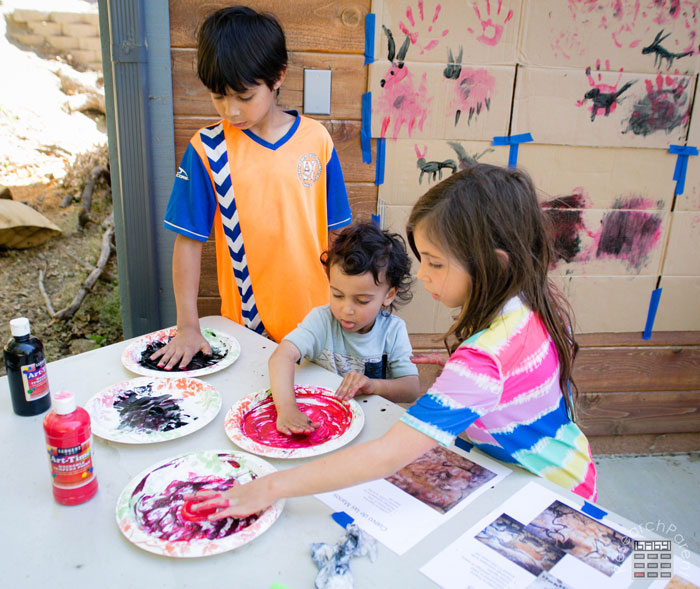
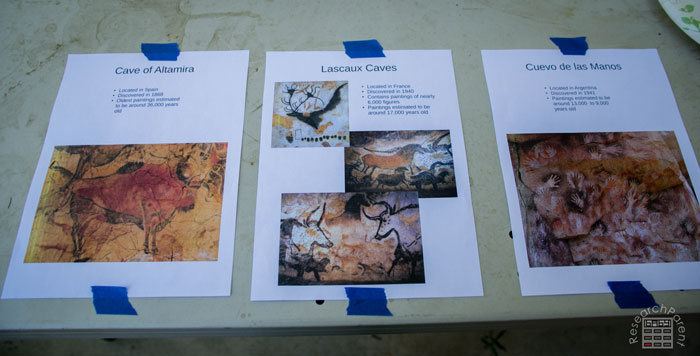
So that my kids would be able to look at inspiration WHILE they were painting, I also created a few pages with pictures of real cave paintings. This printable features 3 famous caves around the world. I specifically chose ones of handprints and simple animals, since I knew my kids would be able to replicate images such as these.
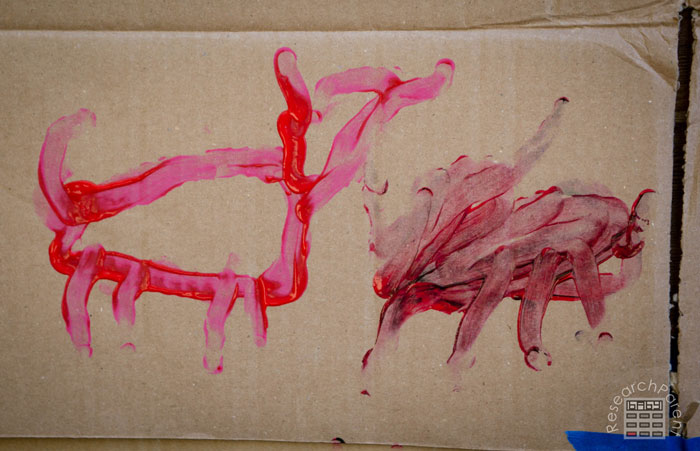
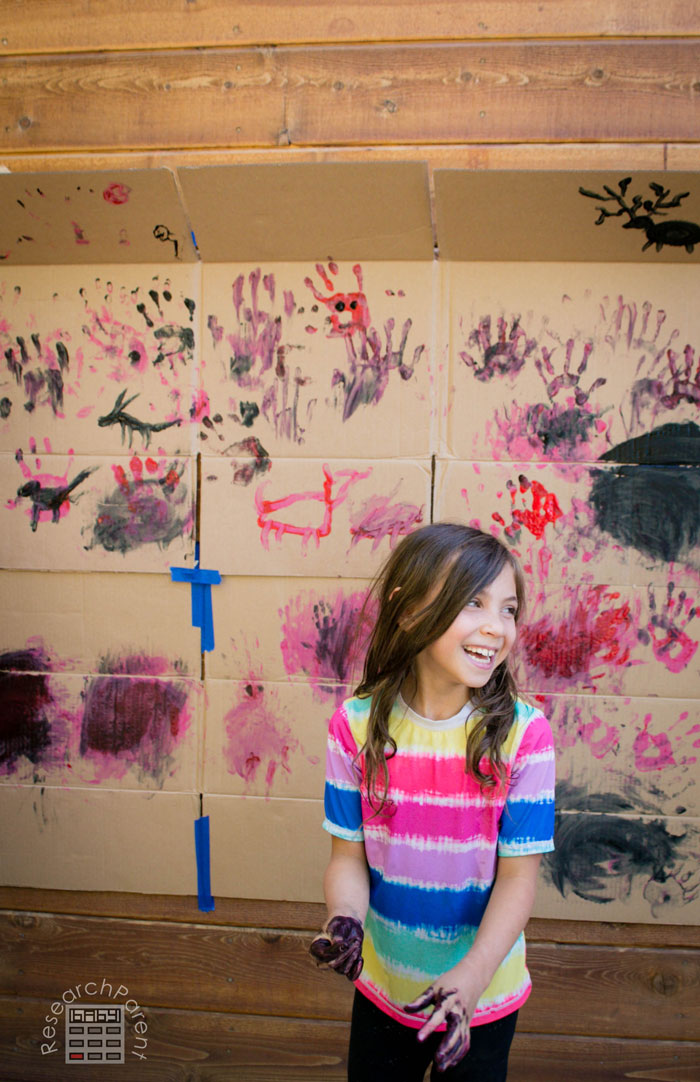
My oldest decided to use a stick to paint some of his drawings. I thought this was a good idea since simple tools like this were available to prehistoric people as well.
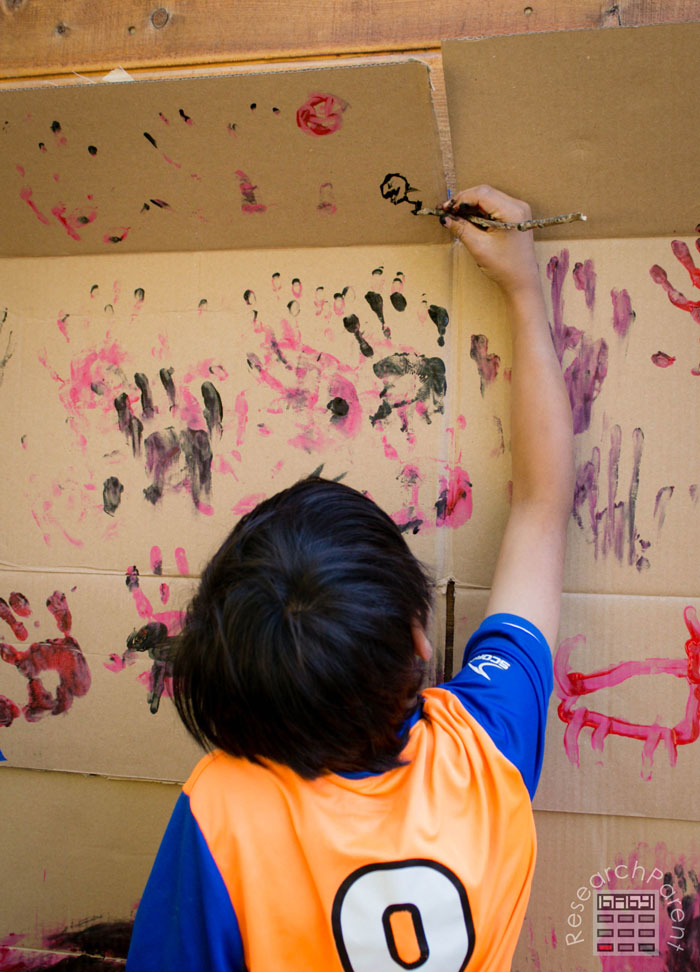
Overall, I am really pleased with how well our afternoon of learning went. Seeing the happiness on my kids faces while they were enjoying a memorable educational experience was well worth the time invested. I don’t always tie in hands-on activities to our history, but I’m planning to try to make an effort more often!
Cave Painting Activity Details
Recommended Age Range: Preschool, Kindergarten, Elementary
Time Required: 10-30 minutes of prep (depending on if you want the overhang or not)
Difficulty: Easy
Cost: Less than $2 in used supplies
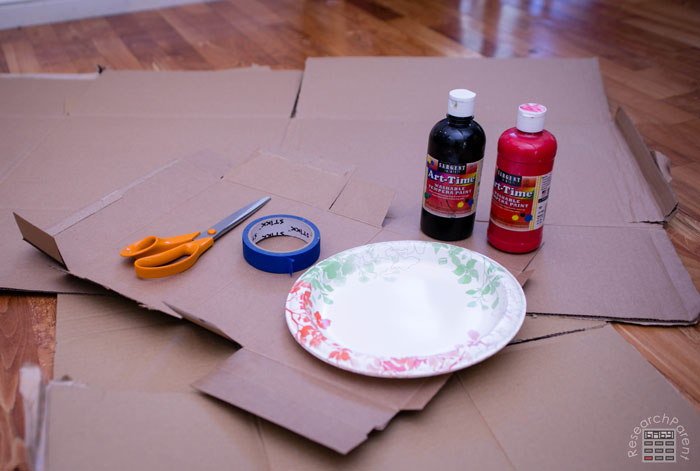
Materials
- a large cardboard box (or two) for painting on
- a smaller cardboard or cereal box for creating structural triangles (optional, only if creating an overhang)
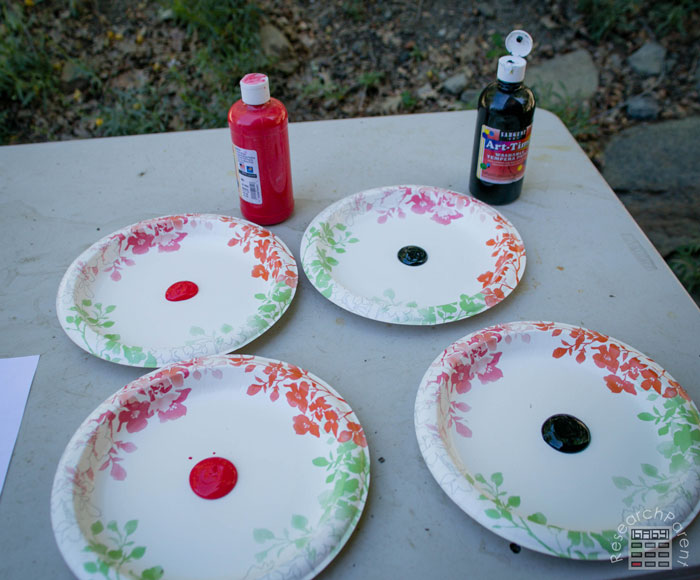
- washable tempera paint in black and red (or you could be more colorful)
- plates or containers for holding paint
- tape to hang cardboard (I found painters tape to work well enough for the activity, though our “wall” fell down overnight)
- optional: free printable educational document for inspiration
Instructions
- If you haven’t already, first you will need to open up your cardboard box so that it lays flat.
- If you would like to create an overhang with structural triangles so the child can paint on this portion, cut off the excess flaps from your smaller box.
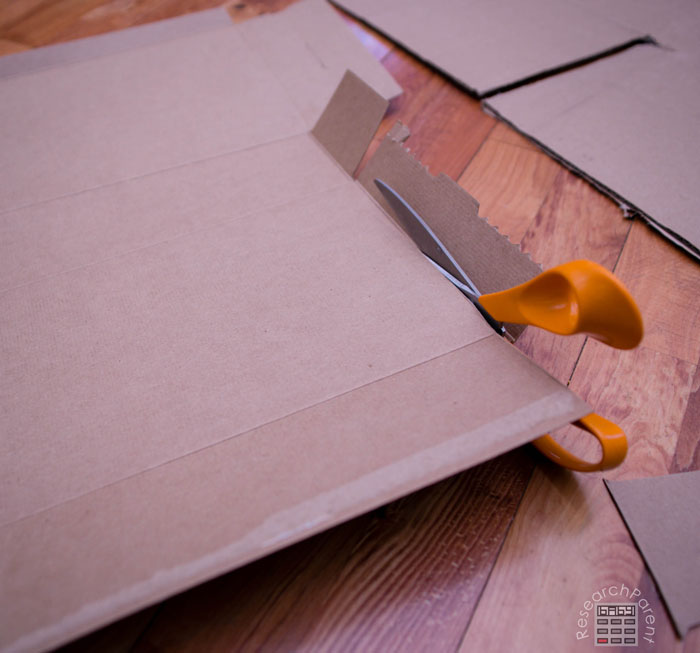
It should look like this after you finish: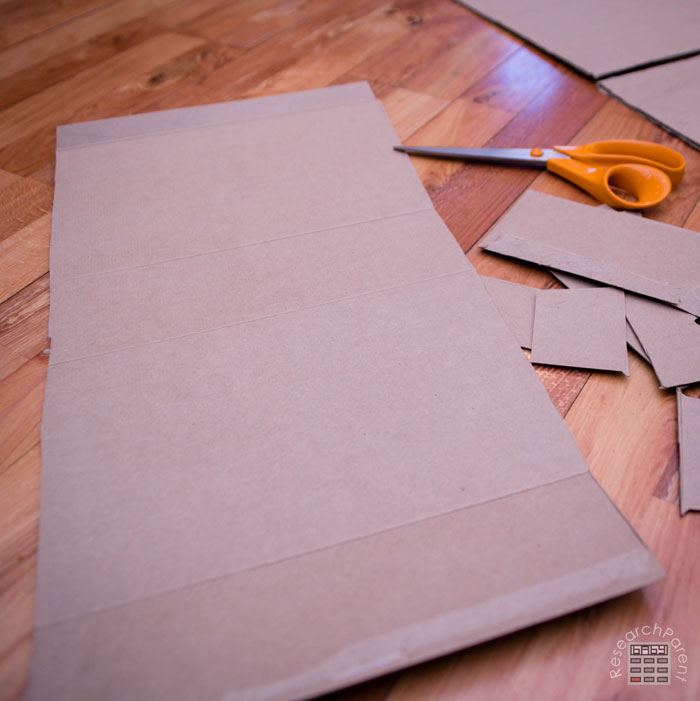
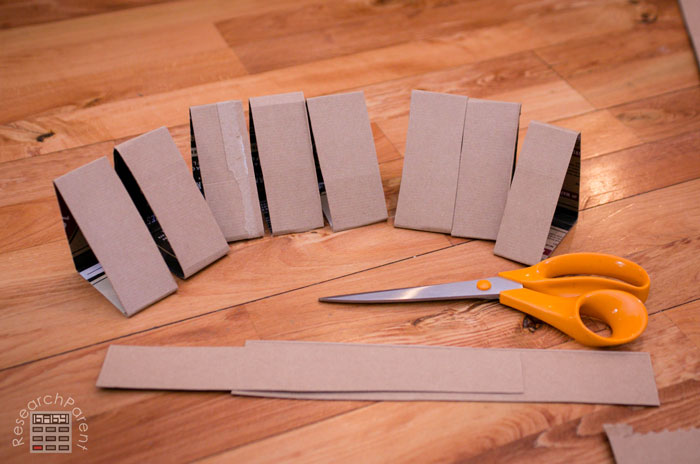
- Next, but this smaller box into width-wise strips an inch or two wide.
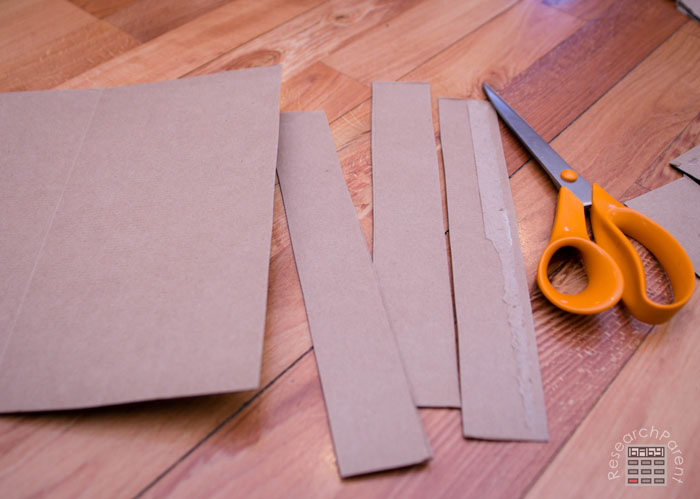
You will need at least 8 total.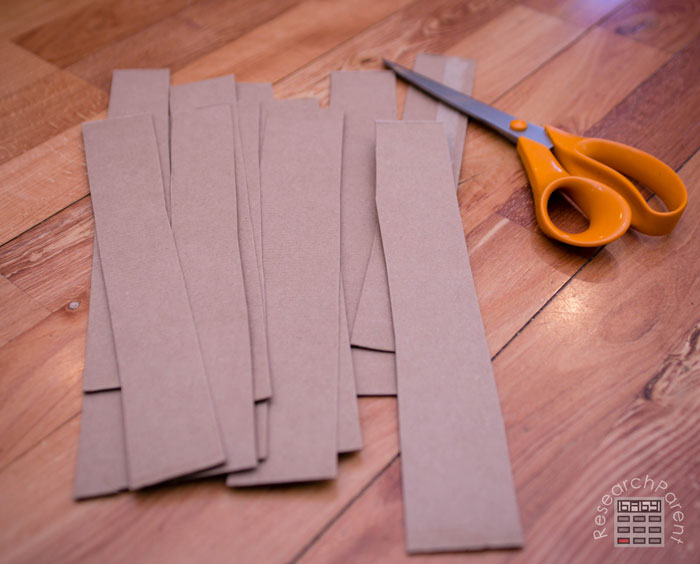
- Fold a strip into a right triangle and tape it together. It does not need to be symmetric, though the ones I used were pretty close. One of the angles in your triangle that is not the square angle should be the angle you would like your top flap to overhang.
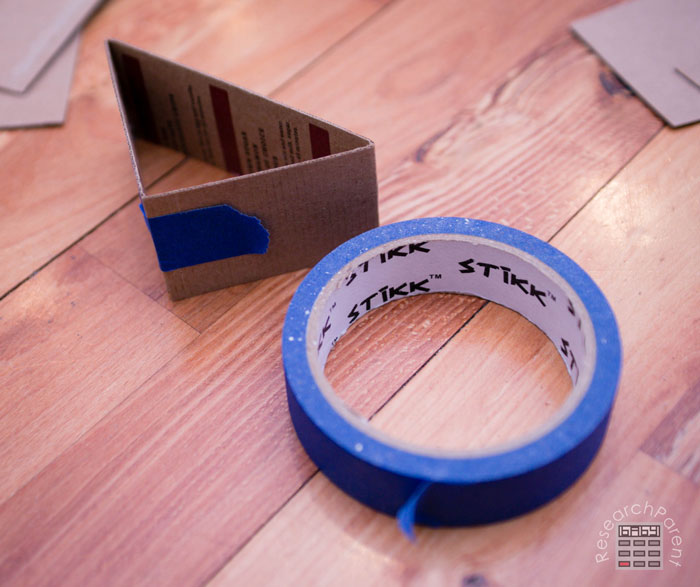
- Using this first triangle as a guide, make one just like it.
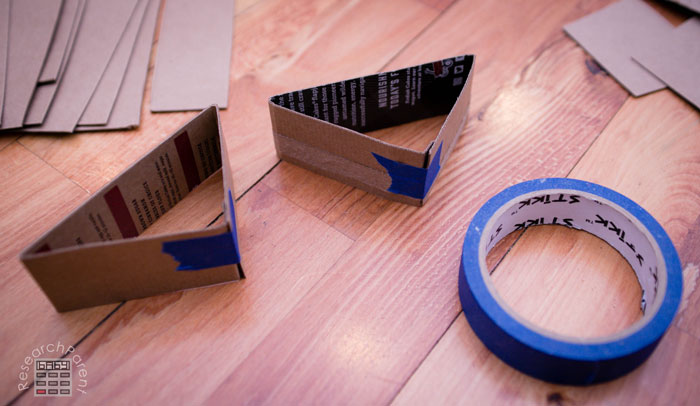
- Repeat step 5 until you have 8 close to identical triangles.
- Use the triangles to prop up one of the box flaps and tape it in place as shown.
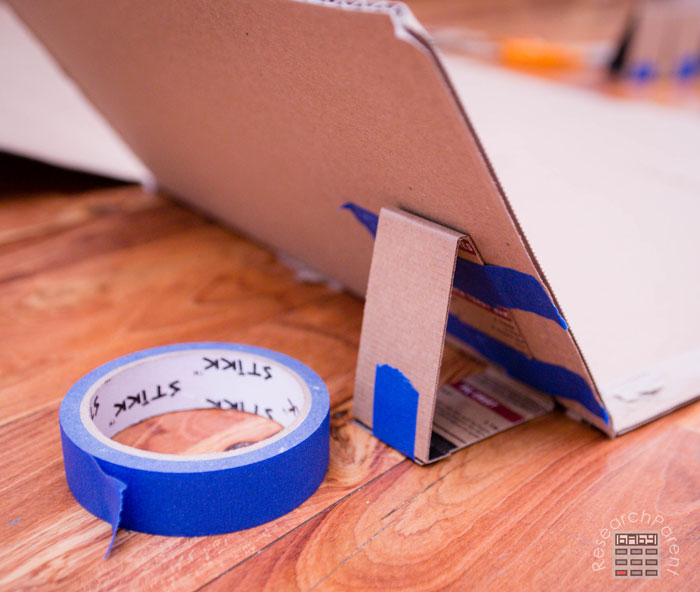
- Continue taping triangles in the same orientation onto the flaps along one side of the box. You will need at least 2 triangles per flap.
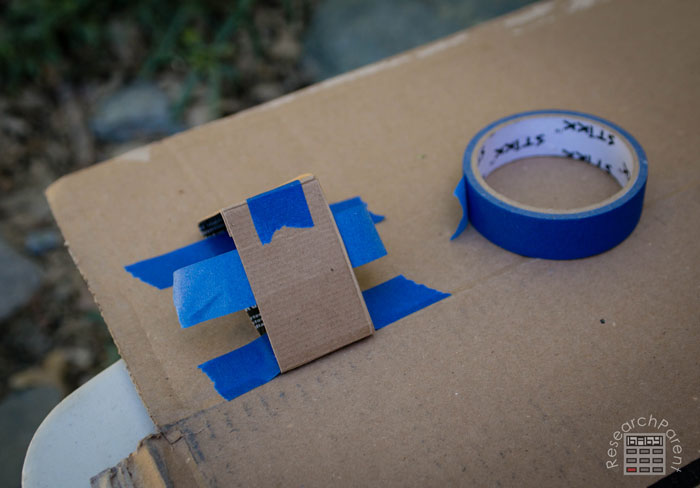
- Next apply tape to the side of the triangle that will attach to the wall as shown.
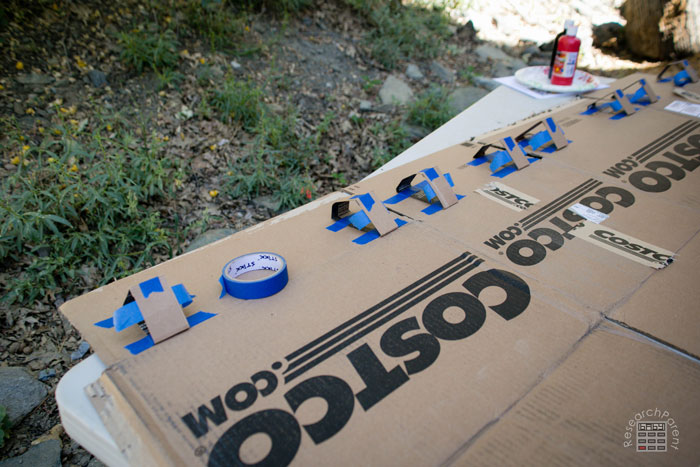
- Repeat above process to add tape to all of the triangles.
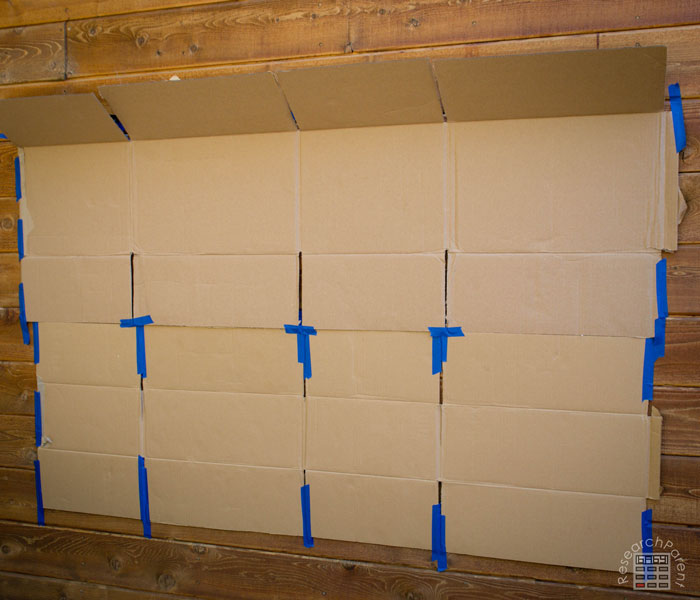
- Next have someone help you tape the boxes onto a wall with the flap at the top.
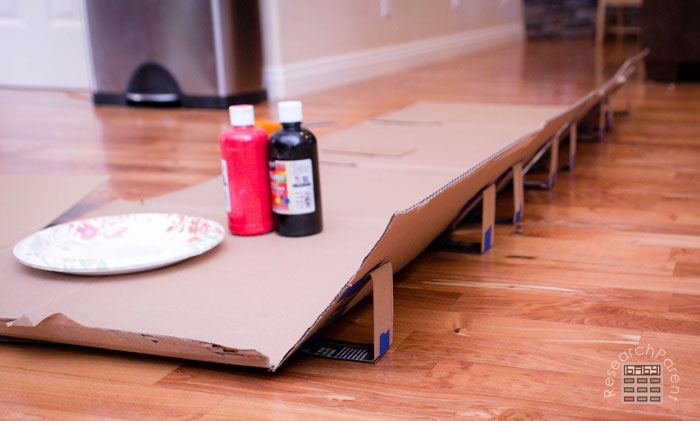
From the side, the flap will look like this: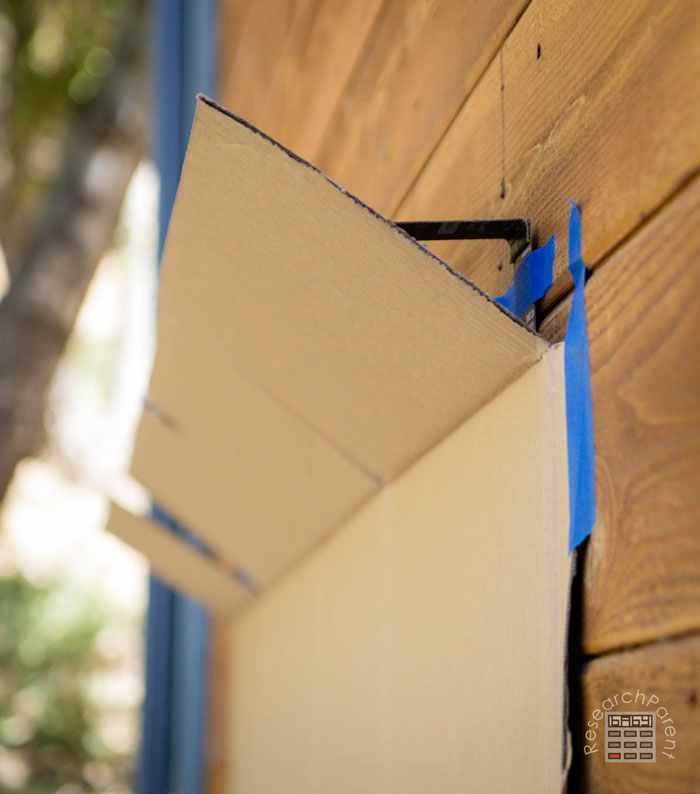
- If you are using the inspiration sheets, post them somewhere nearby so the kids can look at them as they paint.
- Set out paint for the kids to use. Start with a little bit and add more as necessary. Since I have 4 kids, I decided to set out 2 plates of each color so there would be less fighting.
Now you are ready! Let the kids have fun!
Related Links
History Activities for Kids
Social Science Activities for Kids
Robotics Activities for Kids
The post Cave Painting Activity appeared first on ResearchParent.com.