Iron-On Vinyl can be used on many different mediums. This project shows you how to layer different types of iron-on vinyl and how to apply it to a canvas bag with the new EasyPress 2. Updated on April 21, 2020.
Iron-On vinyl is my FAVORITE type of vinyl to use! Not only is it the easiest vinyl to work with (in my opinion) but you can use it on just about everything you can use adhesive vinyl on. I’ve used iron-on vinyl on shirts, hats, mugs, wood signs, napkins, cardstock banners, backpacks, tote bags, seriously the list goes on and on.
Different Types of Iron-On and What They Work Best On
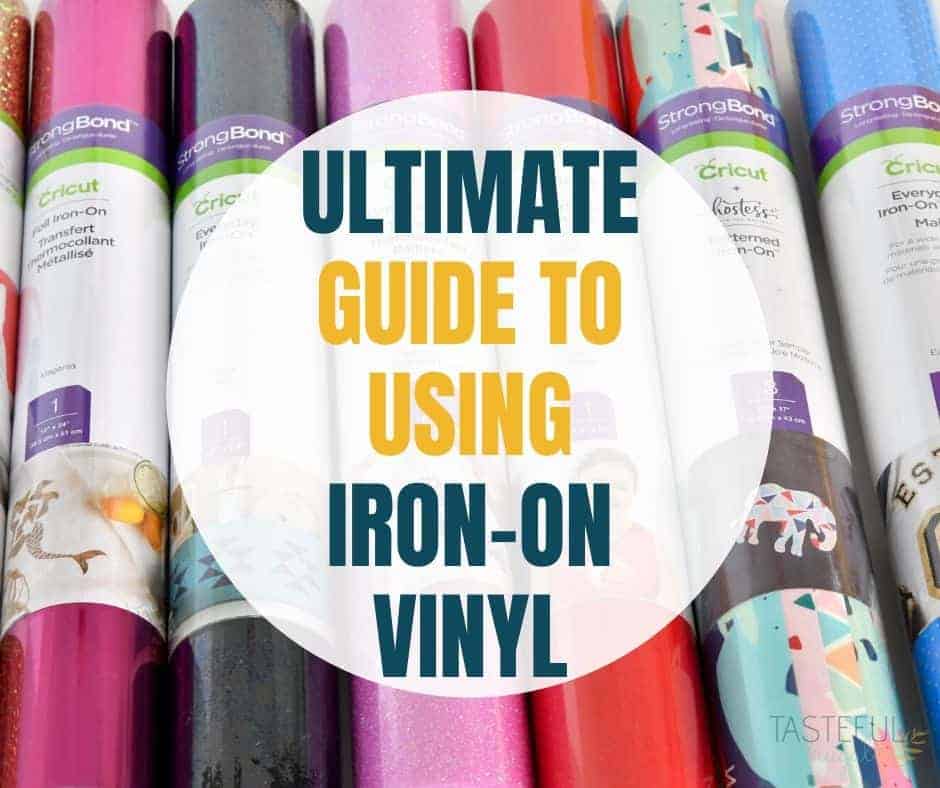
Not only is the number of projects you can make with iron-on vinyl endless, so are the TYPES of iron-on vinyl you can use!
- Everyday Iron-On – This is your basic iron-on that comes in a variety of solid colors. You can use Everyday Iron-On on just about every type of material you can use iron-on vinyl on and it’s the ONLY vinyl you can layer other types of iron-on vinyl on top of.
- Express Iron-On – Like the name suggests, this iron-on applies to your blank much faster than other types of iron-on, up to two times faster! It also is the perfect iron-on to use for intricate designs because it weeds extremely easily. This is a great iron-on to use on more delicate materials that you can’t add as much heat to.
- Foil Iron-On – Want to add a bit of pizazz to your iron-on project?! This is the iron-on is that is will quickly become your go to favorite! Foil iron-on can easily be pressed for too long so make sure to follow the EasyPress heat settings to a tee when you are pressing and make sure to COLD PEEL – or let the iron on COMPLETELY cool before peeling the backing back.
- Glitter Iron-On – Just like it’s name, this iron-on is packed full of glitter. I really like using glitter iron-on to wood signs because it’s more forgiving. If you have small designs, or words, glitter iron-on vinyl can be tough to weed without tearing so I recommend NOT using iron-on designs on small designs.
- Holographic Iron-On – I love using holographic iron-on for unicorn and mermaid projects! There are several different colors of holographic available and every shade has a multi-color finish that changes depending on the angle you look at it!
- Mesh Iron-On – I absolutely love using mesh iron-on to make regular shirts look like jerseys, add an extra bit of dimension to basic designs and to really wow Disney fans with the Mickey mesh iron-on! Because this iron-on has small holes in it, it’s not best for small designs.
- Mosaic Iron-On – This iron-on comes in mosaic squares and cirlces and several different hues including hologrpahic. Like Mesh Iron-On, it’s great for larger designs but not best for small designs.
- Patterned Iron-On – Whether you want to add Disney characters, watercolors, buffalo plaid or even magical unicorns and seahorses to your iron-on project, you can do it with patterned iron-on. Patterned iron-on is super smooth and slick and is easy to weed. It’s perfect for any size design!
- Smart Iron-On – Exclusively for Cricut Joy, smart iron-on allows you to cut without a mat. It comes in a variety different types including everyday, glitter and holographic.
- SportFlex Iron-On – If you want to add some stretch to your designs, SportFlex iron-on is your go-to! It’s perfect for workout shirts, rash guards, yoga pants and other stretchy materials.
- Designs – Don’t have a Cricut machine, no problem! Iron-On Designs are pre-made and cut designs that you just iron-on to your blank. Check out this post for TONS of ideas on how to use iron-on designs.
Accessories To Make Using Iron-On Easier
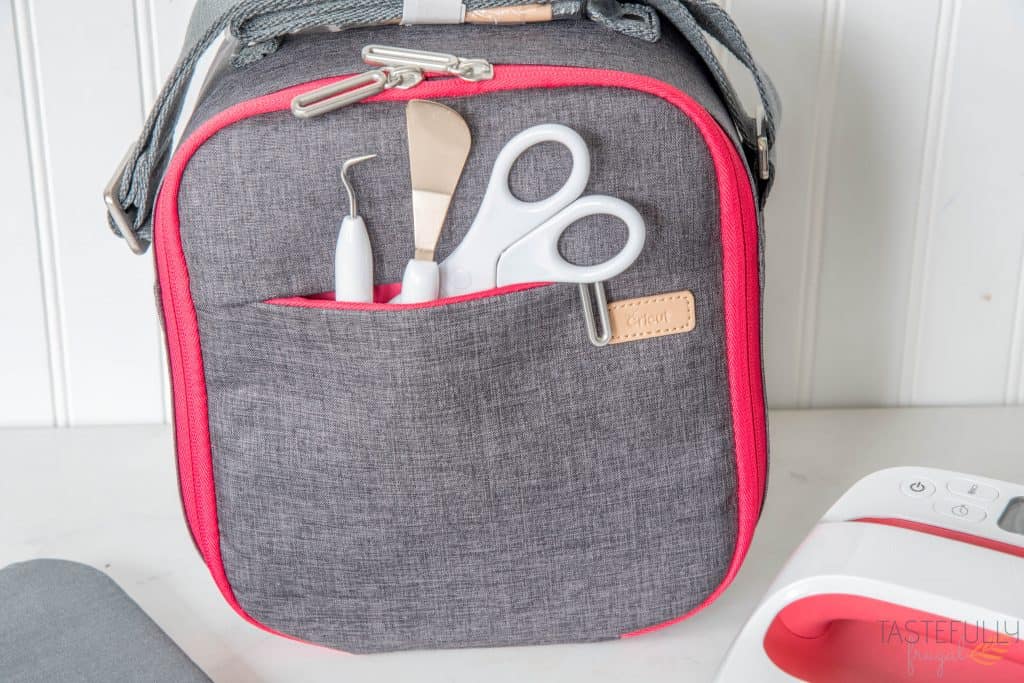
There really isn’t a whole lot you need when it comes to using iron-on vinyl. The plastic backing is attached to the iron-on vinyl already so you don’t need transfer tape like you do with adhesive vinyl. The following tools are not required for using iron-on, but they will make it easier.
- Weeding Tool – This little hooks makes it easier to pull up excess iron-on away from the plastic backing.
- BrightPad – The BrightPad helps light up your iron-on when it’s on the backing so you can easily see where you need to weed, or remove excess vinyl. The BrightPad is ideal for designs that have a lot of small pieces, like mandalas, or anytime you’re using glitter iron-on. You can read more about the BrightPad here.
- EasyPress – If you’re looking for the BEST way to get your iron-on to stick to your shirts, wood signs, tote bags, or whatever you’re pressing it on, the EasyPress is the way to go. The EasyPress comes in 4 different sizes and a variety of colors. You can read more about why I prefer the EasyPress over my heat press here.
- EasyPress Mat – This is a game changer when it comes to the life of your project. The materials inside the EasyPress Mat keeps all the heat inside the material you’re pressing so that the iron-on vinyl sticks faster and stays on longer. You’ll want to put the EasyPress mat underneath whatever blank you’re pressing your iron-on in to. If you don’t have an EasyPress mat, use a towel to keep as much heat in your blank as possible.
If you need to get Cricut supplies and you’re shopping on Cricut.com, use code TFSPRING to save 10% and get FREE shipping on all $50+ orders. That’s on top of the 10% discount Cricut Access members get automatically!
How to use Iron-On Vinyl
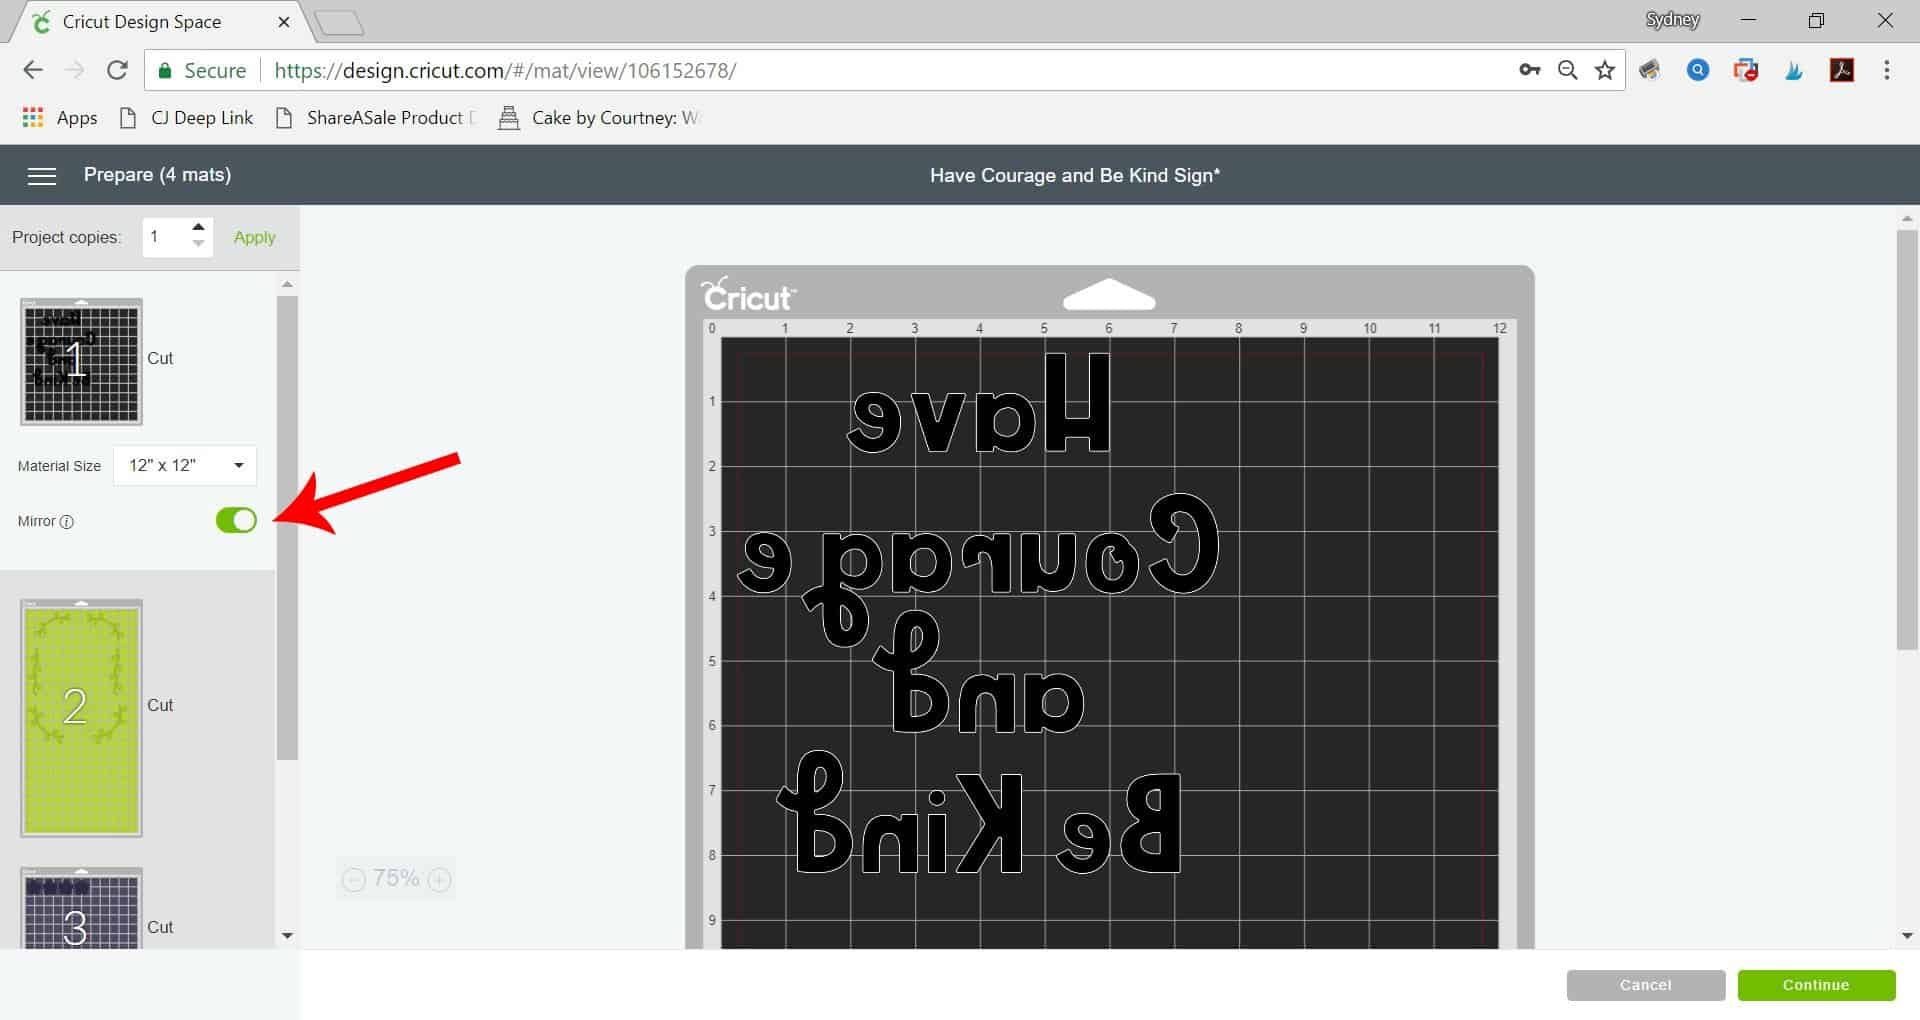
The #1 thing you need to remember when you’re using iron-on vinyl, or heat transfer vinyl (HTV), is that you HAVE TO MIRROR YOUR DESIGN WHEN YOU CUT IT OUT. You need to do this because you cut the design on the back of the vinyl and then press it on top of your design.
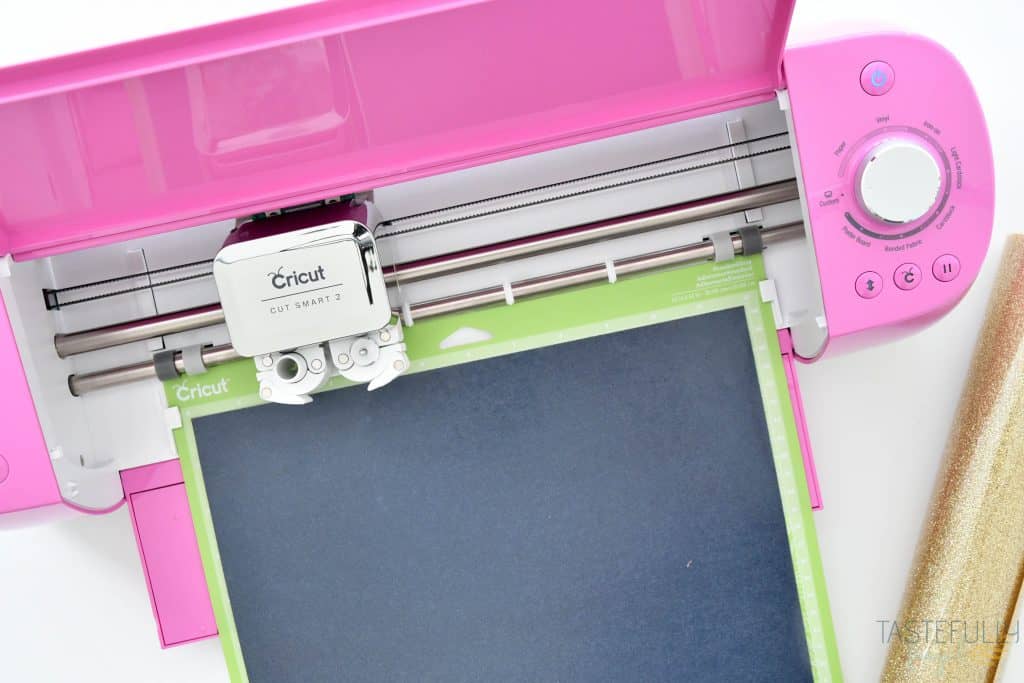
You also need to make sure that you have the shiny side down on your mat. The shiny side is the plastic backing and this backing is used as a barrier between the iron-on vinyl and the heat source (EasyPress, heat press, iron).
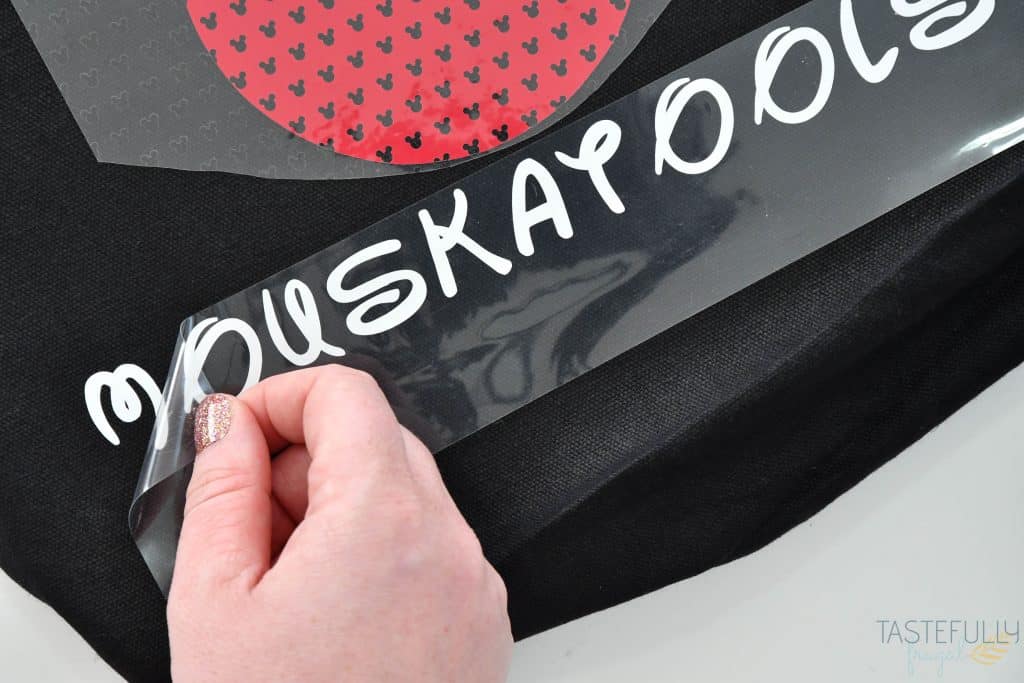
How To Weed Iron-On Vinyl
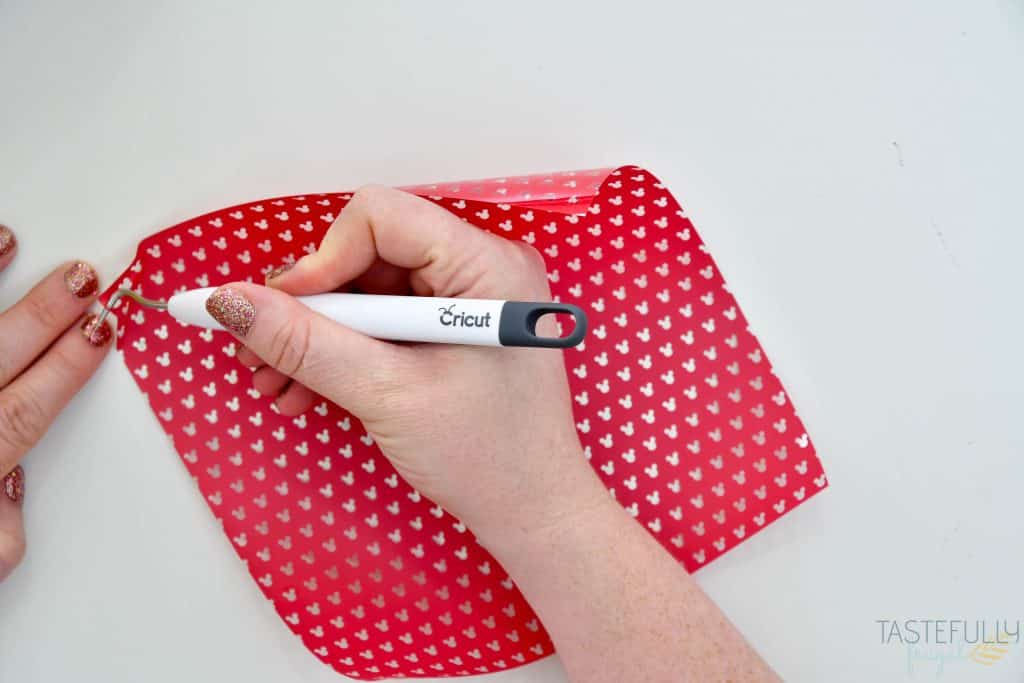
In my opinion, iron-on vinyl is the easiest type of vinyl to weed. Since it doesn’t get sticky until it gets heated you don’t have to worry about it sticking to itself and peeling up vinyl that is not supposed to be weeded.
For best results, use a weeding tool, start in the bottom left corner and peel up at an angle. Use the weeding tool to remove excess vinyl inside letters or images as well (like A, R, circles, etc.)
How To Layer Iron-On
Like adhesive vinyl, you can layer iron-on vinyl on top of it’s self. But unlike adhesive vinyl, some types of iron-on can NOT be layered on top of. And in general, if you want your projects to last, I recommend only doing TWO layers of iron-on. If you want to do more than that, you can always slice your design in Design Space.
For layering, the BEST iron-on to use for your base layer is Everyday Iron-On. If you use glitter iron-on as a base, you’ll have the bumps from the glitter in your top layer of iron. If you use a lower temperature iron-on, like foil, as a base layer, you run the chance of ruining the base layer.
How To Apply Iron-On Vinyl
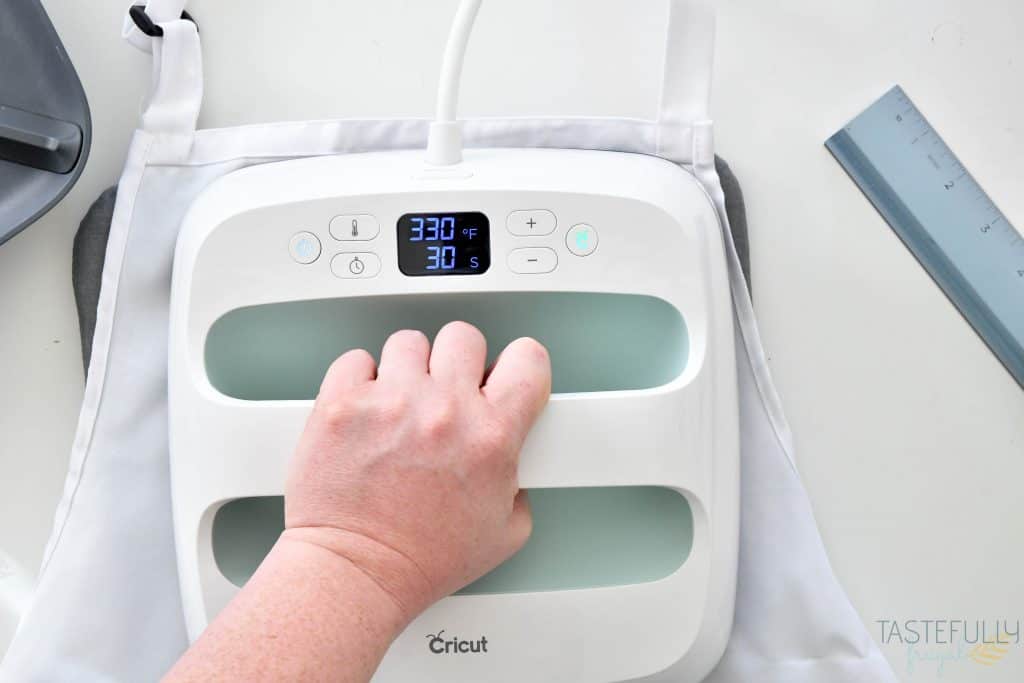
I’ve used a regular household iron, heat press or EasyPress to apply iron-on vinyl and I definitely recommend using the EasyPress. You can read about all three here and reasons why an iron or heat press might be better for you.
Make sure whatever you’re using that it’s heated properly. If you’re using the EasyPress you can find the recommended heat settings for every kind of iron-on and material you can press it on here. If you’re using an iron or Heat Press, turn it on a few minutes before you’re ready to press so they are heated up completely.
You’ll also want to make sure you preheat the material you’re pressing your iron-on into for 5-10 seconds. This gets all the moisture out of the materials and helps the iron-on stick to it quicker and easier.
Warm Peel vs. Cold Peel
Once you’ve applied your iron-on vinyl you’ll want to peel the plastic backing. Some iron-on types are warm peel and some are cold peel.
Warm Peel – Means you peel the plastic backing off as soon as your done pressing it with your heat source.
Cool Peel – Means you let the plastic backing and iron-on completely cool before peeling the backing off. You can speed up the cooling process by rubbing the project against a cool window or clean, cool tabletop or countertop.
If you’re not sure what to do with the type of iron-on you’re using, or if your iron-on is not sticking to your material, go with cold peel. It will not hurt your project to let your iron-on fully cool before removing the plastic backing.
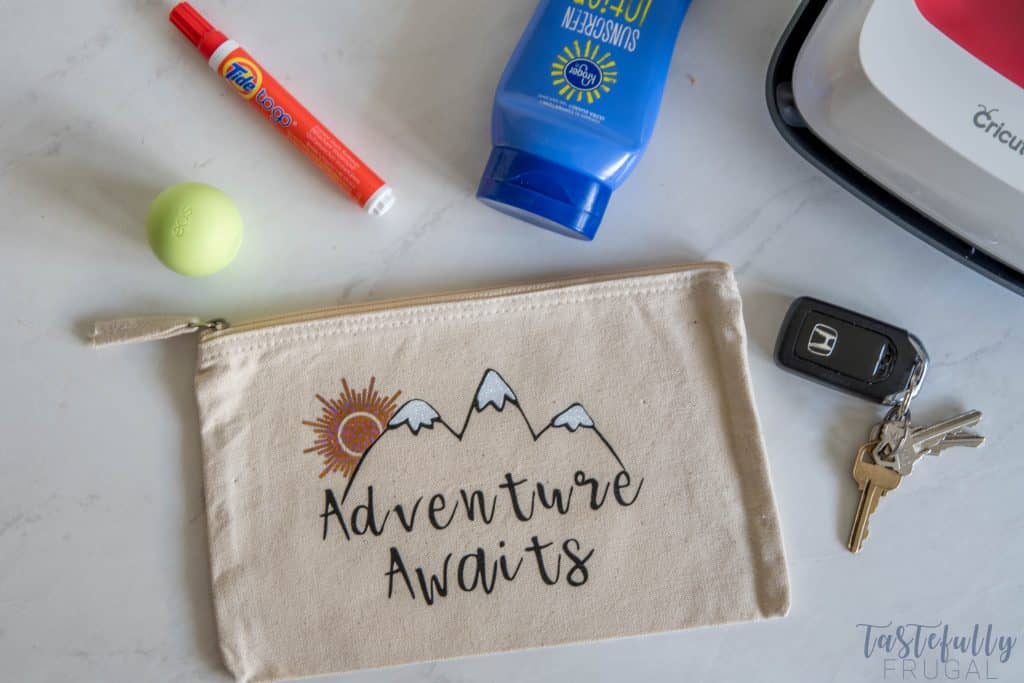
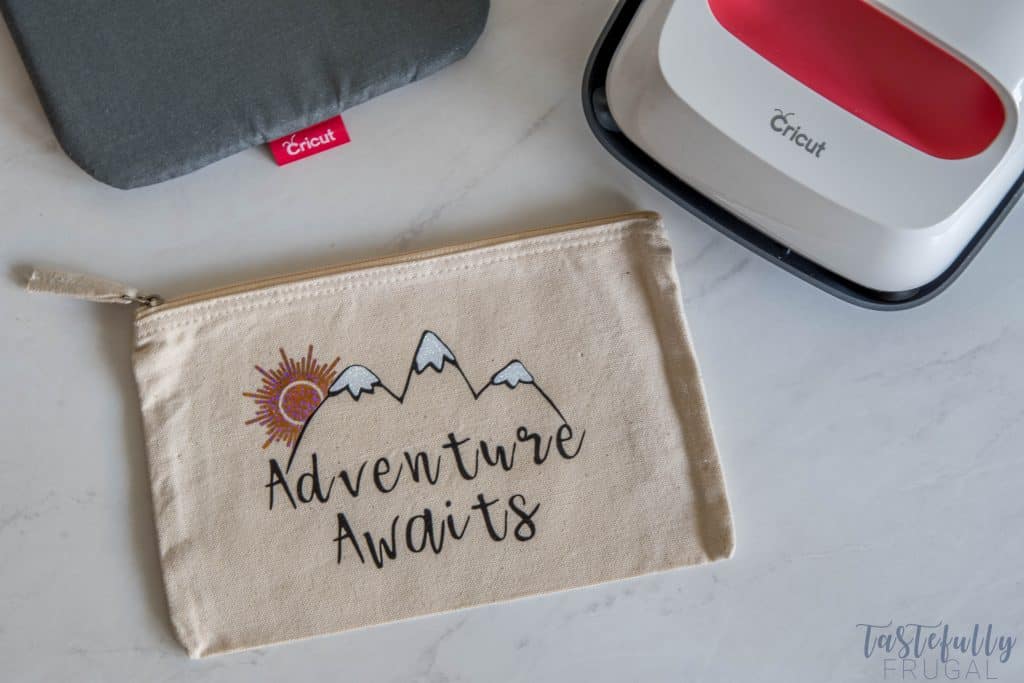
Easy Layered Iron-On Vinyl Project
We made these Adventure Await canvas bags in a class I taught at the 2nd Mountain Make-A-Thon a few years ago. It is a great beginner project and shows you how to work with multiple types of iron-on vinyl.
SUPPLIES:
Canvas Bag (I bought a 3 pack at my JOANN store)
Gold Holographic Sparkle Iron-On Vinyl
Cricut Machine – I love my Maker
When ordering from Cricut.com make sure to use promo code TSPRING to get 10% off and score FREE shipping on $50+ orders!
Check out this video below to see how to cut, weed and layer the three types of iron-on on the bag.
And that’s all you need to know! If you’d like to check out more ways you can use your Cricut check out these posts! Need help with your Cricut? Join our Cricut Support Facebook Group!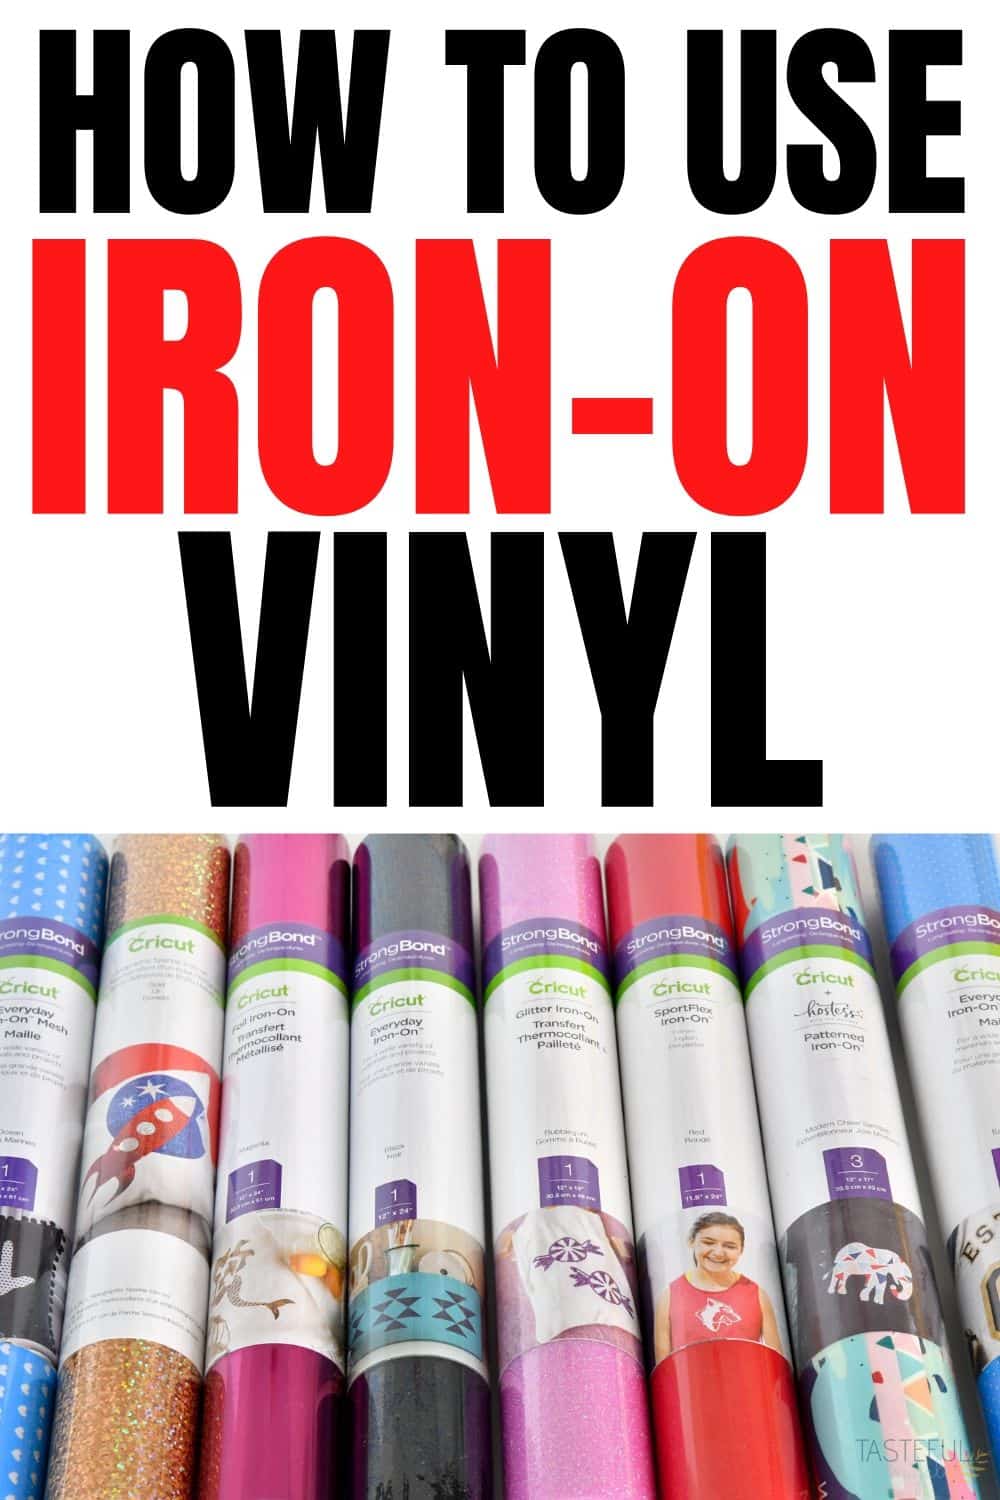
The post How To Use Iron-On Vinyl appeared first on Tastefully Frugal.