I’m that type of person who loves Valentine’s Day. My favorite color is pink and my favorite shape is a heart, so basically, what is there not to like? Bring on all the celebrity crush cookies, the heart-shaped photo booths and chocolatey treats! If you’re like me, you might have several long-distance BFFs you want to send valentines to.
That's why this year, I’m going to go beyond the usual card and send out care packages. If you’ve ever been on the receiving end of a care package, you would know that it’s one of the best things ever. Just knowing that this small gesture is probably going to make someone’s day fills my heart with sparkles and rainbows.
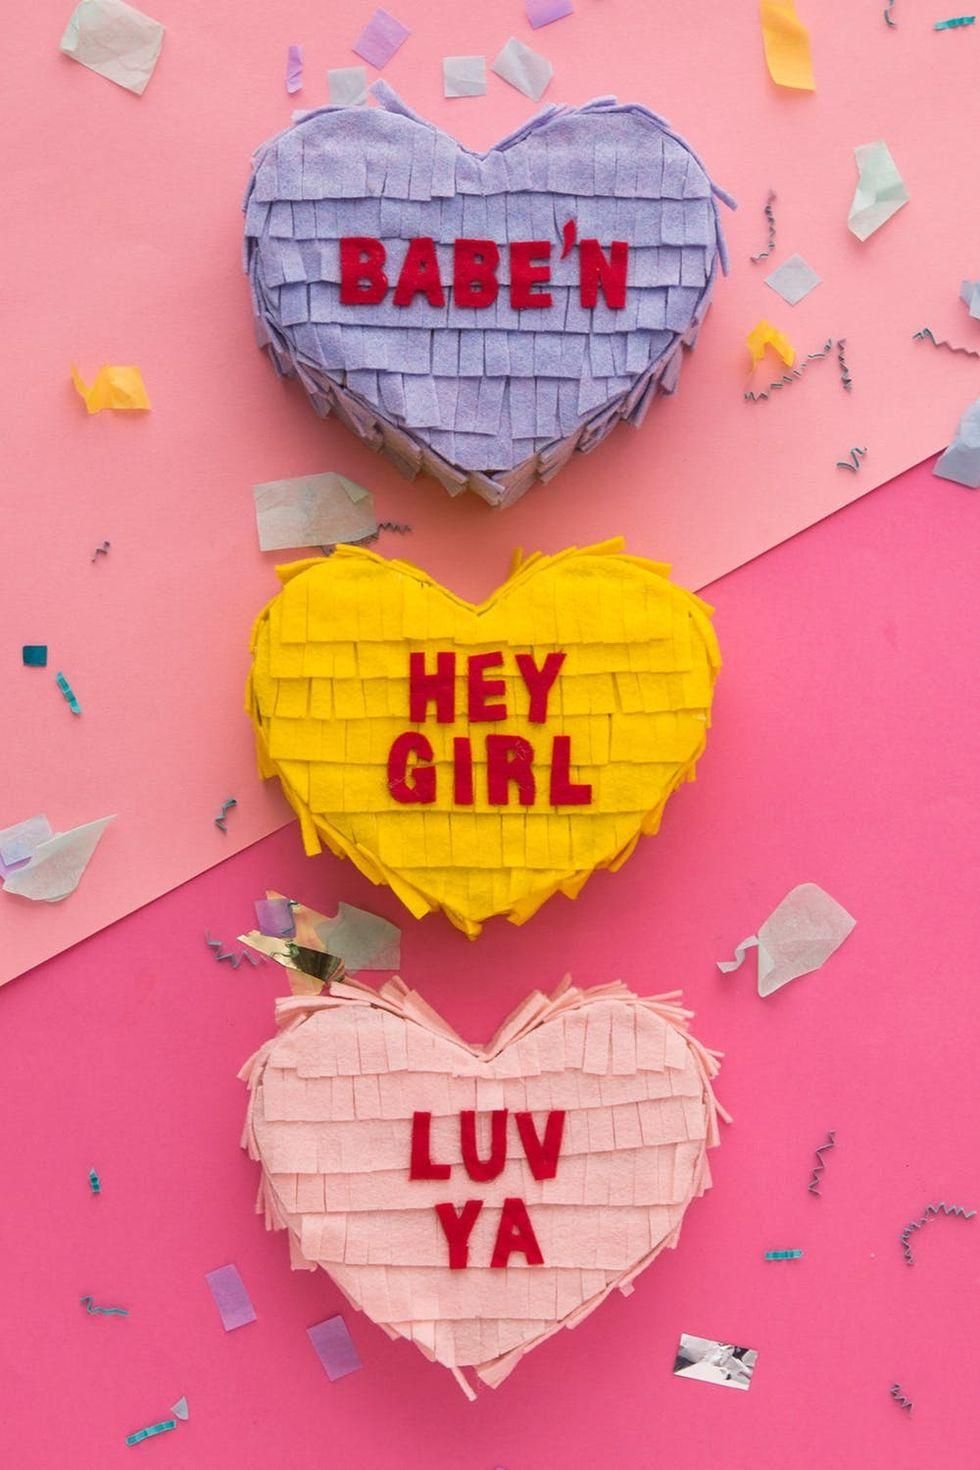
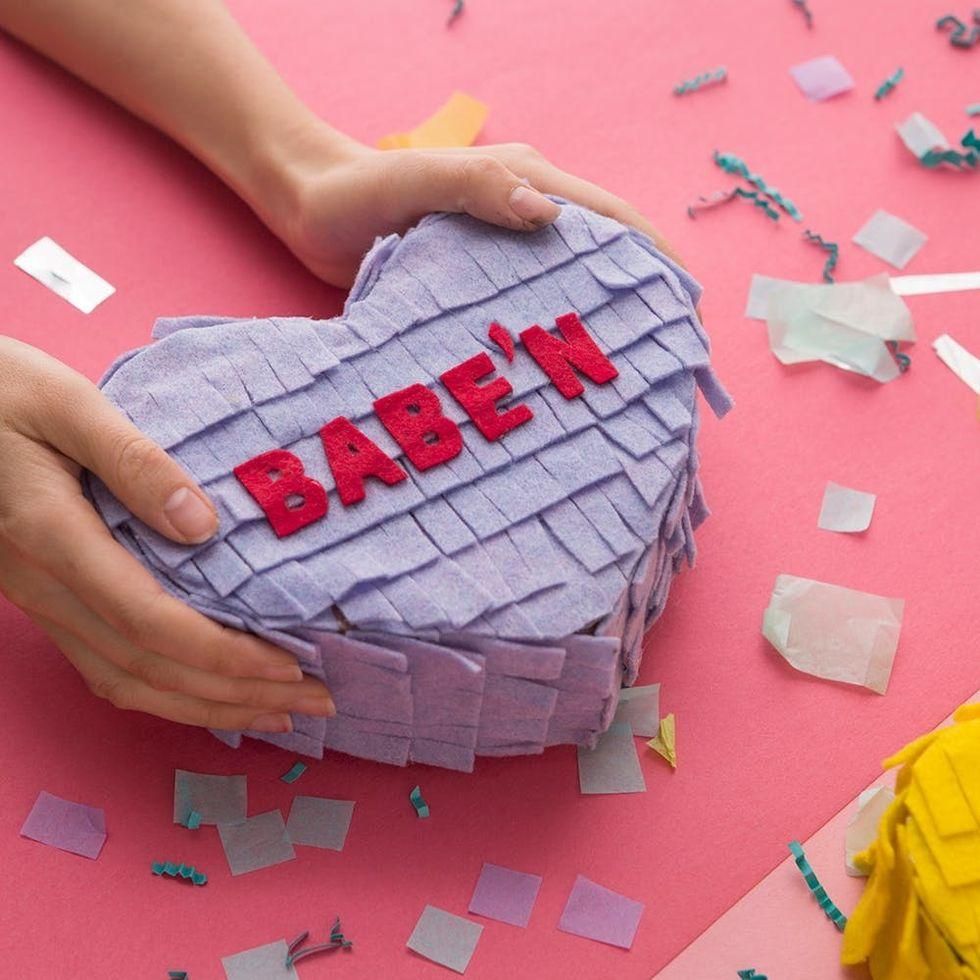
So for this Valentine’s Day, we’re showing you how to make these conversation heart piñata care packages that you can actually mail to your besties! These adorable treats are sure to surprise your best friends and make for some cute Valentine's Day decor too. Let’s get started!

Materials and Tools:
- Colored cardstock
- Scissors
- Mailing tape
- Pen
- Utility knife
- Glue
- Ruler
- Cardboard
- Colored felt
- Printable letters
Instructions:
- Fold a piece of cardstock in half and draw half a heart along the creased edge. Cut out.
- Use that heart shape to trace two shapes on cardboard. Cut out.
- Cut 2-inch-wide strips of cardboard. Tape the strips around the sides of one of the cardboard hearts.
- Fill the heart with goodies. We used candy, poppers and confetti, naturally.
- Tape the box closed with the second cardboard heart.
- Trace another heart out of paper (so that you’re not using a paper heart with a crease in it). Glue that heart to the cardboard.
- Cut one-and-a-half-inch strips of felt and fringe. Glue the fringe all over the cardboard and trim.
- Cut out letters in printable. Trace onto a different colored felt and cut out.
- Glue felt letters on heart to make a phrase.
- If you’re mailing the piñata heart, write your friend’s address on the back.
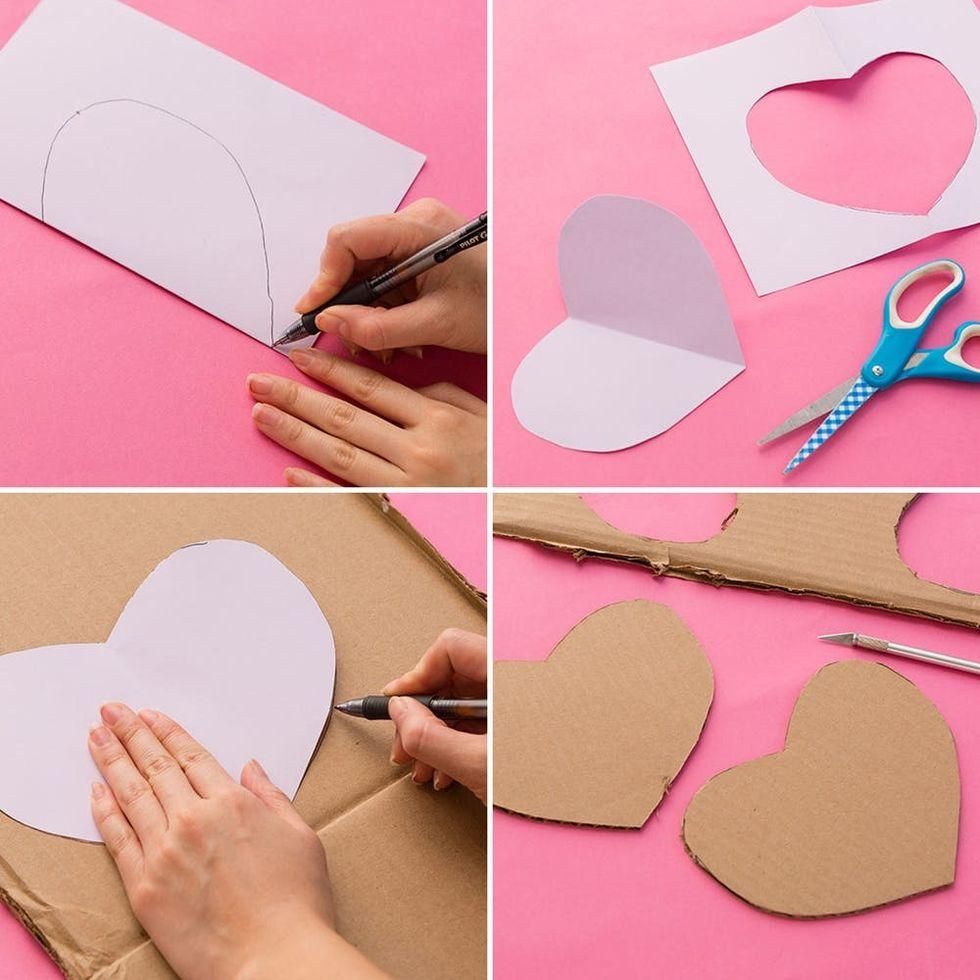
Alright, it’s time to go back to your kindergarten days when you learned how to cut a heart! Fold a piece of cardstock in half and draw half a heart along the creased edge. Cut out. Use that heart shape to trace two shapes on cardboard. Cut out.
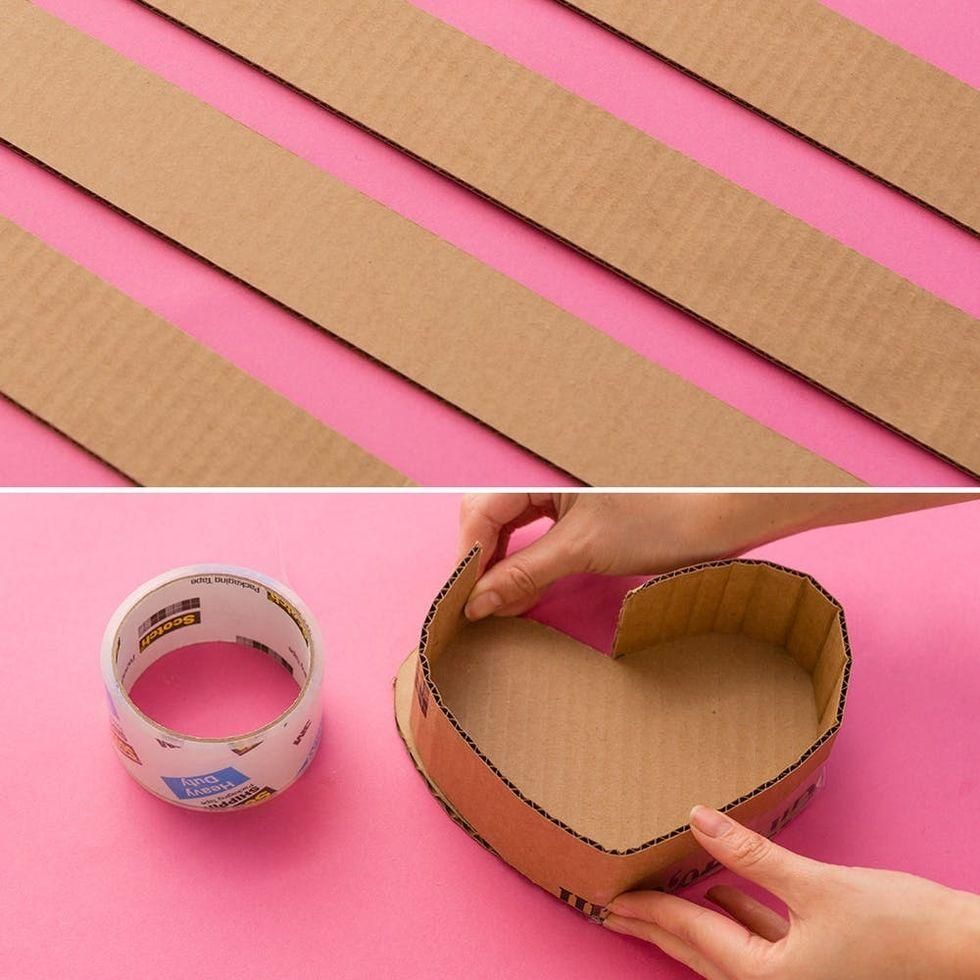
Cut two-inch-wide strips of cardboard. Tape the strips around the sides of one of the cardboard hearts.
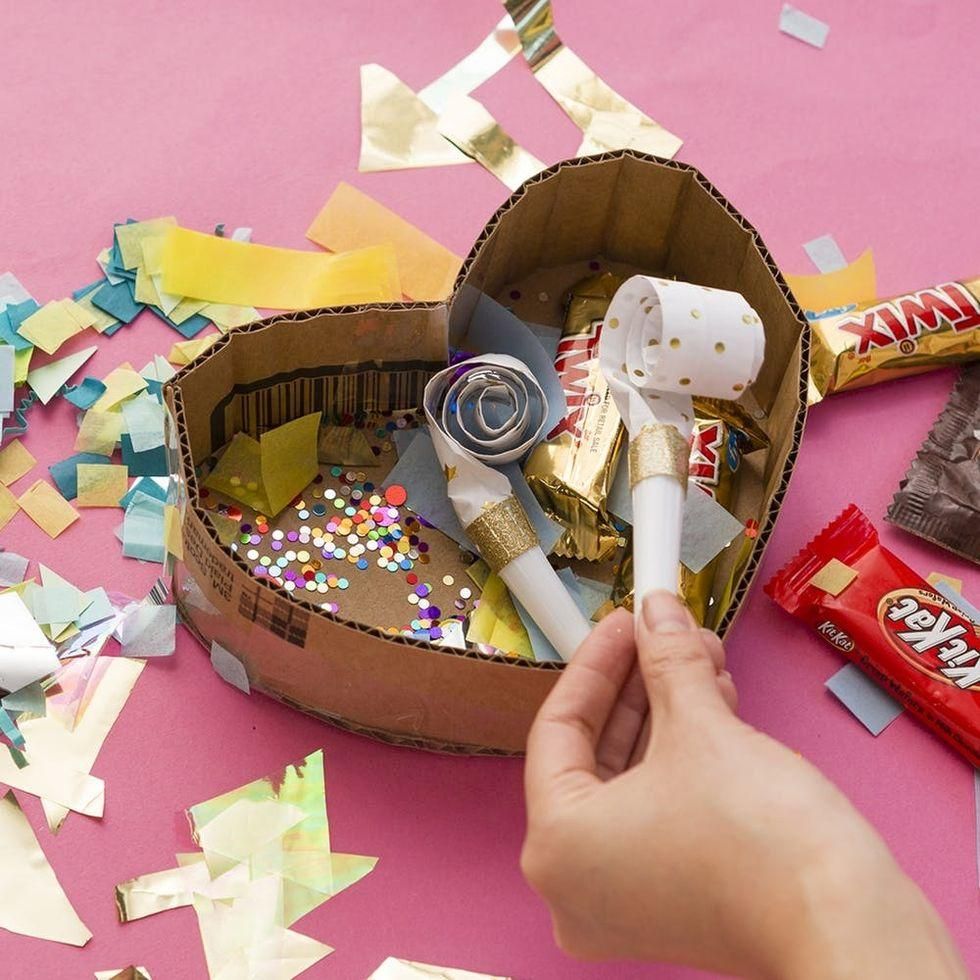
Fill the heart with goodies. We used candy, poppers and confetti, naturally. After all, sugar and sparkles are the way to a best friend’s heart.
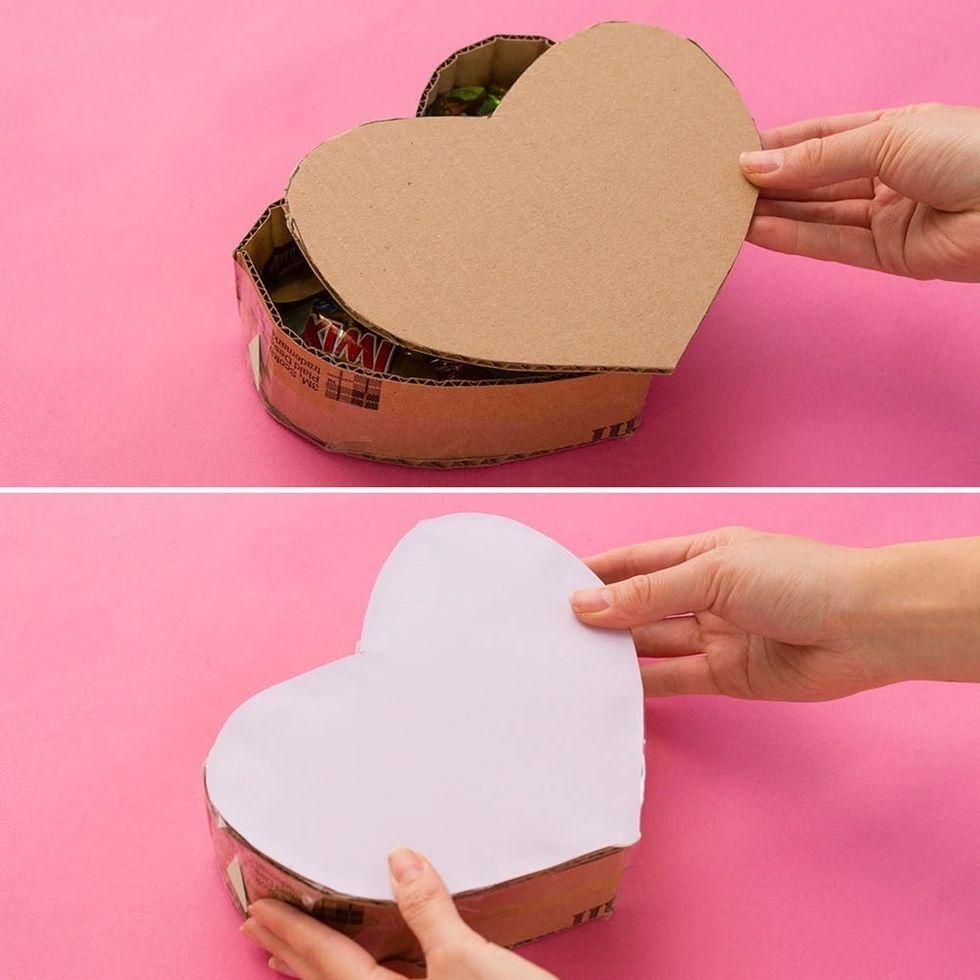
Tape the box closed with the second cardboard heart. Trace another heart out of paper (so that you’re not using a paper heart with a crease in it). Glue that heart to the cardboard.
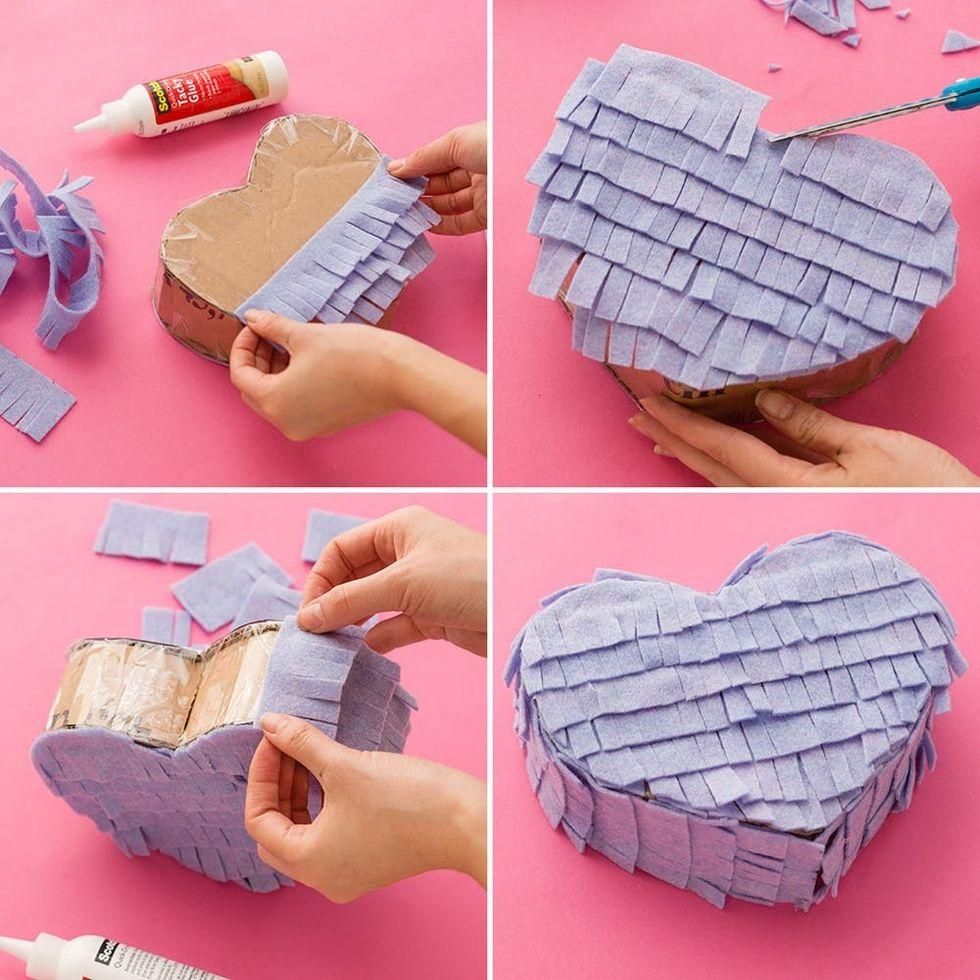
Cut one-and-a-half-inch strips of felt and fringe. Glue the fringe all over the piñata. You’ll probably want to trim as you go, so your piñata looks like a heart.
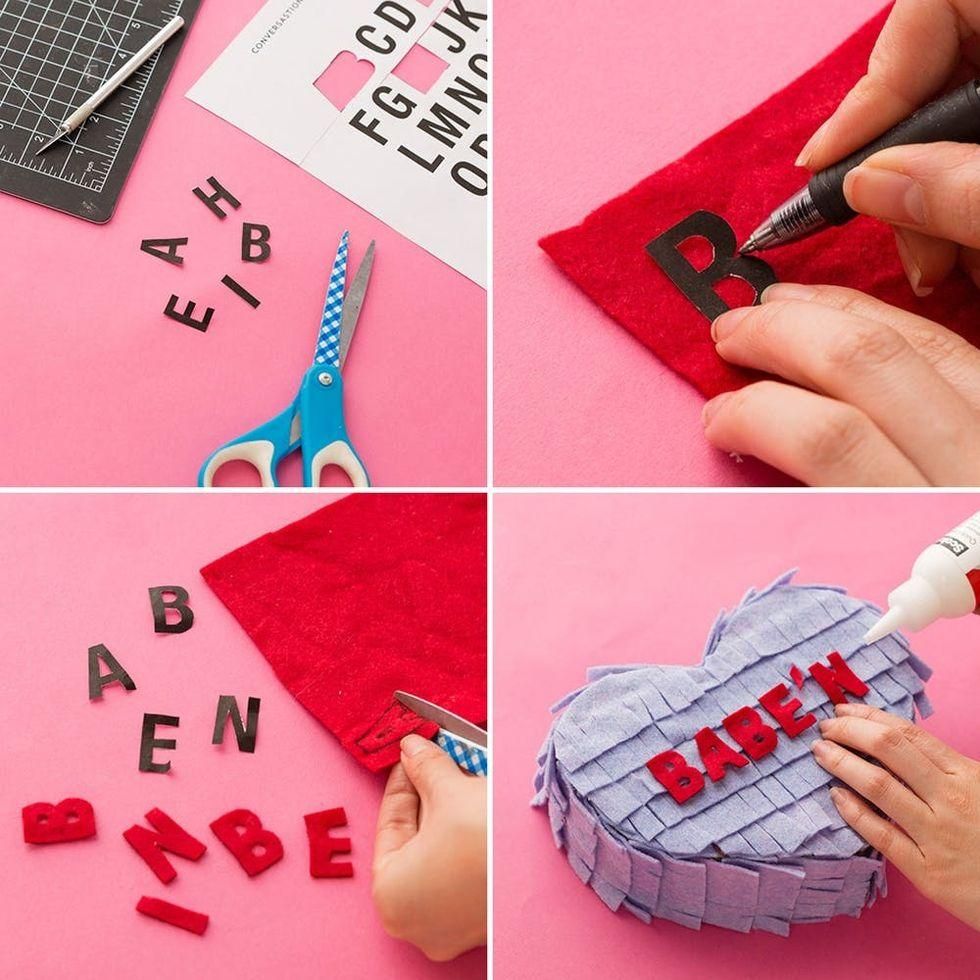
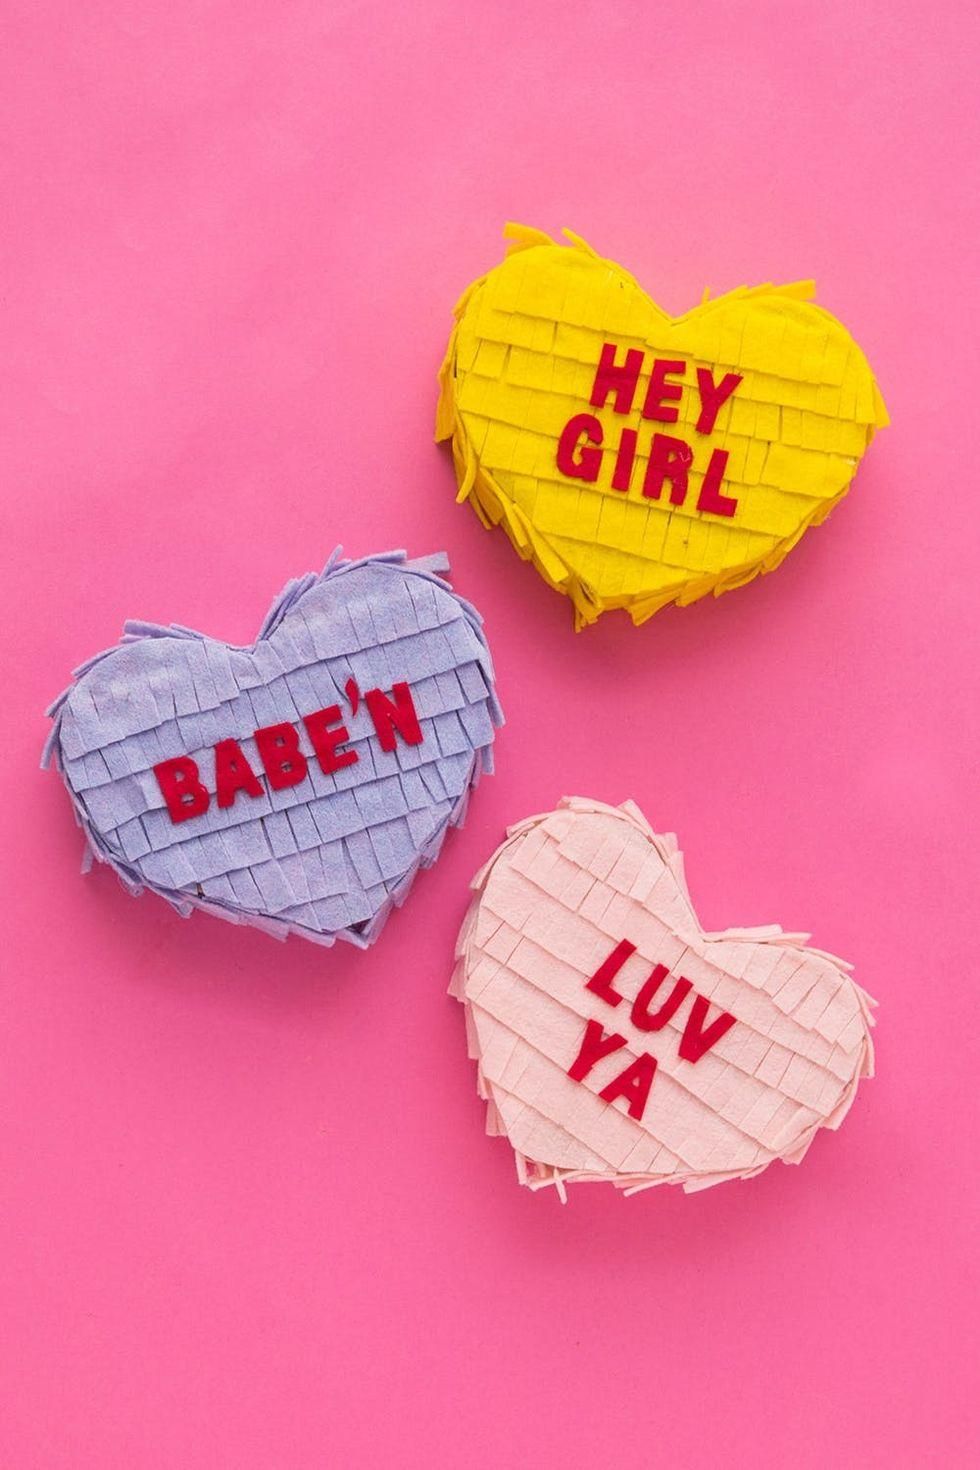
Cut out the letters in the printable (or freehand them if you're feeling adventurous). Trace onto a different colored felt and cut out. Glue the felt letters on the heart to make a phrase. Bring up a timeless inside joke or stick to the classic conversation heart phrases.
Voilà!
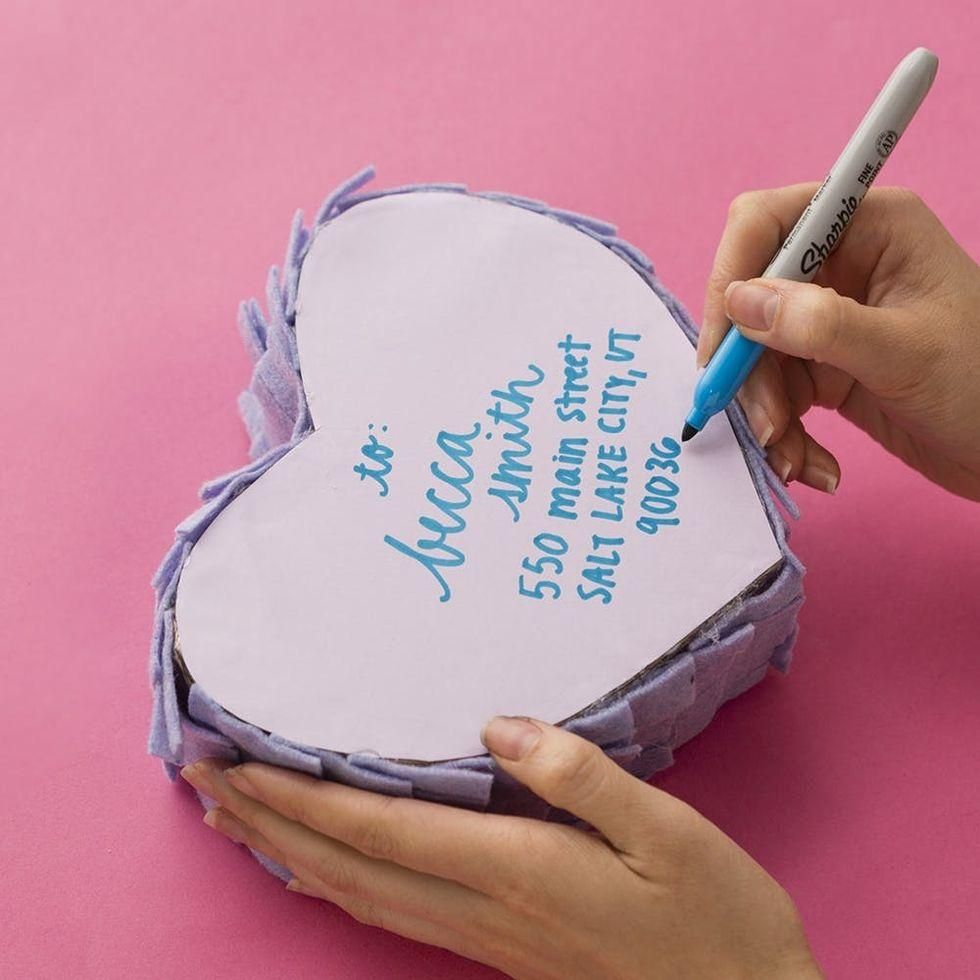
If you’re mailing the piñata heart, write your friend’s address on the back.
Aaaaand you’re done! Seriously, it can't get much cuter than this.
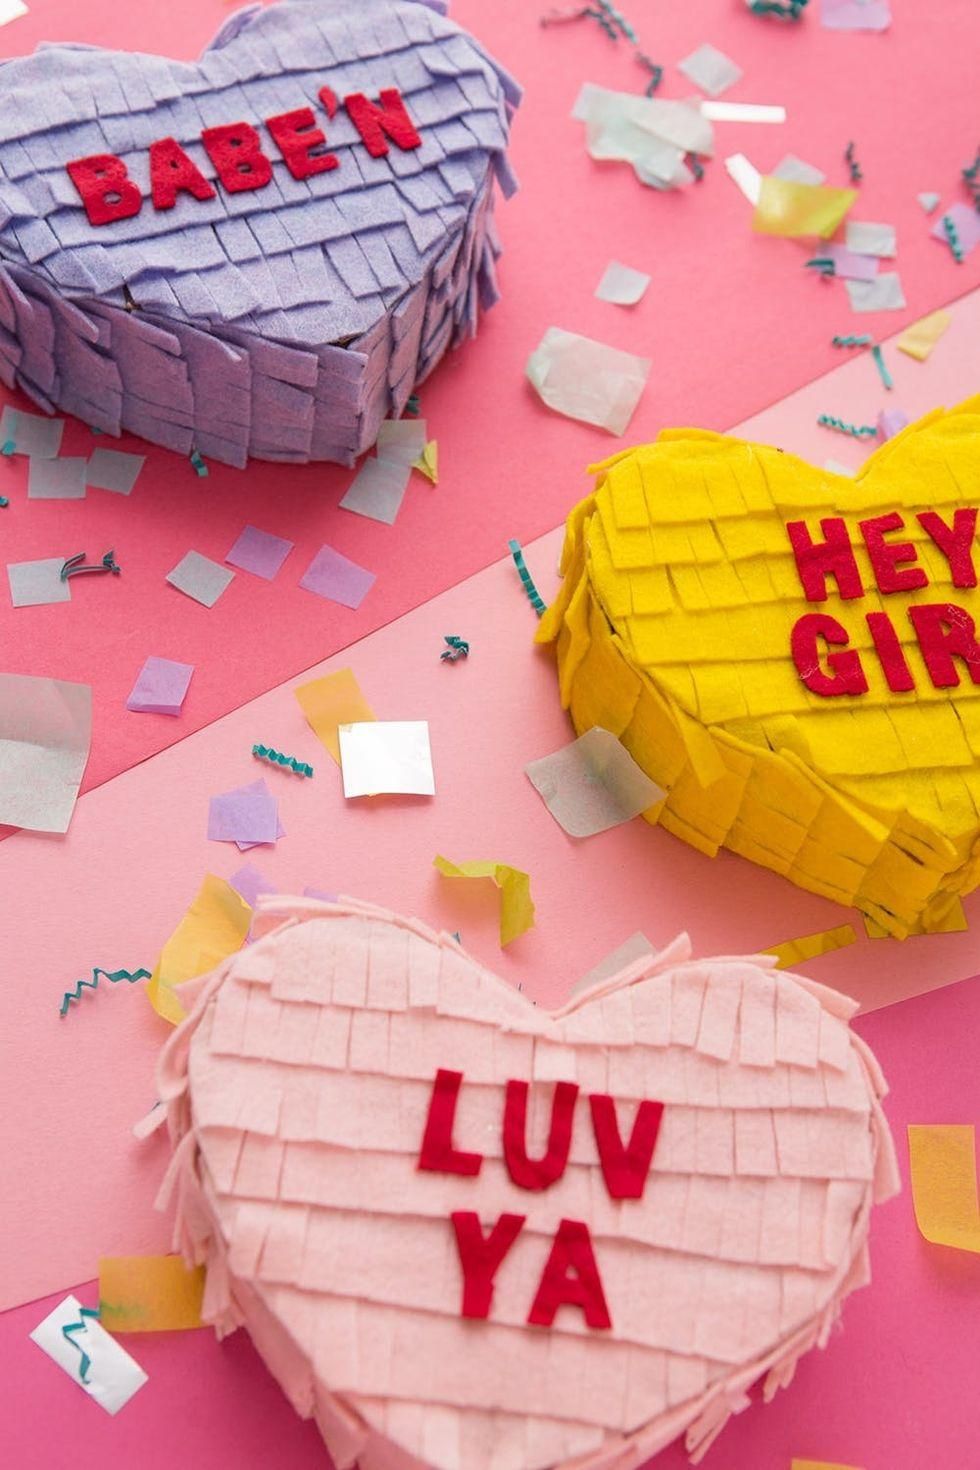
Oops, looks like some confetti already spilled!
I know EXACTLY who this one is going to!

Happy Valentines and Galentines Day!
Show us your conversation heart piñatas Instagram and check out our Pinterest for more DIY ideas!
Brit + Co may at times use affiliate links to promote products sold by others, but always offers genuine editorial recommendations.
DIY Production and Styling: Irene Lee
Photography: Brittany Griffin
This post has been updated.