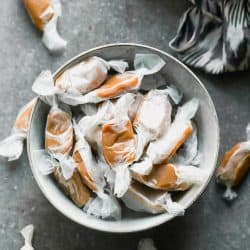
Homemade Caramels are soft, chewy, and sweet. With only a few pantry ingredients, you can make homemade caramels too, and I promise theyre SO much easier to make than you would think! Plus, theyd make the perfect gift to give out around the holidays.
For more easy sweet ideas, check out this Salted Caramel Popcorn, or if youre into chocolate, this Easy Crockpot Candy would be delicious. And we cant forget about this Peanut Butter Pinwheel Candy so good!
Homemade Caramels
If you think making candy should be left to the professionals, think again. Homemade caramel candies are one of the easiest candies you can make, it just takes a little bit of patience, a lot of willpower (to wait until the caramels set), and a handful of ingredients.
Theyre also the perfect gift to give away around the holidays, so make a big batch, youre going to need it!
When I first set out to make homemade caramels, I was a little apprehensive. Im a cook, I dont typically mess around with the science of baking, but after I little bit of research on how to make homemade caramels, my confidence grew. It turns out, making homemade caramels is a lot like making homemade caramel sauce, which Ive done a million times before.

The homemade caramels were making today are soft, chewy, and have the perfect amount of sweetness. They get an added dose of flavor with the addition of a little bit of brown butter, which Im kind of obsessed with.
Salting the tops of the caramel is also a must if you love the sweet and salty element of desserts, but if you dont, feel free to leave it out.
Ingredients in Homemade Caramels
- Cane sugar. A classic caramel sauce call for cane sugar. It melts beautifully and and when cooked down, turns into the most beautiful amber color.
- Brown sugar. I like to add in a little bit of brown sugar, because I love the deeper flavor it gives the caramels. Brown sugar has molasses in it, so it innately add a little bit more smokiness than youd get with cane sugar.
- Water. This is just used to loosen up the sugar and corn syrup. You can also use water to make sure there isnt any crystallization on the sides of the pan.
- Corn Syrup. This adds that sticky texture to the caramels and just a touch of sweetness, its a must for homemade caramels!
- Butter. Butter butter butter. You absolutely cannot make homemade caramels without butter. Here we use it in sort of an untraditional way by browning it first. This adds even more depth of flavor, and a very subtle nuttiness to the end result.
- Cream. Cream is what takes the caramels from a hard candy to a soft candy. The more cream you use, the softer the caramels will be, and vice versa if you add less cream.
- Salt. This is optional, but if you like a little bit of salt with your sweet, sprinkle a little bit of kosher or Malden salt on the caramels at the end.
How to make brown butter
So this recipe requires you to brown butter. I thought wed discuss how to do that first, so we can dive into how to make caramels next.
Browning butter is one of my favorite ways to add additional flavor to desserts and savory dishes without adding any extra ingredients. All you have to do is:
- Add the butter to a small skillet and melt over a medium-high heat.
- When the butter starts to brown on the edges, start to swirl the pan.
- Continue to swirl the pan until the butter turns a VERY deep brown color and smells very nutty.
- Remove from the heat immediately and pour into a bowl.
- Youre now made brown butter!
How to make Homemade Caramels.
Prepare the baking dish. Spray a square 88 baking dish with non-stick cooking spray. Line with parchment paper and spray again with non-stick cooking spray.
Make the sugar syrup.Add the water, cane sugar, brown sugar, and corn syrup to a medium saucepan. Make sure the saucepan is about four times the size of the liquid you are adding. When you add the cream and butter, the mixture will bubbly and rise to the top so you want to have a pan big enough to accommodate that extra growth.
Turn the heat on medium-high and bring to a boil. Use a pastry brush dipped in water to make sure there are no sugar crystals on the sides of the pan. Once the mixture starts to boil, turn the temperature down so its at a steady boil, but isnt boiling over. Continue to boil the mixture until it reaches 240 degrees on a candy thermometer.
Heat the cream and butter. While the sugar syrup boils, brown the butter. Once the butter is browned, add it to a liquid measuring cup filled with the warm cream and remaining butter. Microwave another 30 seconds or until the cream is hot to the touch, but not boiling.
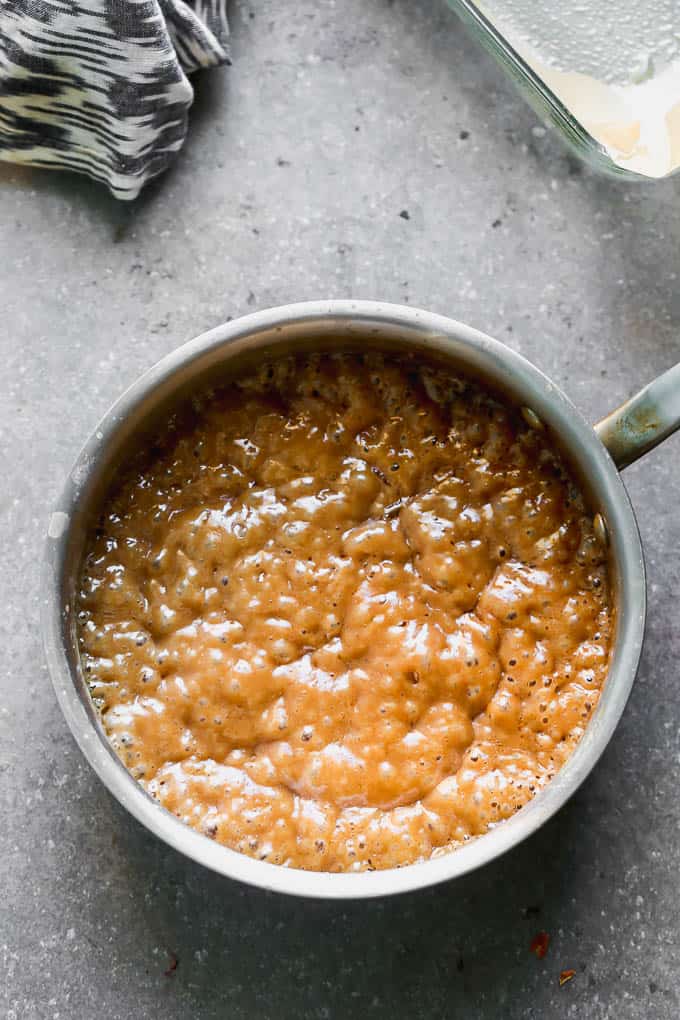
Make the caramel. Once the sugar mixture reaches 240 degrees, remove from the heat. Slowly whisk in hot cream and butter mixture. BEWARE. The mixture will bubbly and rise a little bit. Keep whisking, it will eventually go down. Return the saucepan to a medium-high heat and bring to a boil. Turn the heat down to continue the boil, but at a more moderate rate, it should be about a medium heat.
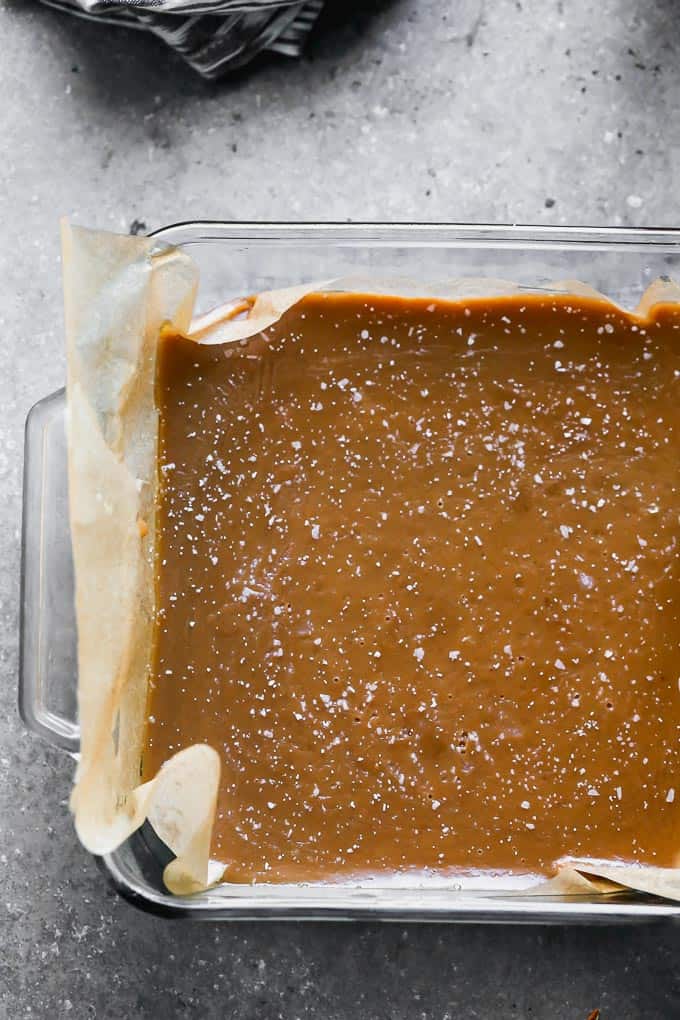
Continue to cook the caramel until it turns a deep caramel color and reaches 240 degrees on the candy thermometer. It should take about 15-20 minutes. However, it could take more or less time, so stay very close and monitor the thermometer. When the caramel reaches 240 degrees, remove from the heat and whisk in vanilla. Pour the caramel into the prepared pan.
How to package the caramels.
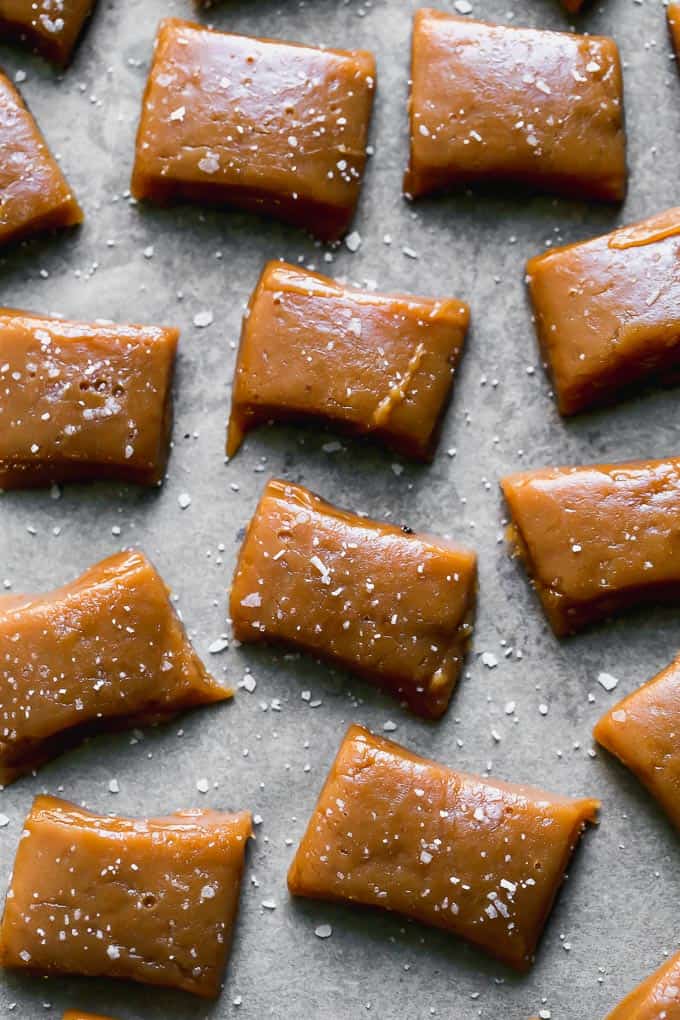
Cool the caramel. This the hard part! The caramel takes about two hours to set and completely cool. Once you pour the caramel in the baking pan, let it sit for about 20 minutes. If using salt, sprinkle before it sets up completely. Let the caramels cool another hour and half or longer.
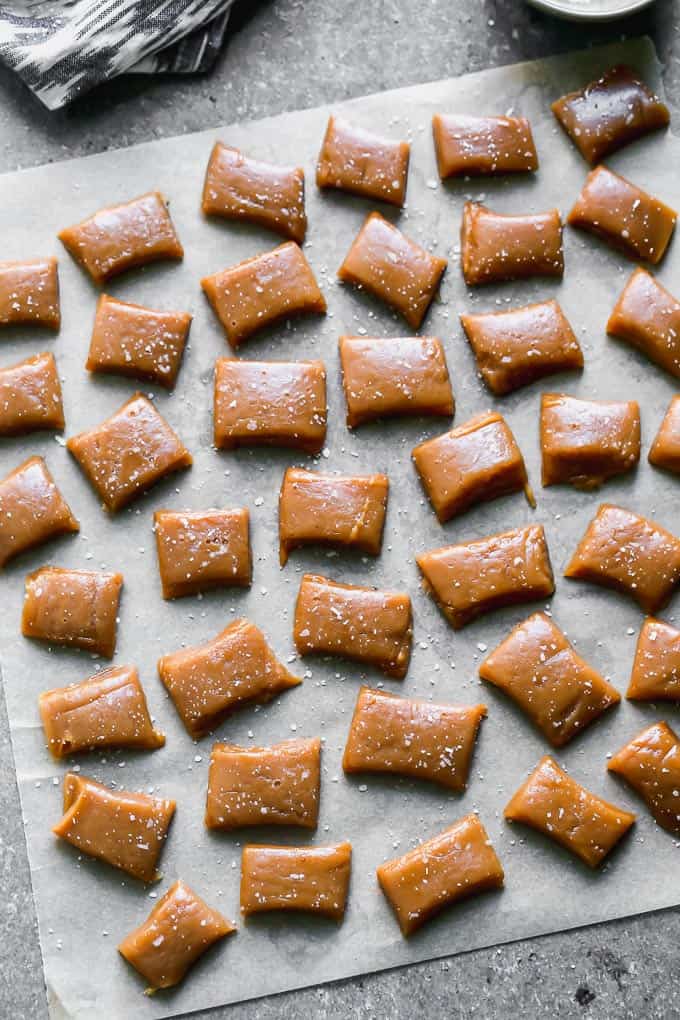
Cut the caramel. I use a large chefs knife to cut the caramel into six vertical strips. I then use a small pairing knife to cut the remaining the strips into 1 1/4-inch x 1/2-inch pieces. You should get about 42-45 caramels.
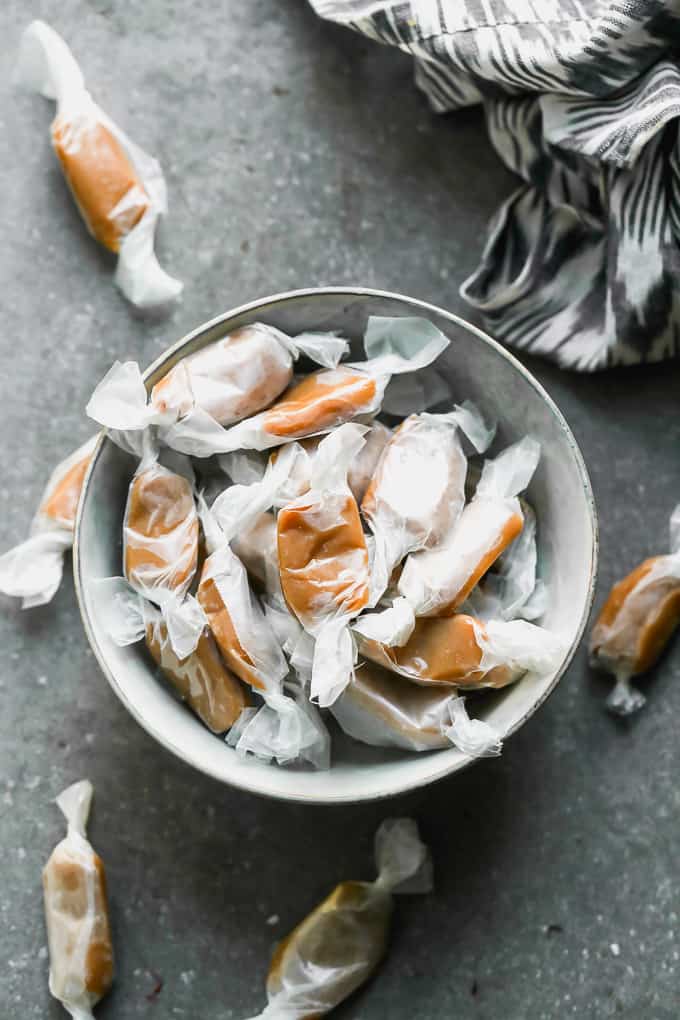
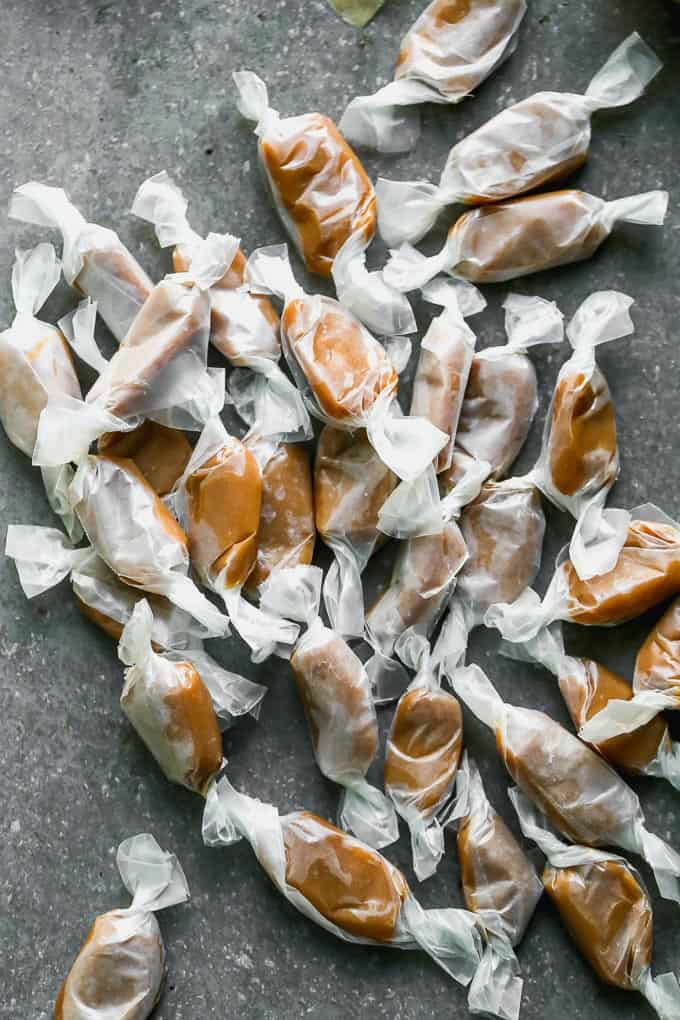
Wrap in wax paper. Cut wax paper into 4-inch x 2 1/2-inch pieces. Place one caramel in the middle of the paper, roll up and then twist the ends to seal.
Can I make Homemade Caramels in advance?
Yes! You can make homemade caramels up to a week in advance. Any longer than that and they will start to harder up.
Substitutions and Tips and Tricks for Recipe Success
- If you only have white sugar, you can swap it out for the brown sugar. However, you cant use all brown sugar, as it will throw off the measurements.
- If you like your caramels on the firmer side, reduce the amount of heavy cream.
- To cut the caramels easily without them sticking to the knife, dip the knife in cold water before cutting.
More recipes using homemade caramel
Homemade Caramels
Homemade Caramelsare soft, chewy, and sweet. With only a few pantry ingredients, you can make homemade caramels too, and I promise theyre SO much easier to make than you would think! Plus, theyd make the perfect gift to give out around the holidays.
- 1 cup cane sugar
- 1/2 cup loosely packed brown sugar
- 1/4 cup light corn syrup
- 1/4 cup water
- 6 tbsp butter, divided
- 1 1/2 cup heavy cream
-
Prepare the baking dish. Spray a square 88 baking dish with non-stick cooking spray. Line with parchment paper and spray again with non-stick cooking spray.
-
Add the water, cane sugar, brown sugar, and corn syrup to a medium saucepan. Make sure the saucepan is about four times the size of the liquid you are adding. When you add the cream and butter, the mixture will bubbly and rise to the top so you want to have a pan big enough to accommodate that extra growth.
-
Turn the heat on medium-high and bring to a boil. Use a pastry brush dipped in water to make sure there are no sugar crystals on the sides of the pan. Once the mixture starts to boil, turn the temperature down so its at a steady boil, but isnt boiling over. Continue to boil the mixture until it reaches 240 degrees on a candy thermometer.
-
While the sugar syrup boils, brown the butter. Add TWO TABLESPOONS of the butter to a small skillet and melt over a medium-high heat. When the butter starts to brown on the edges, start to swirl the pan. Continue to swirl the pan until the butter turns a VERY deep brown color and smells very nutty. Remove from the heat immediately and pour into a bowl.
-
Measure cream in a liquid measuring cup. Add the brown butter and the remaining butter. Heat in the microwave, one minute at a time until the cream is hot and the butter is all melted.
-
Once the sugar mixture reaches 240 degrees, remove from the heat. Slowly whisk in hot cream and butter mixture. BEWARE. The mixture will bubbly and rise a little bit. Keep whisking, it will eventually go down. Return the saucepan to a medium-high heat and bring to a boil. Turn the heat down to continue the boil, but at a more moderate rate, it should be about a medium heat.
-
Continue to cook the caramel until it turns a deep caramel color and reaches 240 degrees on the candy thermometer. It should take about 15-20 minutes. However, it could take more or less time, so stay very close and monitor the thermometer. When the caramel reaches 240 degrees, remove from the heat and whisk in vanilla. Pour the caramel into the prepared pan.
-
Once you pour the caramel in the baking pan, let it sit for about 20 minutes. If using salt, sprinkle before it sets up completely. Let the caramels cool another hour and half or longer.
-
Use a large chefs knife to cut the caramel into six vertical strips. Use a small pairing knife to cut the remaining the strips into 1 1/4-inch x 1/2-inch pieces. You should get about 42-45 caramels.
-
Cut wax paper into 45, 4-inch x 2 1/2-inch pieces. Place one caramel in the middle of the paper, roll up and then twist the ends to seal. Repeat with remaining caramels.