Yes I know, this is a big claim to make. But trust me when I say, you will not be disappointed.
Who doesn’t love a gooey cookie, packed with delicious chocolate, and isn’t full of junk such as white sugar.

When on the hunt for my perfect chocolate chip cookie recipe I ran into some struggles. While we were living in a very non temperature regulated environment I noticed not all recipes are created equal.
(We lived in a motorhome for 2 years while we built our off-grid cabin in the woods. Click here to read our debt free story)
Now back to cookies, instead of avoiding the different states of my ingredients due to overwhelmingly hot or cold temperatures, I decided to dive head first into them and use it to my advantage.
For example, when recipes say “whip” your coconut oil, that was flat out impossible to me when our motorhome was 85 degrees and my coconut oil is liquified. When making the cookie dough with melted coconut oil, I noticed I never got another flour chunk in my dough. Which meant every single cookie, all the ingredients, especially the baking soda and powder, were perfectly combined and all had equal rise from the leavaners.
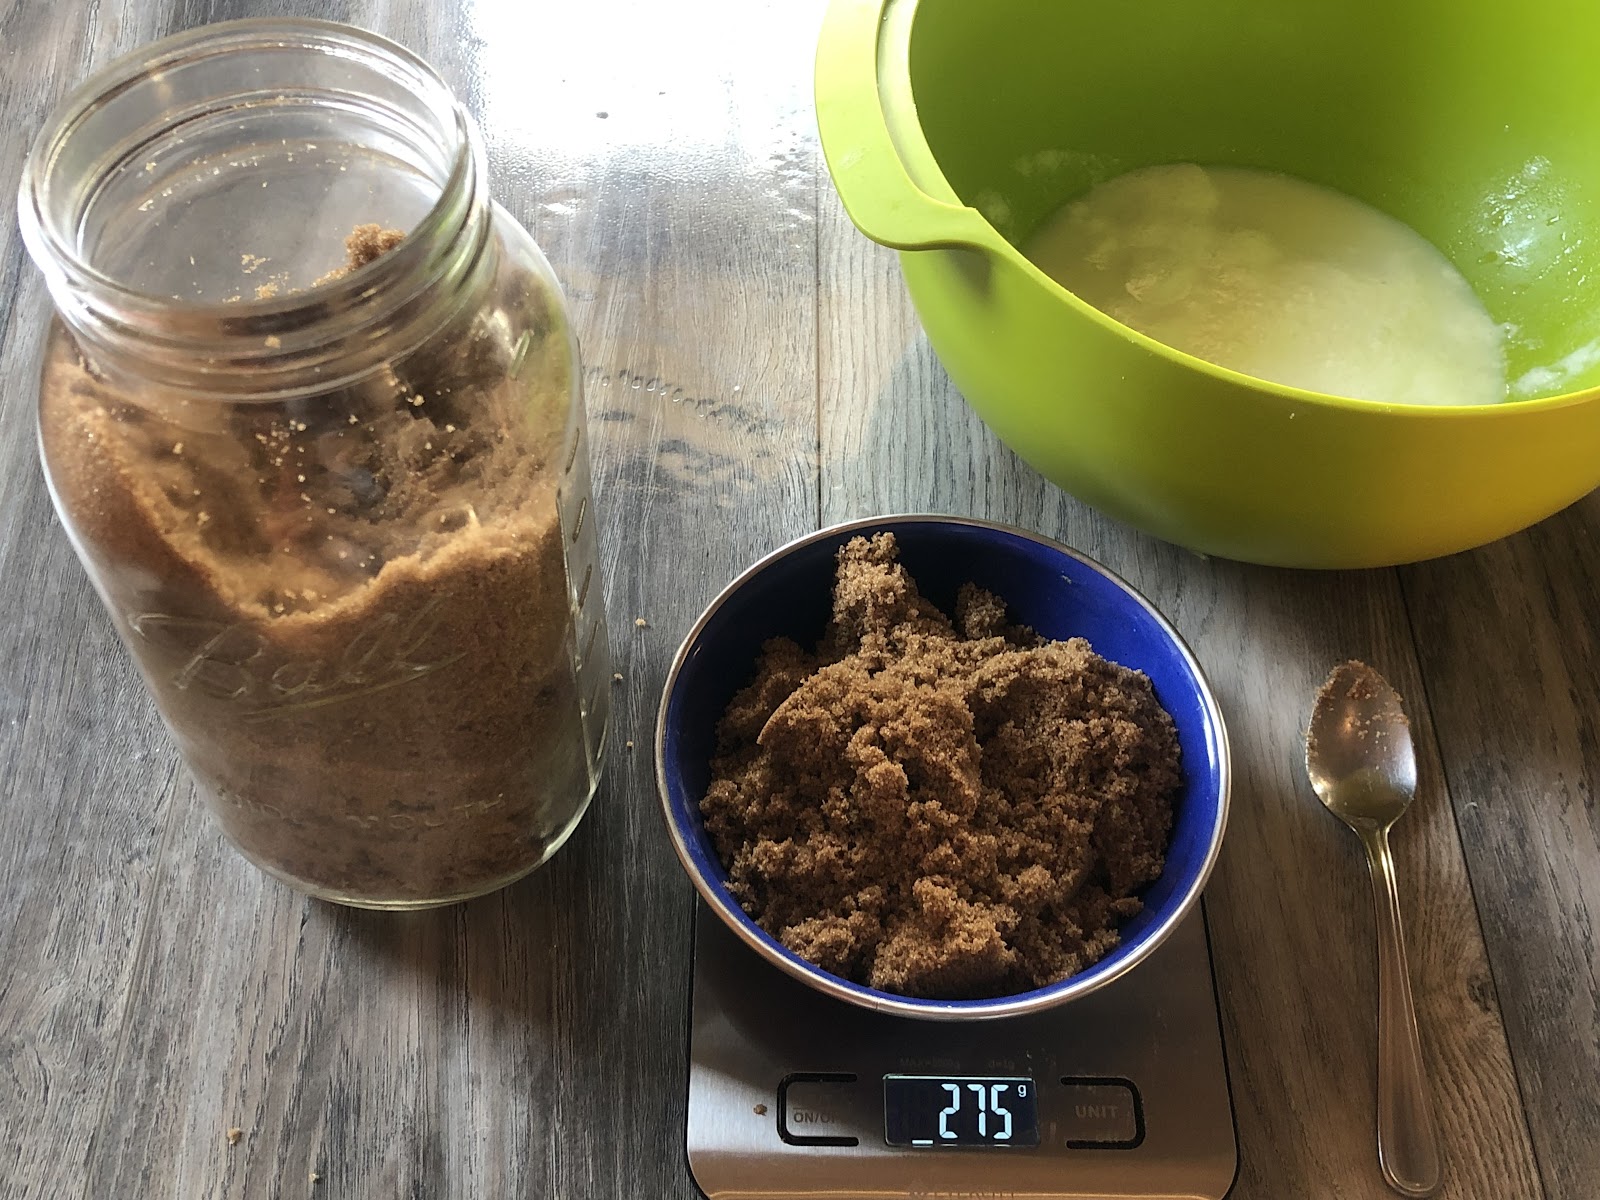
But to be completely transparent, I HIGHLY recommend using a kitchen scale for this recipe. PLEASE do not let this intimidate you if you’re not already a kitchen scale lover. For many reasons as to why you need a kitchen scale, weighing your ingredients makes your recipes come out consistently incredible. And when it comes to batch Christmas cookie making, consistency is what I’m looking for.
Another reason why you may love having a kitchen scale, is it makes essentially every recipe a one bowl recipe. You just continue to zero the scale then add the next ingredient. Since we don’t have a dishwasher in our off-grid cabin, I am the dishwasher. So less dishes the better for me!
Some staple dishes I use my kitchen scale for:
-These incredible cookies
-sauerkraut
-sourdough bread
Another added bonus of working with melted coconut oil, is the cookie comes out better if you chill the dough before baking. Allowing the dough to firm up and melt beautifully when putting in your oven for baking.
My favorite thing about this dough is that you can make it ahead of time, roll it out in plastic wrap or beeswax wrap, chill it and BOOM! You now have a cut and bake cookie dough, made from scratch, ready to go in your freezer. So whether mom life makes you just want one cookie to yourself when the kiddos go to bed, or you’re going to a friend’s house at the last minute and want to bring a special treat over, you have a homemade from scratch cookie that will blow them away.
Another fun fact with this recipe, is you can make them vegan! Be sure to use any dairy free milk you have and dairy free chocolate chips.
As for the maple syrup, please use 100% pure maple syrup. I know it’s expensive but it’s expensive for a reason. The good stuff takes time to harvest from trees and makes an incredible tasting product. The cheap stuff is usually cut with water and white sugar. I like to buy mine locally and it costs about $30 for half a gallon. Next to honey, this is usually the only liquid sweetener I like to use.
And last thing to note to make this recipe blow you away, FLAKEY SALT.
I can not live without my flakey salt. Sure it’s a specialty ingredient but it’s one that you need in your pantry. Sprinkle some on top of these cookies, banana bread, or even brownies. Flakey salt elevates any dessert and takes it to the next level. And since a little goes a long way, one box easily will last you a year if not longer.
I feel flakey salt is the most important ingredient in this recipe that helps me make the claim of “the only chocolate chip recipe you’ll ever need”
Now that I’m sure your mouth is watering like mine, let’s get into making the cookie.
Again, this recipe is only made using my kitchen scale. I will leave regular measurements for you below . But I can not encourage you enough to invest in a kitchen scale. You’ll find it’s way easier to measure out ingredients instead of traditional cups and teaspoons.
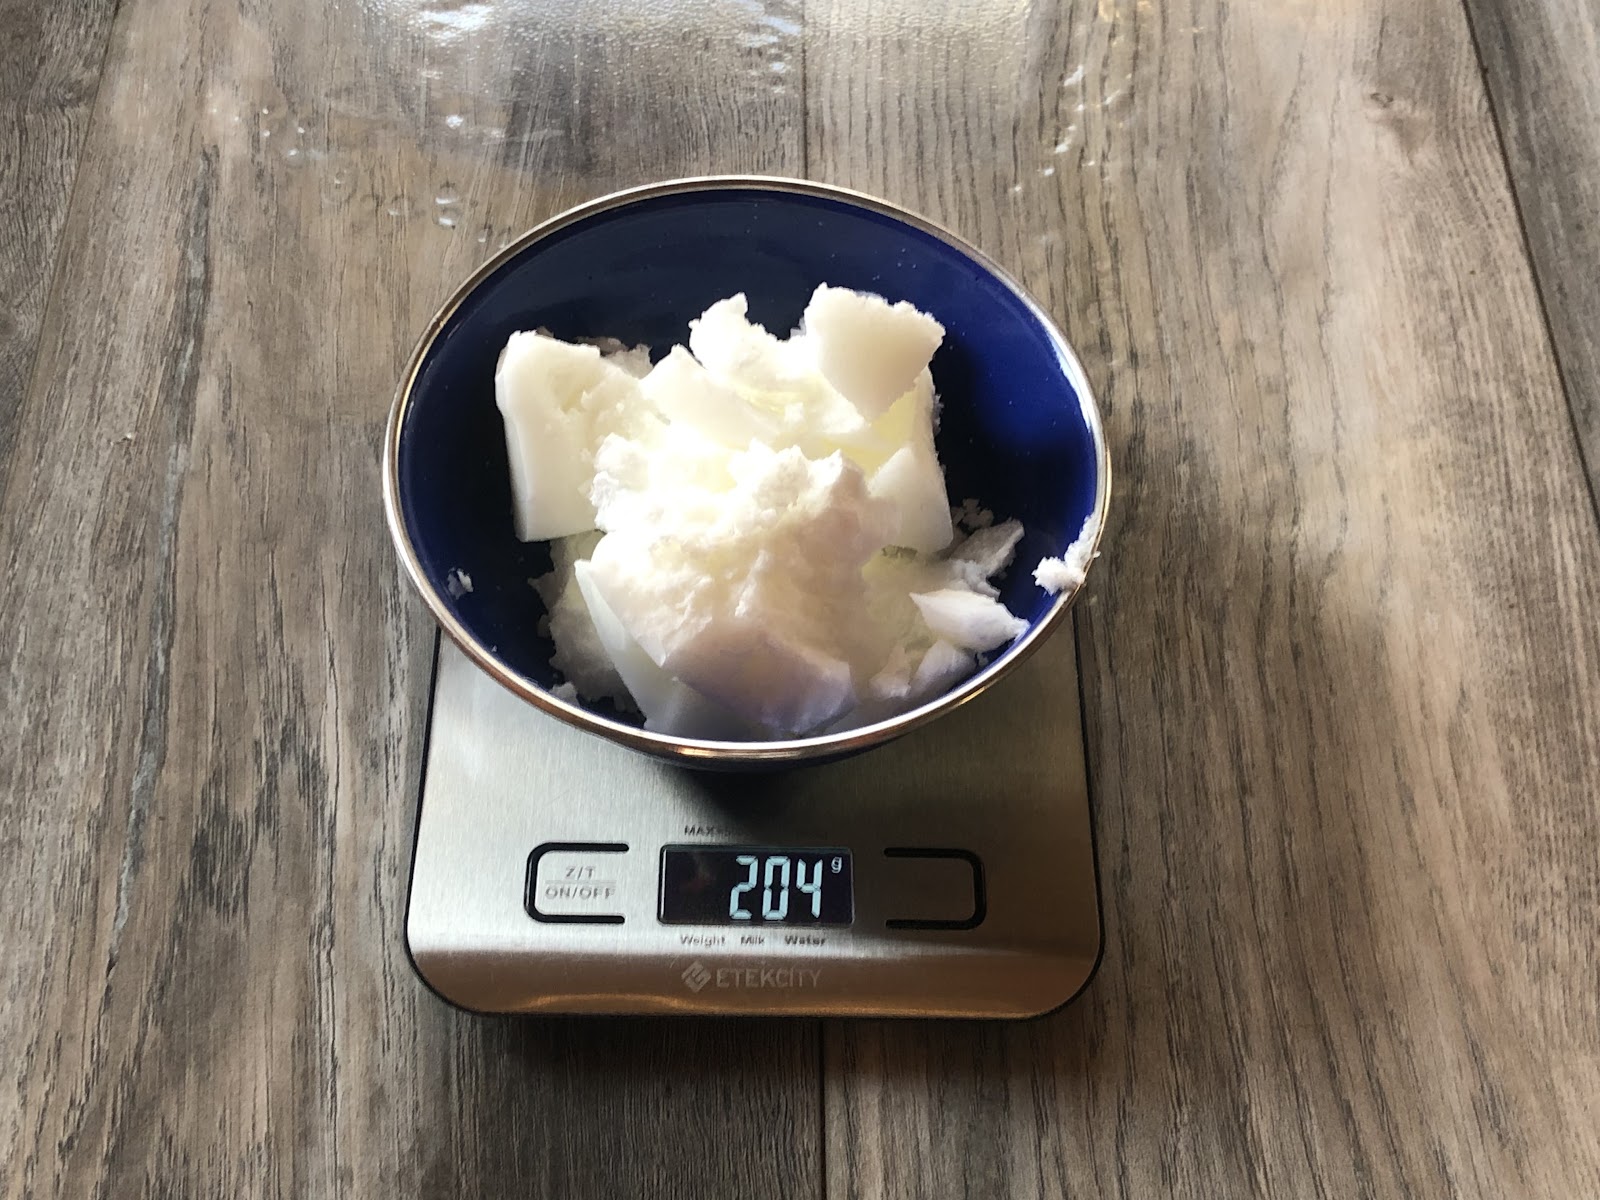
First weigh out your coconut oil. And get it melted. I just put it on my wood stove to melt slowly in the background while I’m making the rest of the dough but you could pop it in the microwave or use a double boiler over the stovetop.
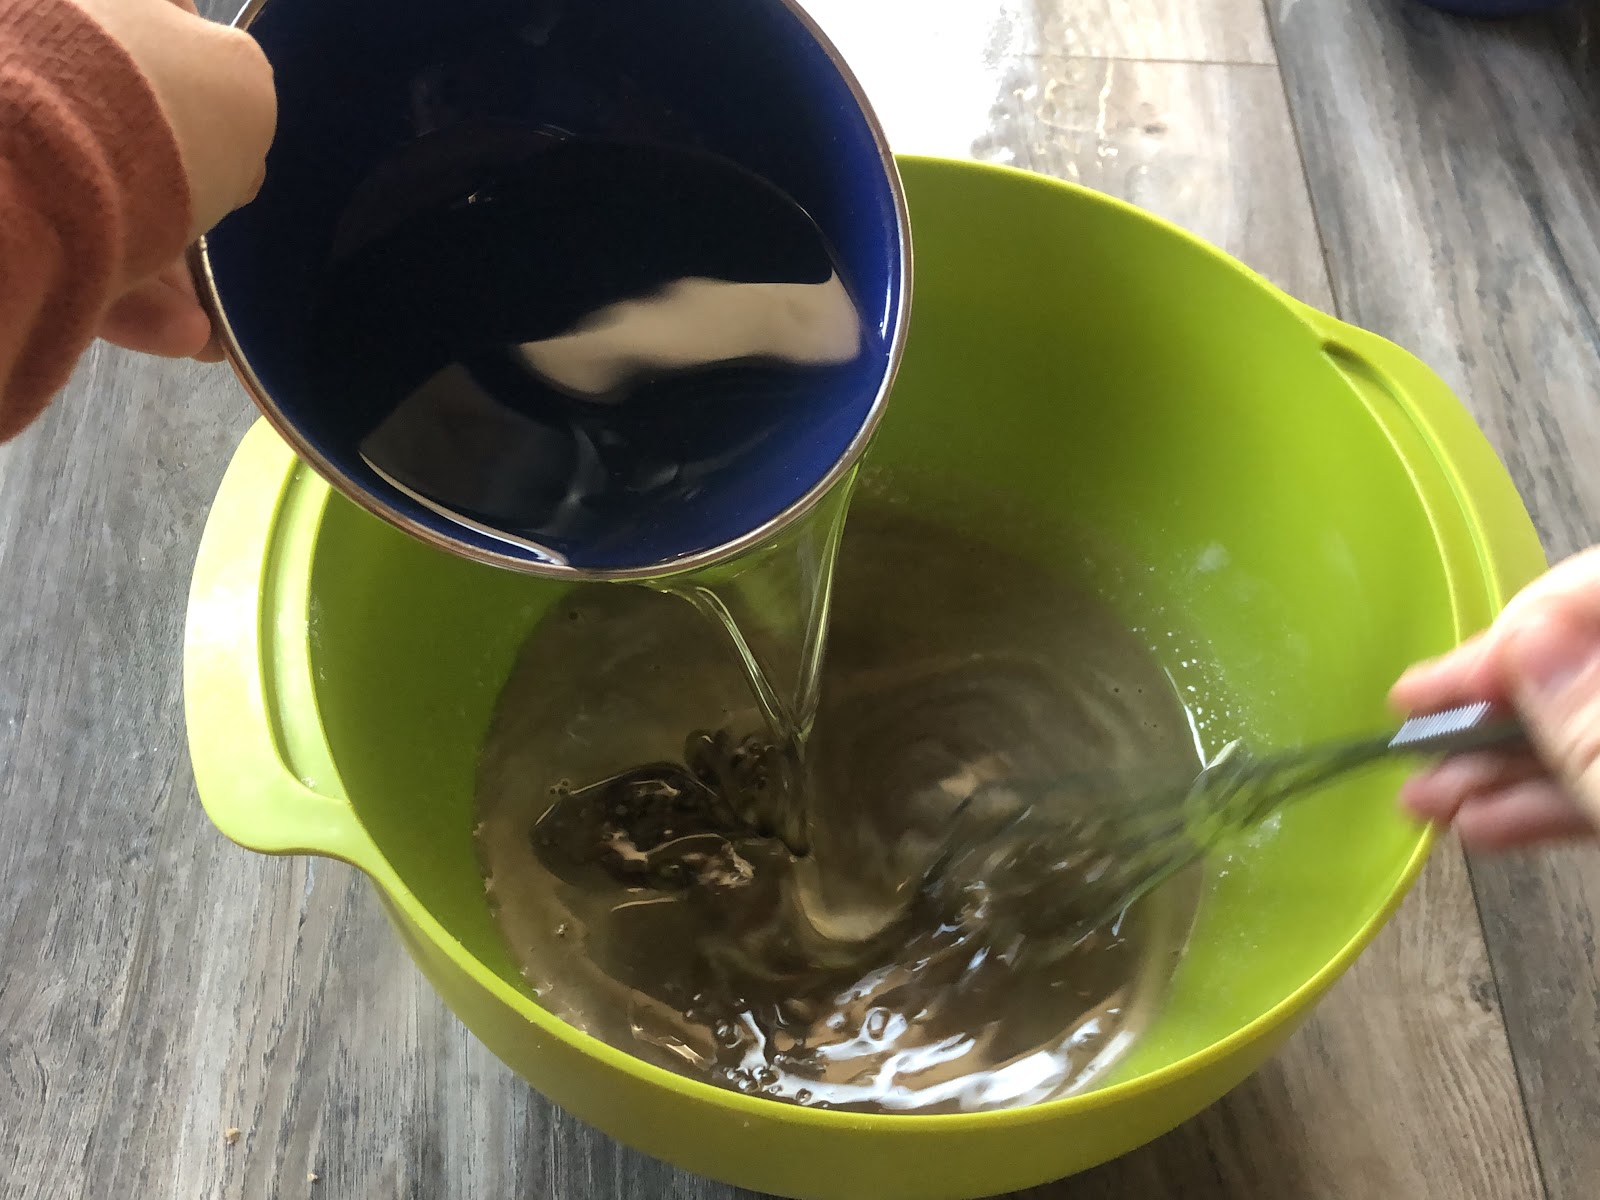
Next combine your liquids: syrup, milk, and vanilla.
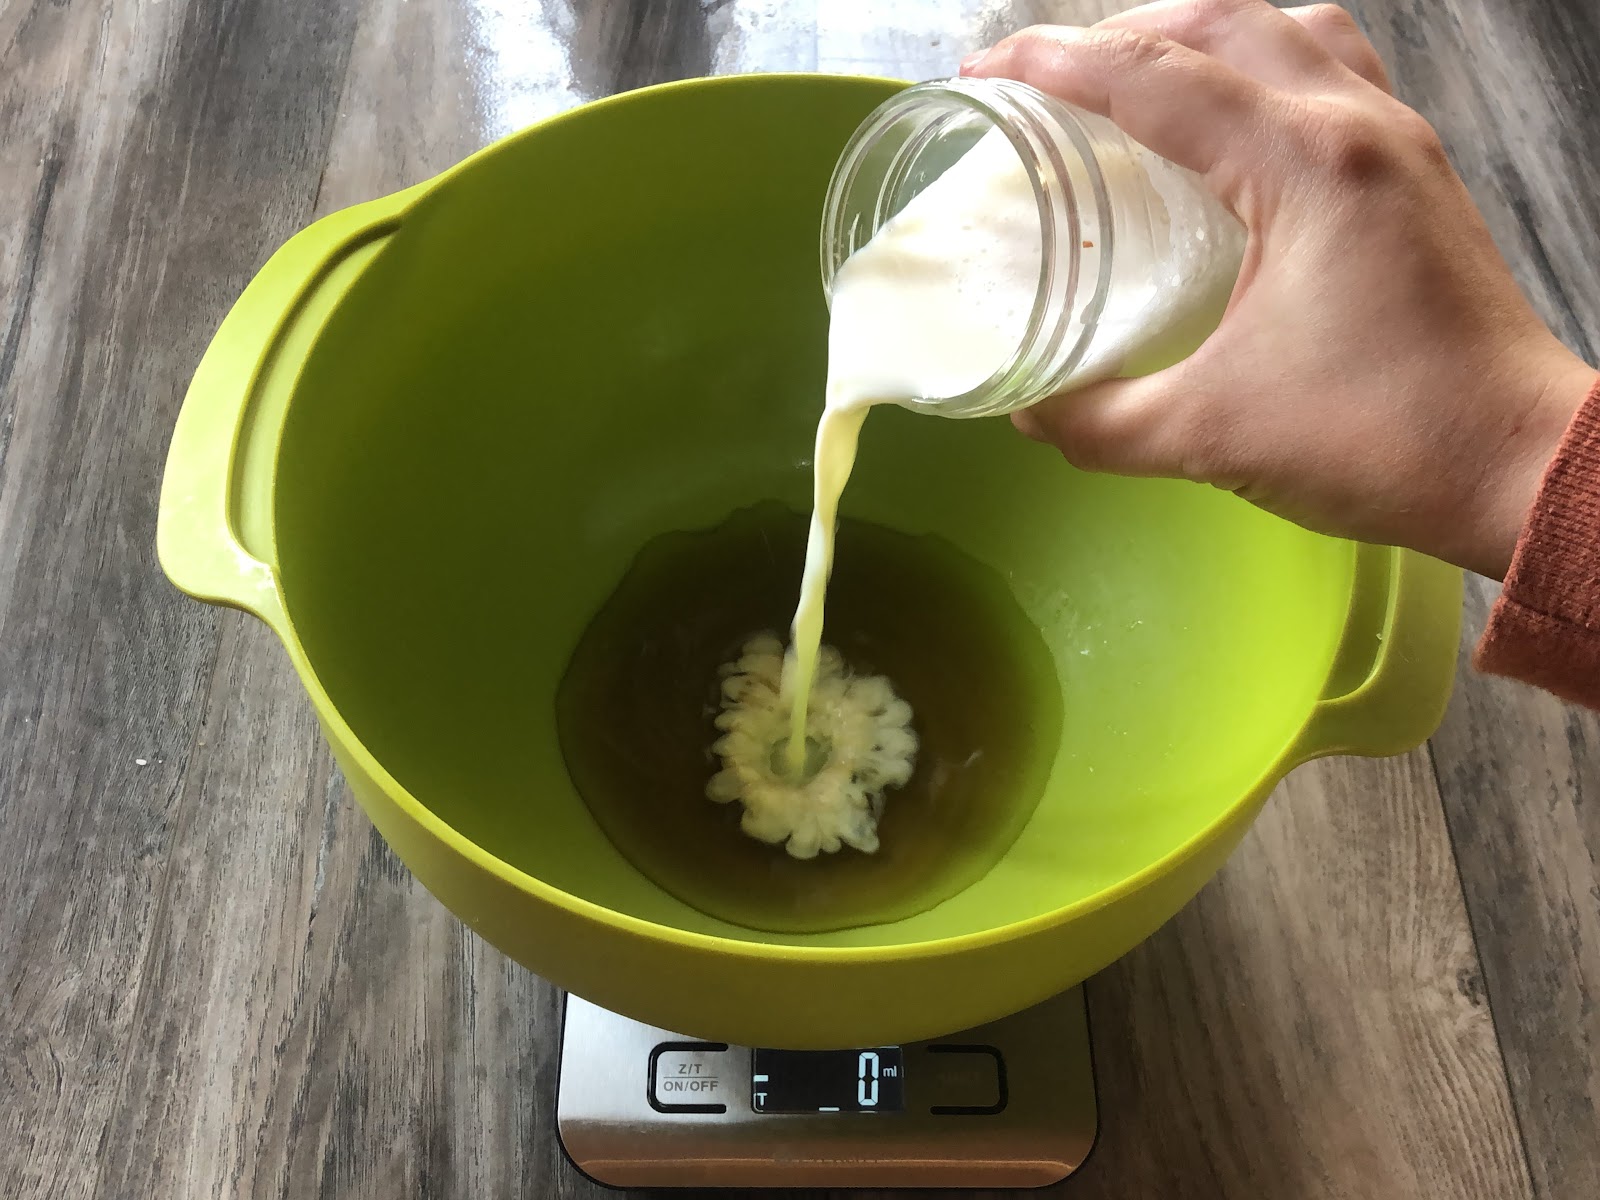
Note: I have tried every single milk under the sun and it does not affect the outcome. Raw milk, dehydrated milk, dairy free milks including macadamia, oat, almond and soy. Add the same
amount no matter what kind of milk you’re using.
Note: not all maple syrup is created equal. Buy the good stuff and you’ll never go back to the one that comes in the log cabin bottle.
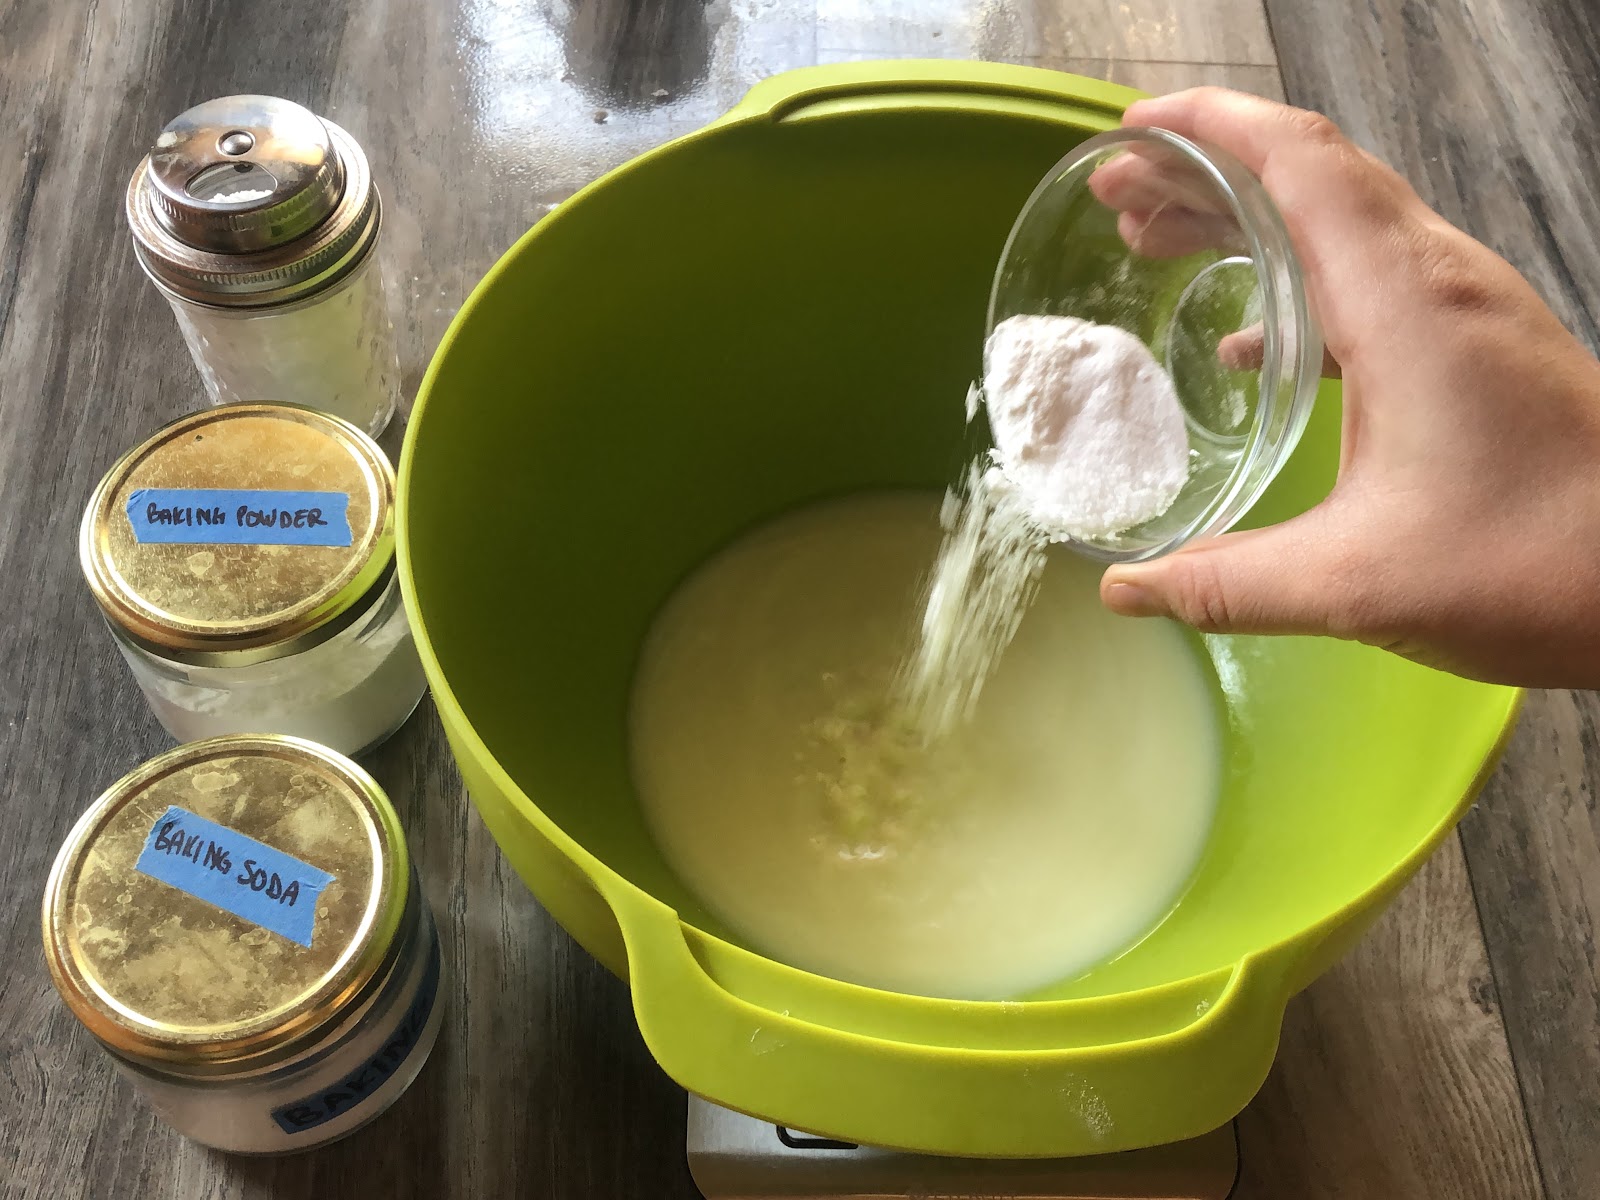
Add your leaveners: baking soda, baking powder, and salt.
Note: your dough may bubble at this point. Totally normal.
Incorporate brown sugar.
Time for the coconut oil, while mixing with a whisk, add in your melted coconut oil. Looking to get the syrup and brown sugar to be fully combined together.
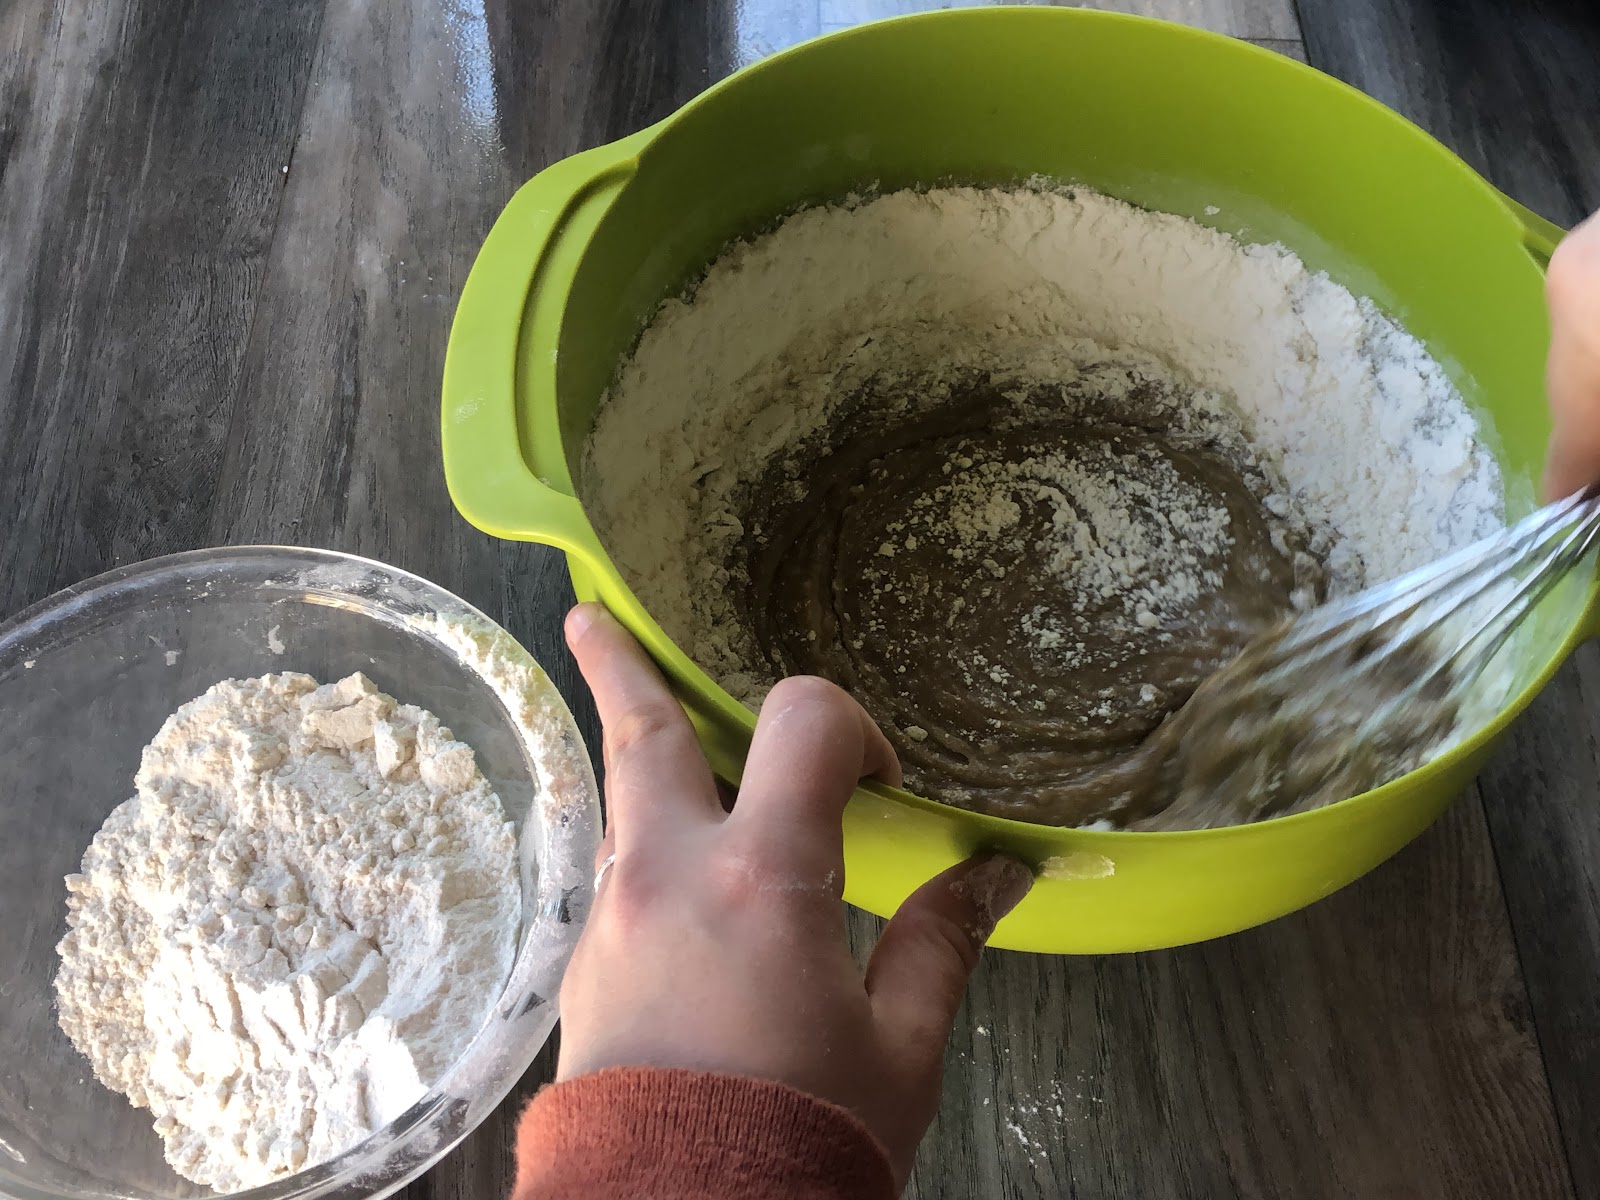
Next, slowly add in your flour ⅓ at a time. Stirring in between.
By slowly adding your flour, you’re making sure all the flour gets evenly coated from the wet ingredients. Allowing no flour clumps to appear in your final product.
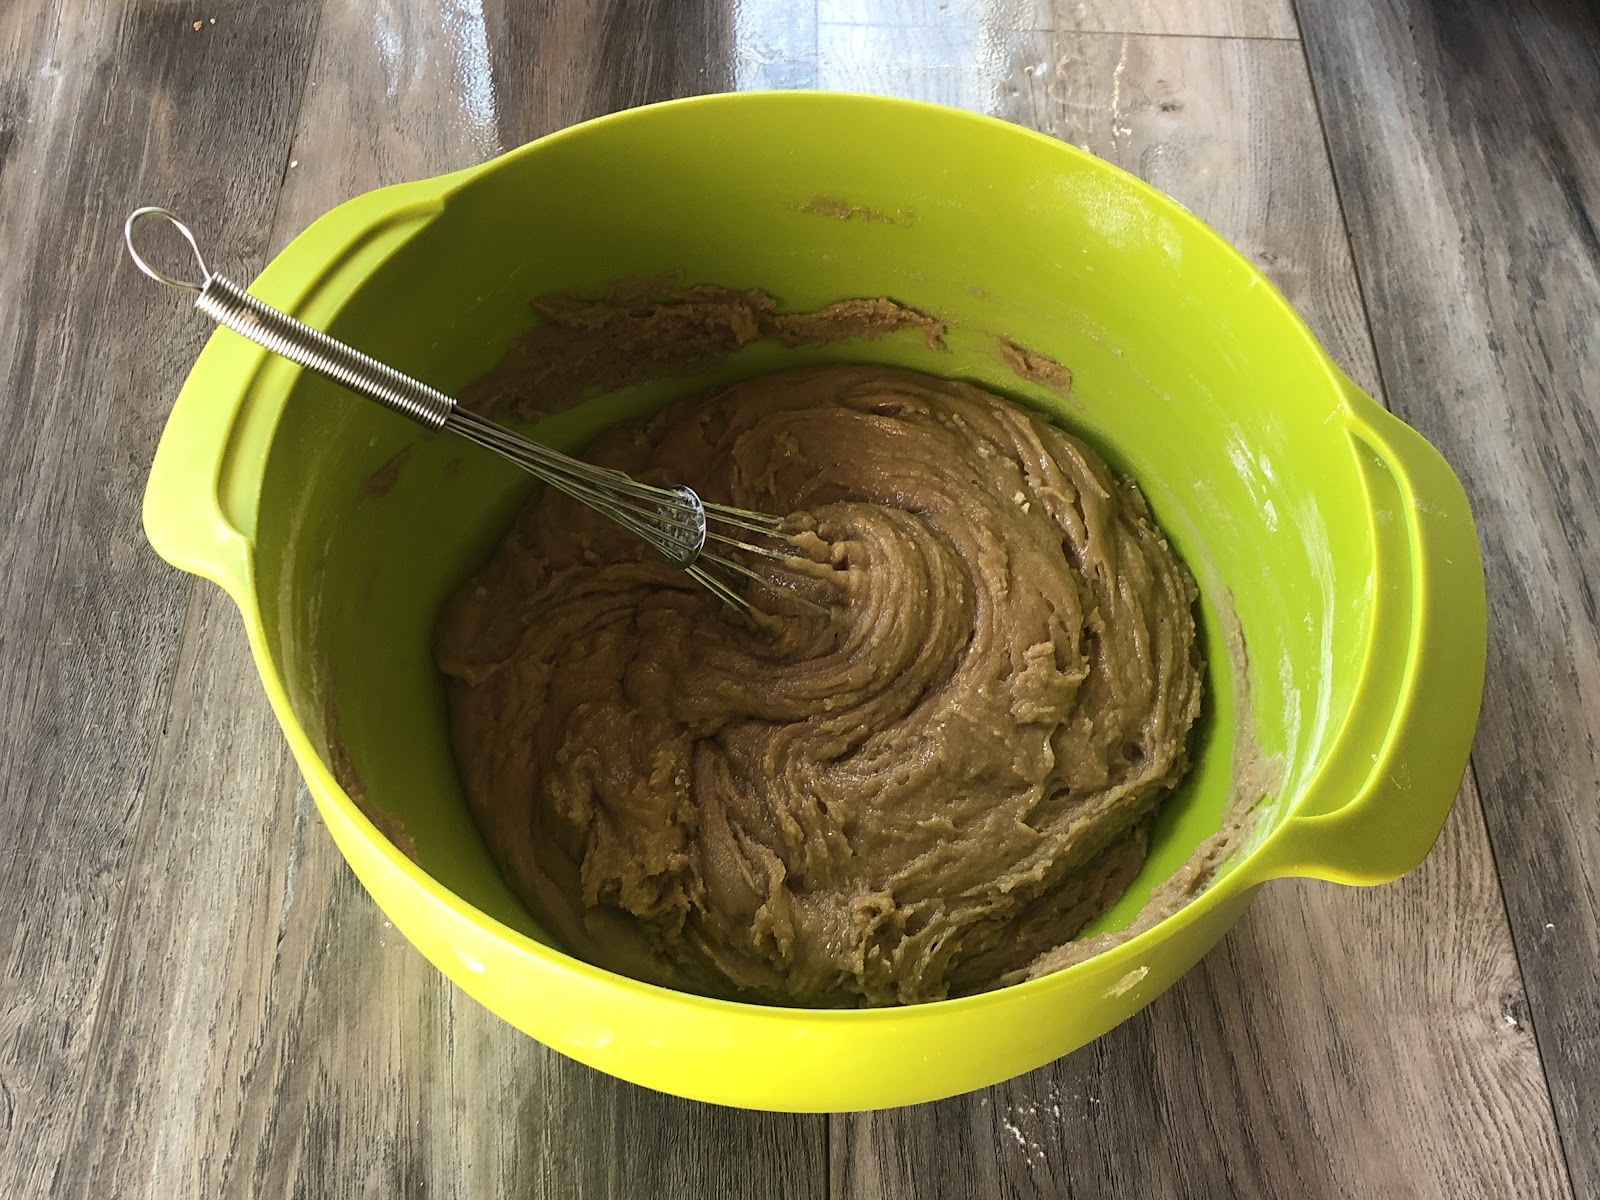
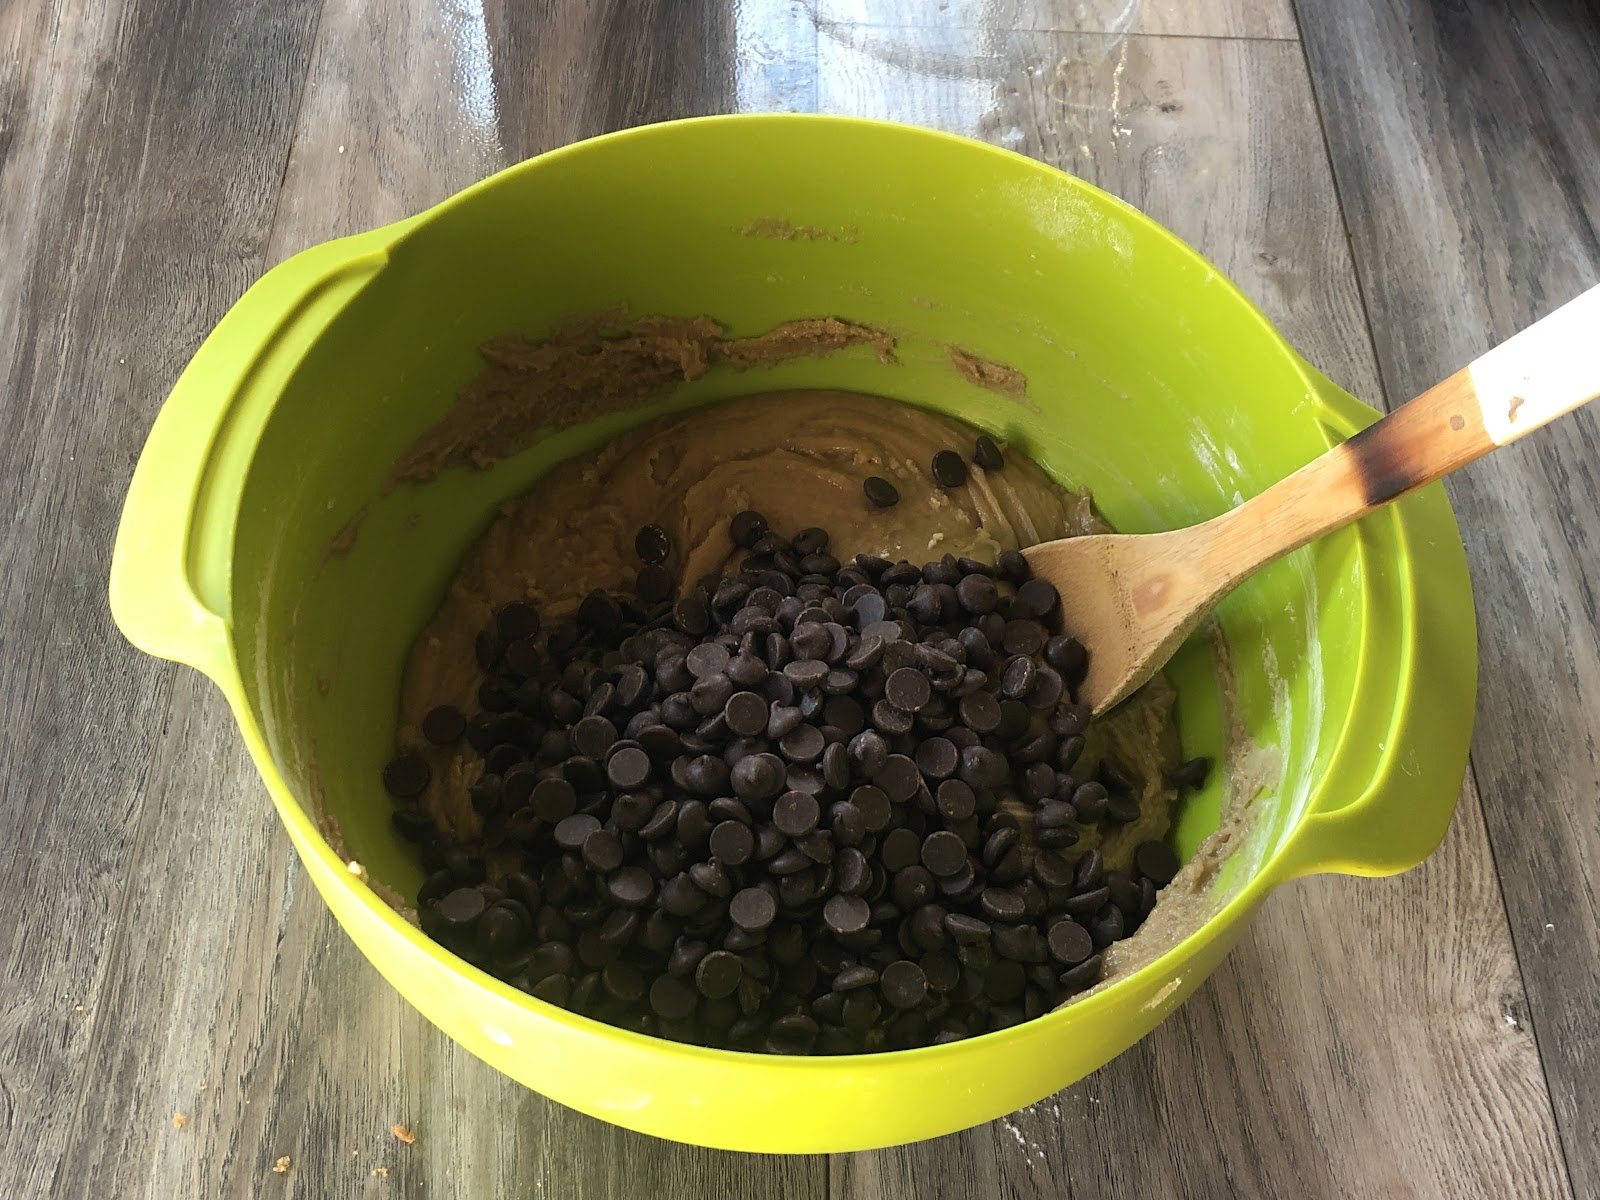
Lastly, swap to a spoon or spatula and fold in your chocolate chips. Be sure to have someone lick your whisk, don’t want to waste that delicious-ness.
Note: feel free to use chocolate chips or a chopped up chocolate bar. I find the chopped up chocolate bar makes an incredible chocolate to cookie dough ratio due to the different sizes of the chunks but using chocolate chips is way easier. Both are super delicious.

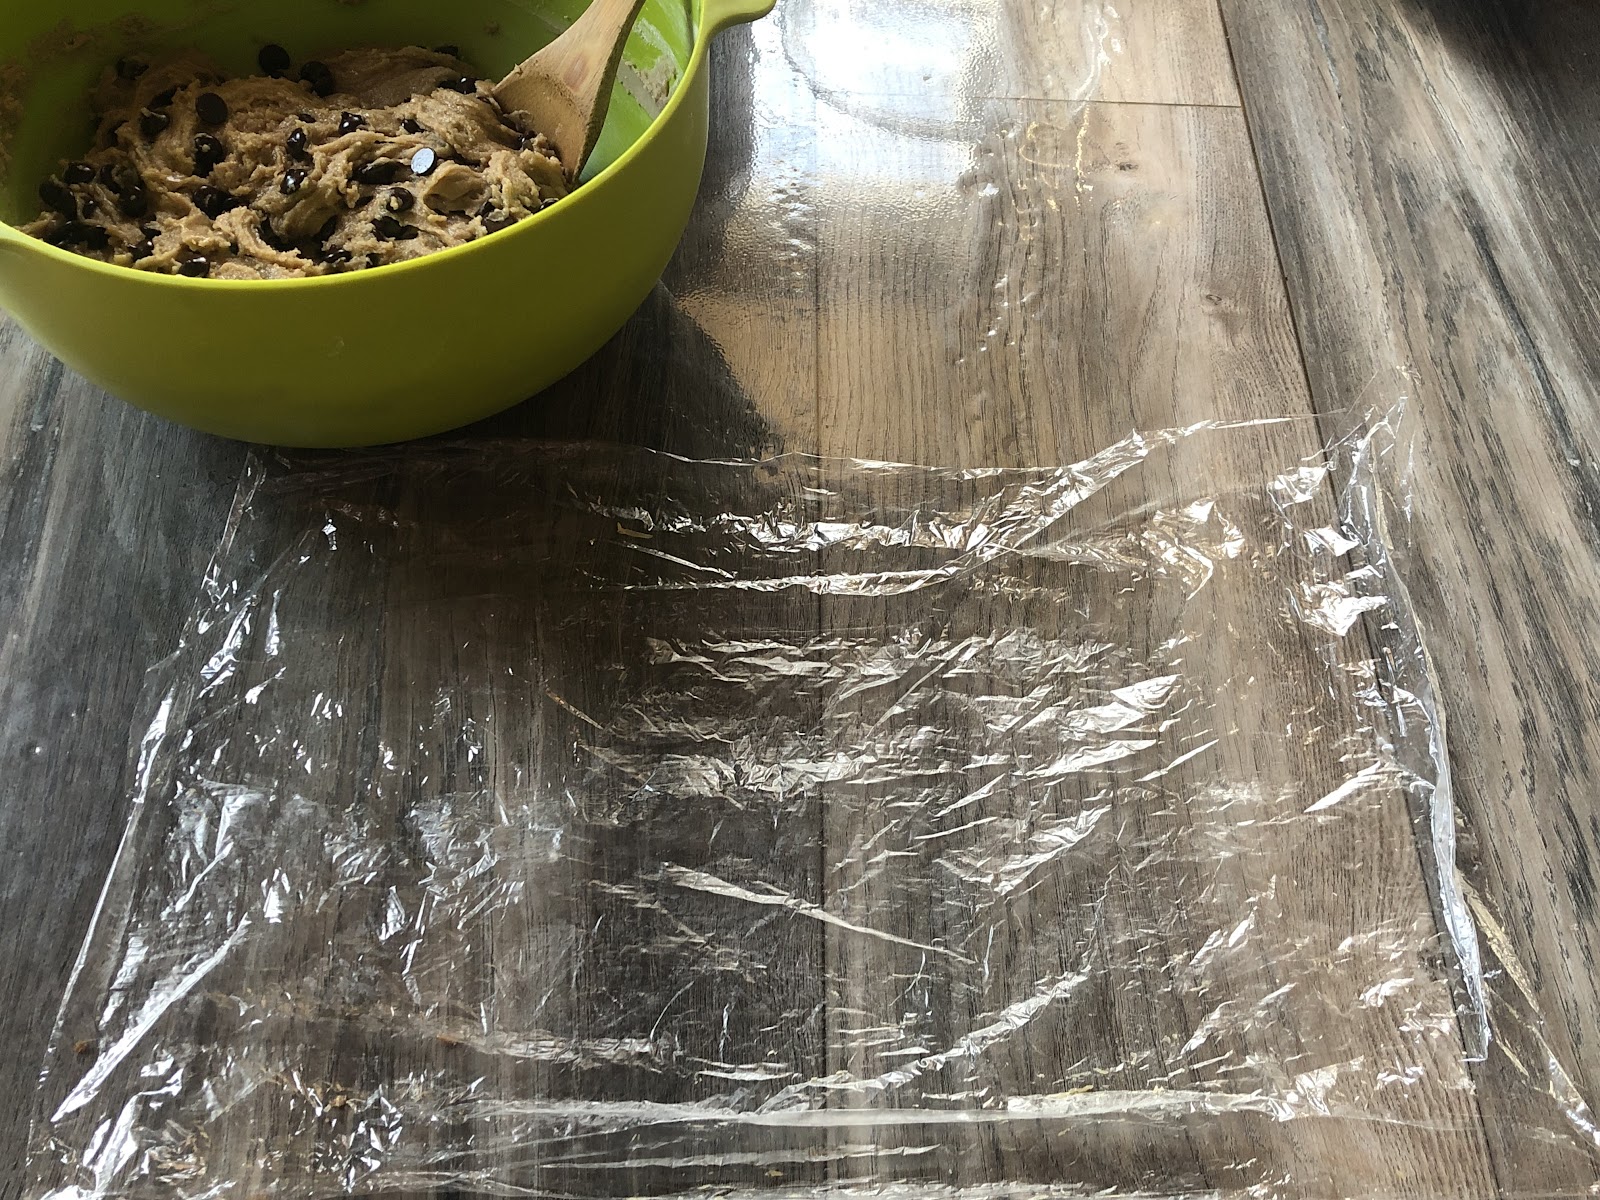
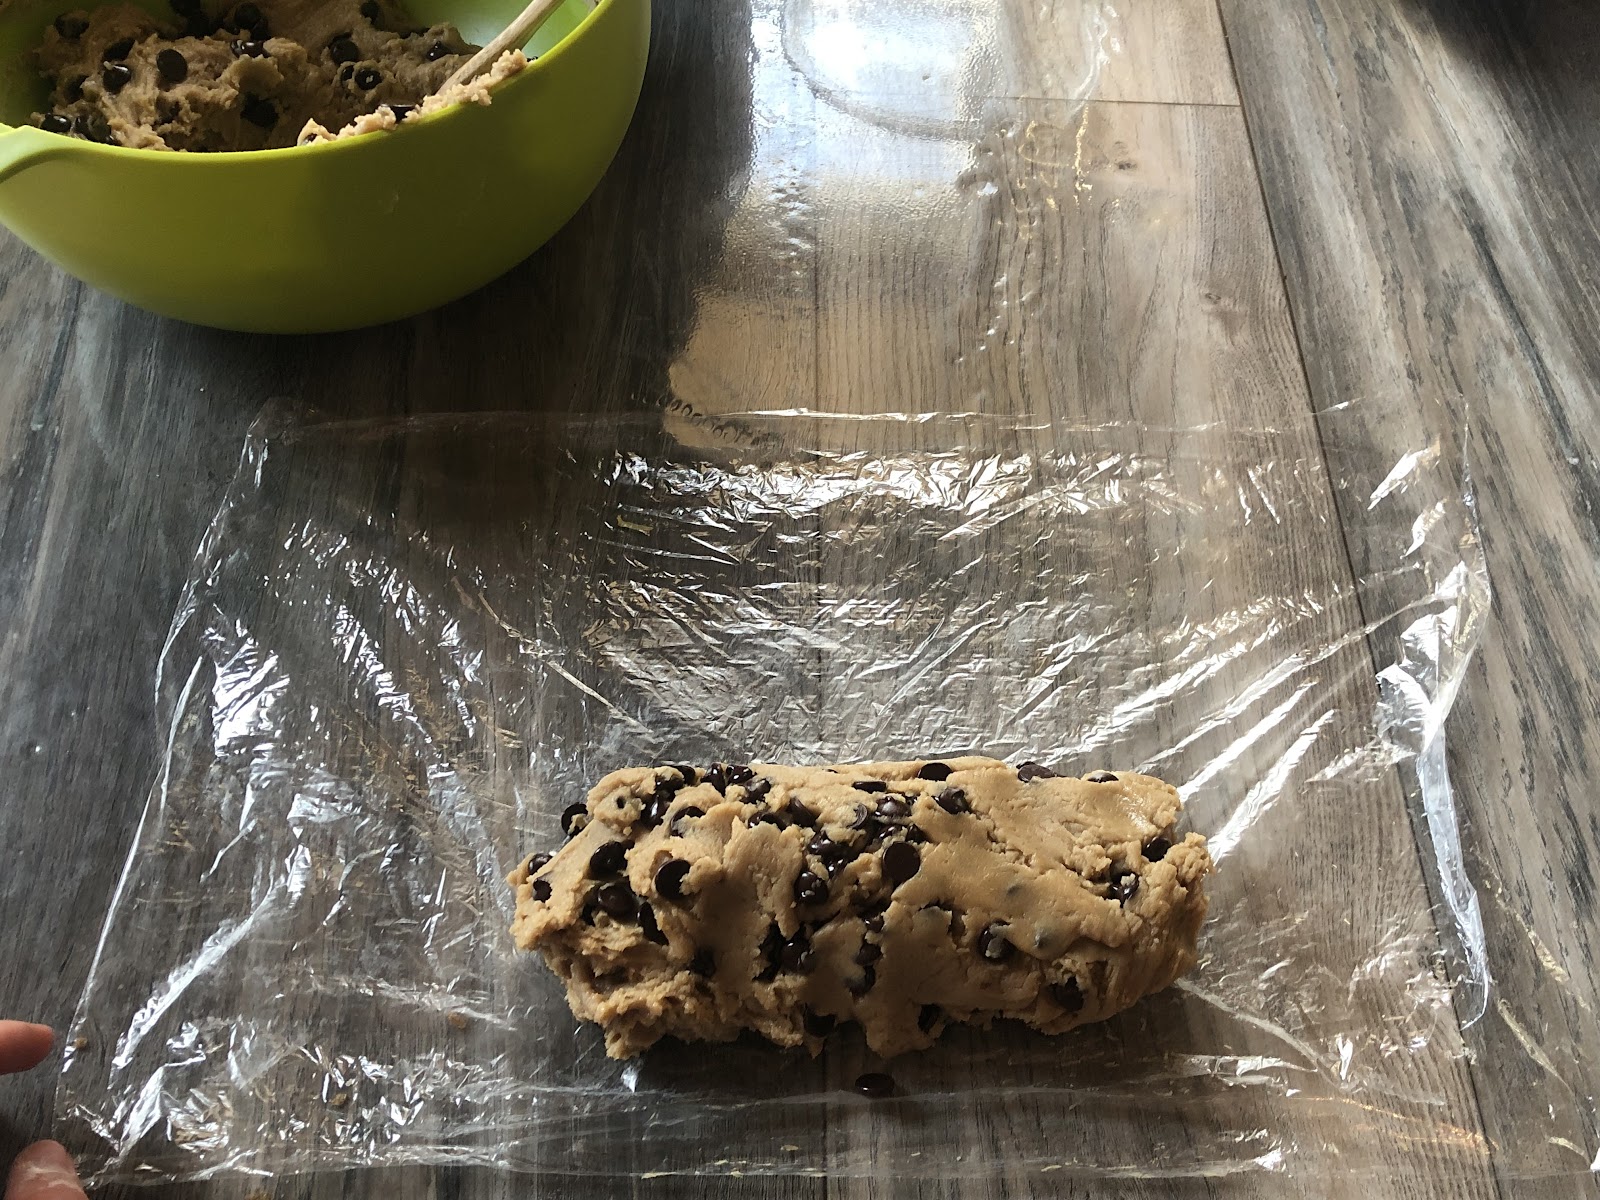
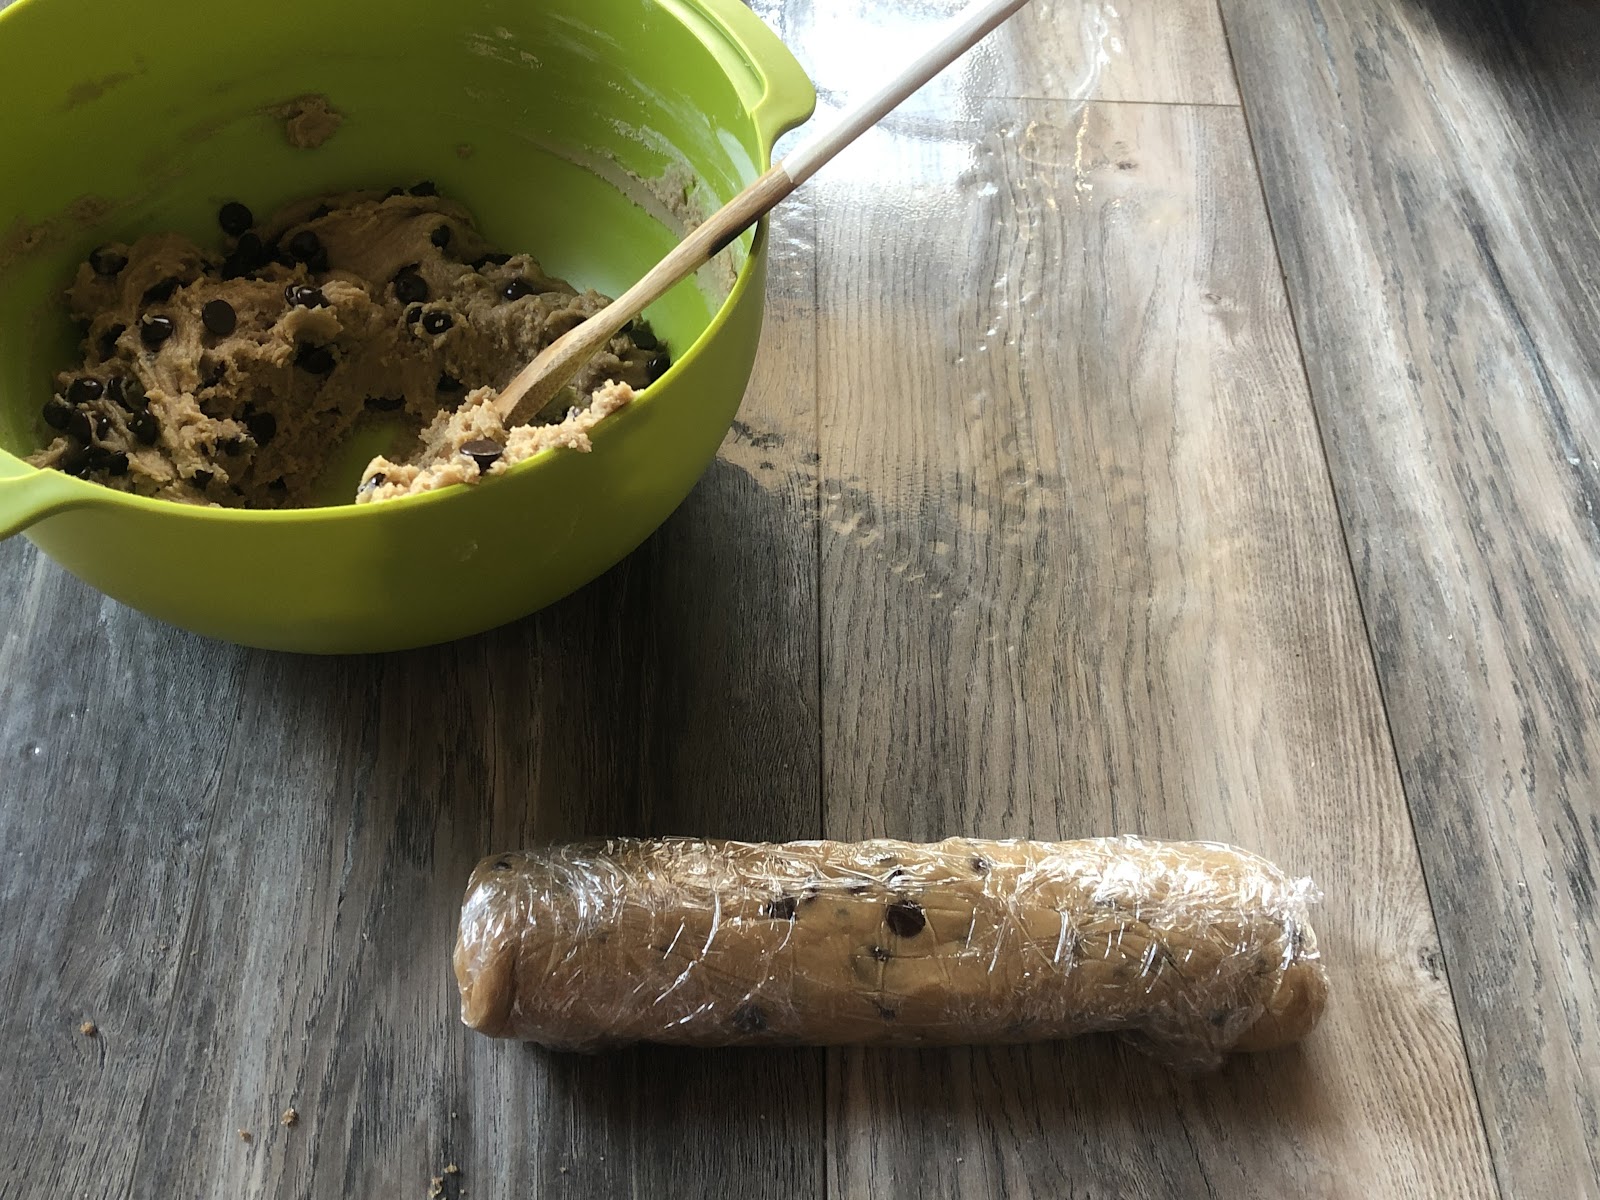
Now that your dough is made, I highly recommend chilling your dough. The best way I’ve found to do this is to use plastic wrap or beeswax wrap and roll the dough out in a log. Tuck in the fridge for a couple hours or freezer for a few minutes. You want the coconut oil to get firm and the chocolate chips to get ice cold.
Feel free to save your plastic wrap and reuse it for the next time you make the dough.
Once your dough has firmed up, remove the wrapper, use a Serrated knife and cut the cookies.

Line your baking tray with parchment paper or a reusable silicon mat and place your cookies on the tray.
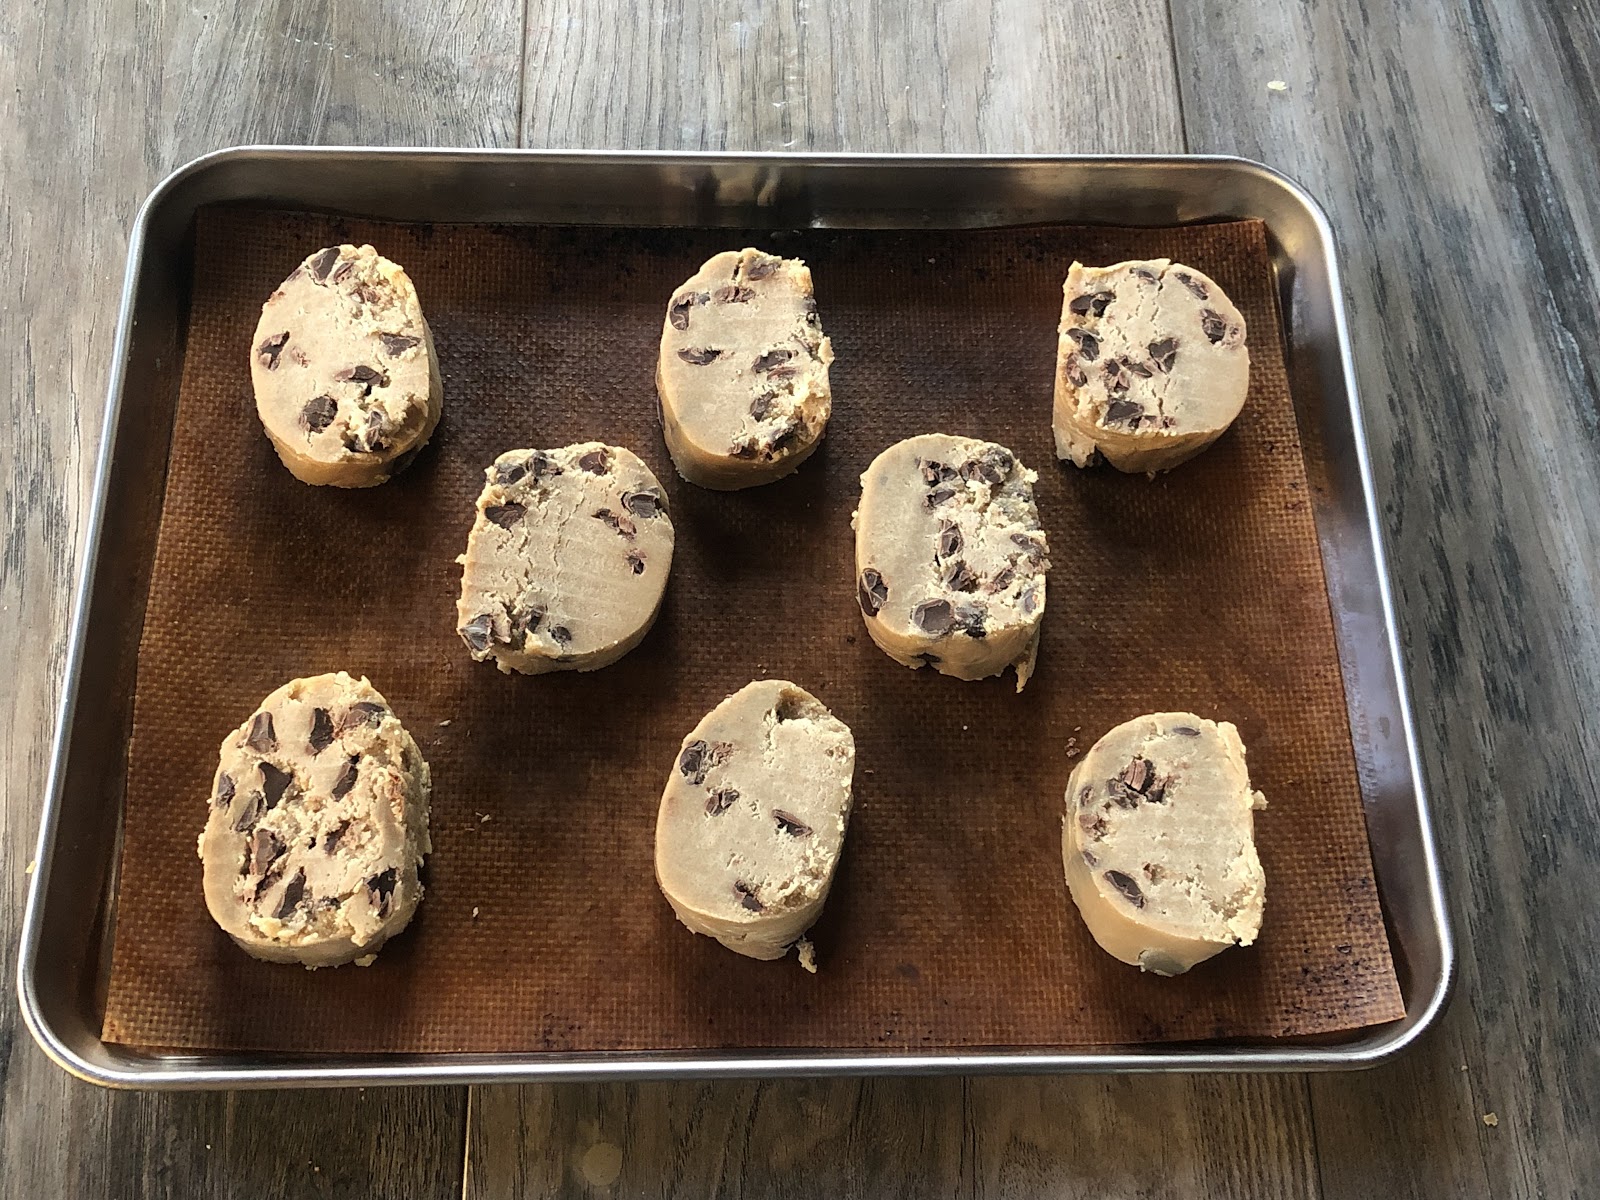
Top with flakey salt and bake for 10-12 minutes at 375.

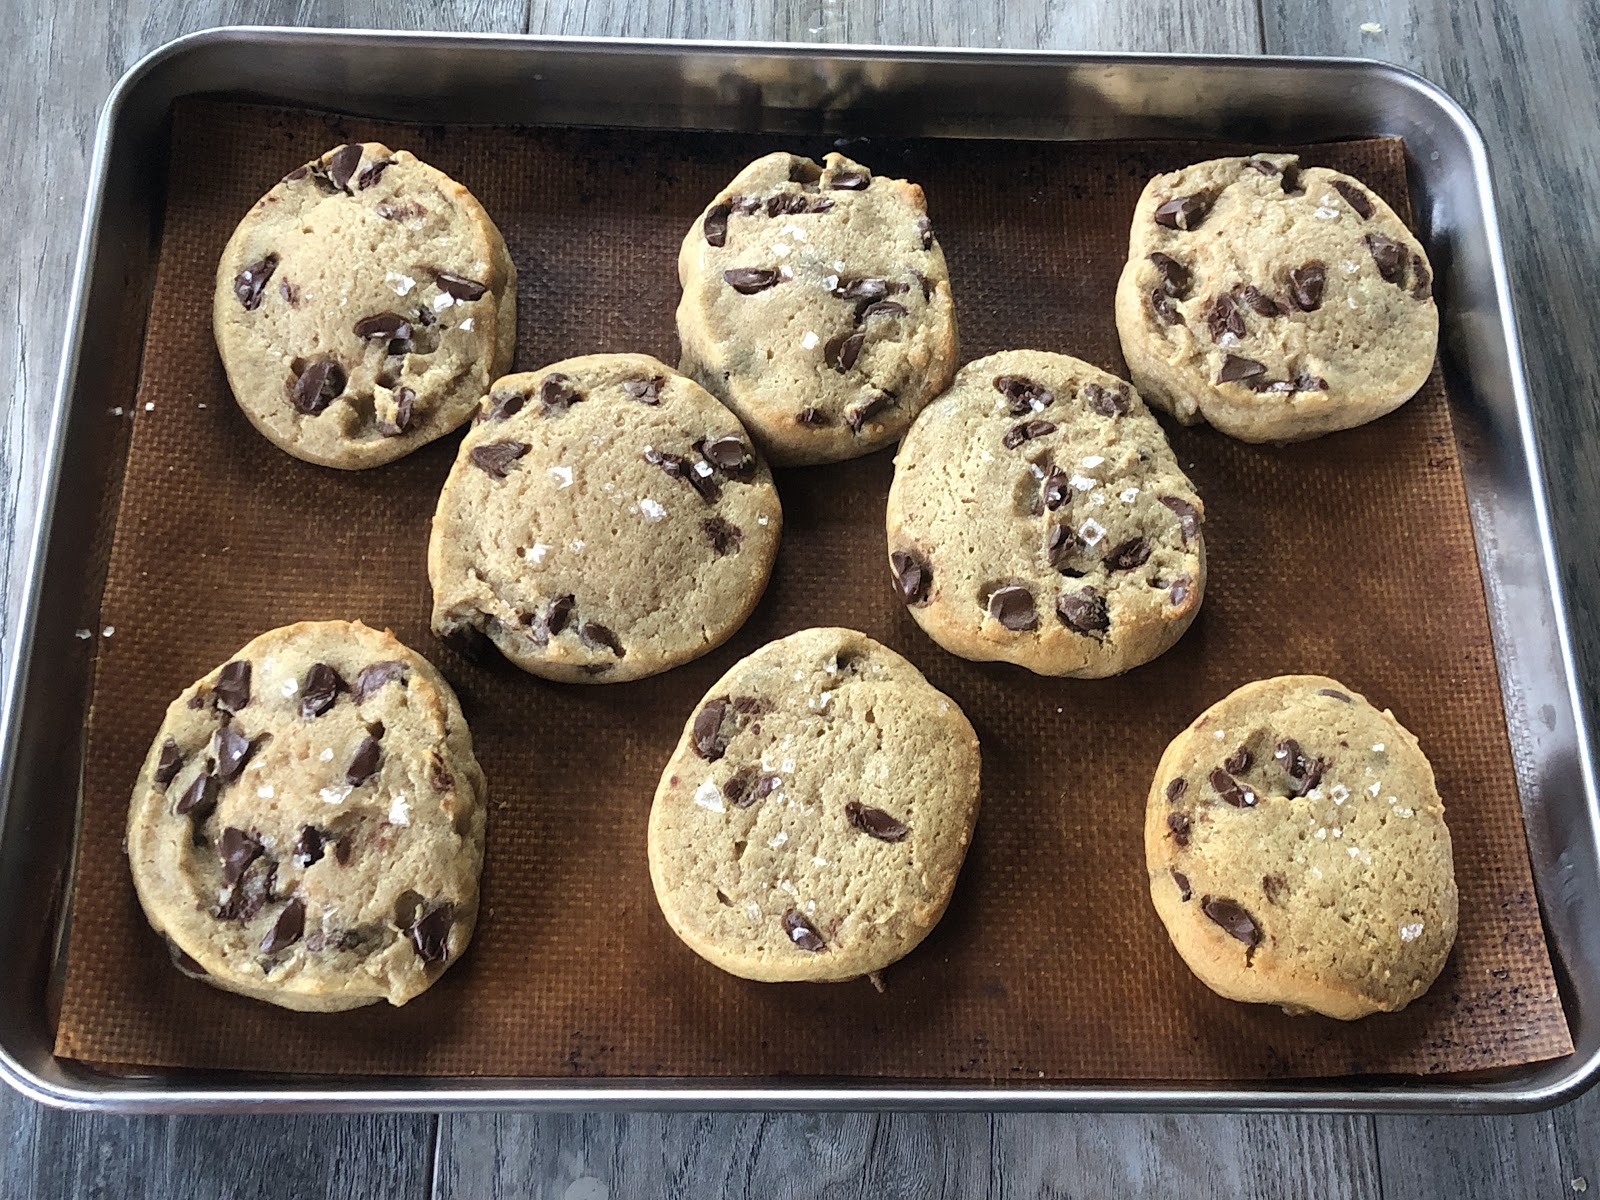
Allow to firm up and cool on a cooling rack or on the top of your oven. The cookies should have a very slight brown color on the corners and should almost look “not done”. But trust me, they are.
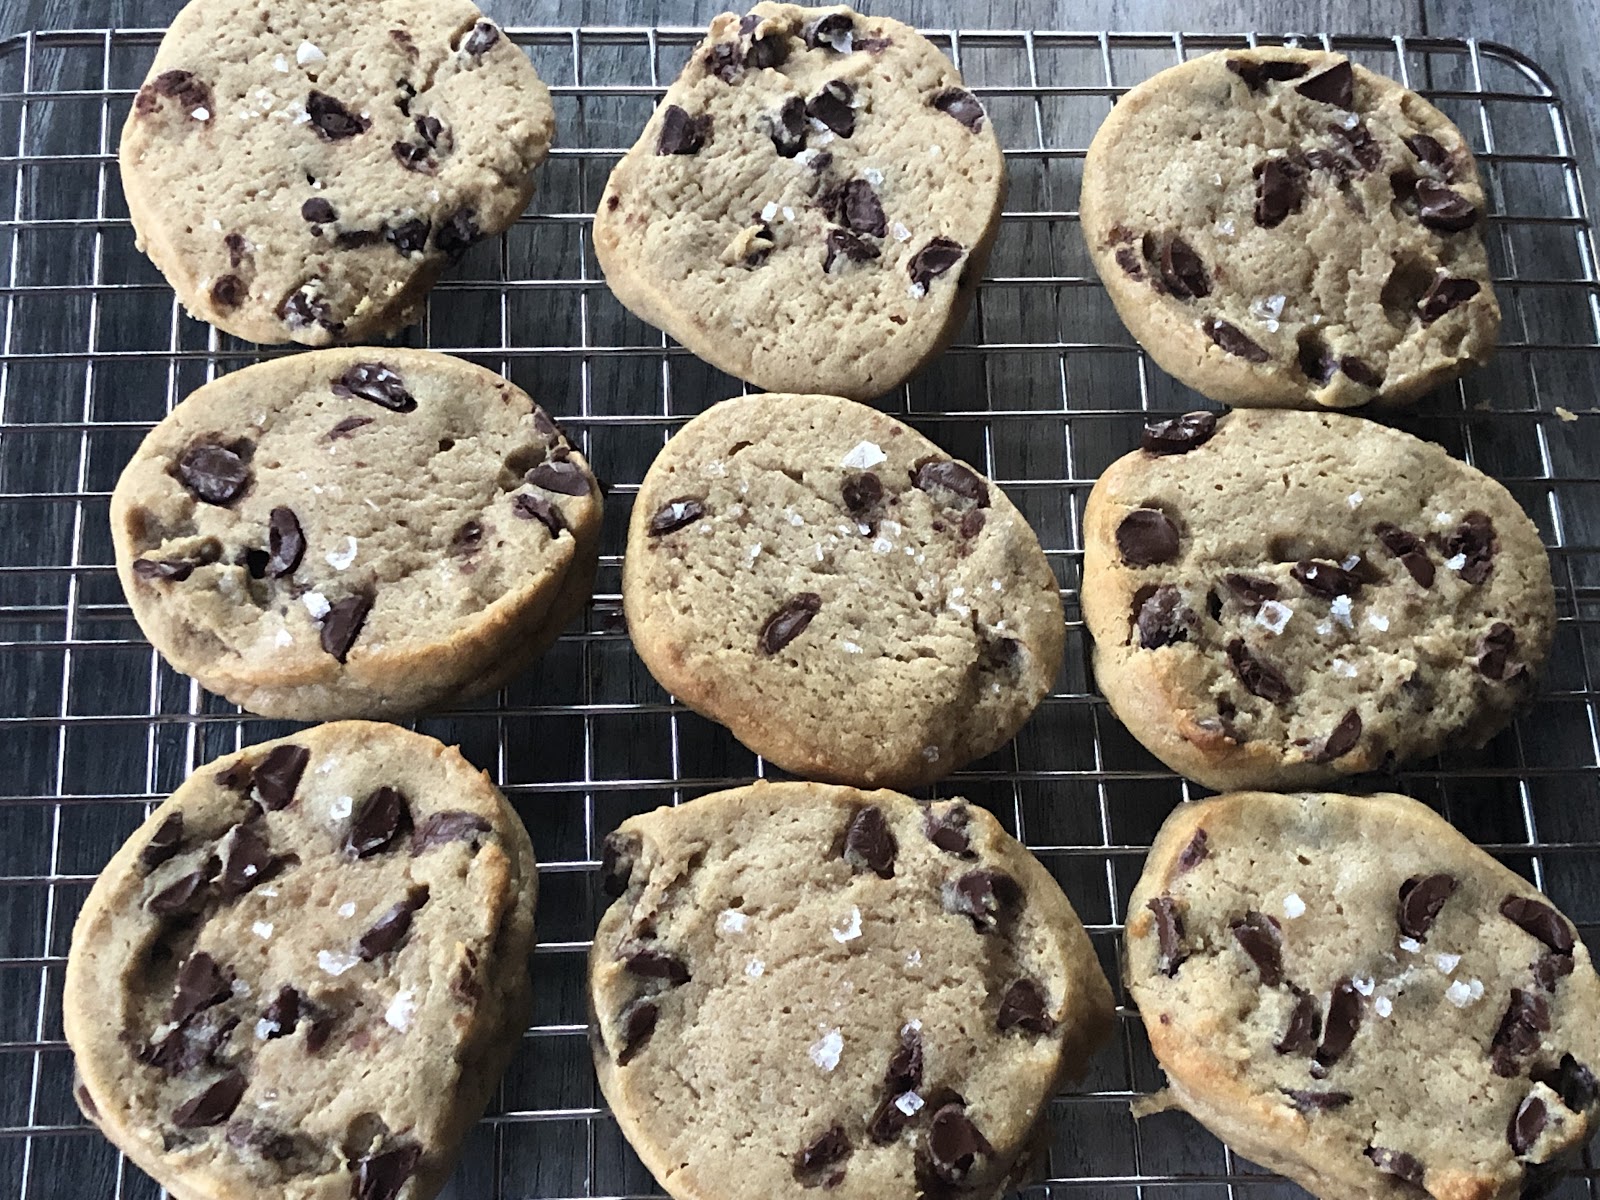
The only thing that’s left is to enjoy!
Whether you’re making 1 in a toaster oven as a little treat for yourself (shout out to all the moms out there) or making dozens for your next holiday cookie swap, these chocolate cookies are sure to be a crowd pleaser. These have been tested and true for my friends, family, and even my husband’s poker friends.
Bon appetit !
This post contains affiliate links which means I make a small commission at no cost to you.
Etekcity Food Digital Kitchen – https://amzn.to/3POxDDo
Maldon Salt, Sea Salt Flakes – https://amzn.to/3BZRiKS
Coconut Oil – https://amzn.to/3YLW1JZ
Nesting Bowls – https://amzn.to/3WpgxPc
Baking Sheet with Rack Set – https://amzn.to/3PLPifb
Silicone Baking Mat – https://amzn.to/3hV64f4
Ball Wide Mouth Half Gallon 64 Oz Jars – https://amzn.to/3Vny20G