When it comes to photographing kids, the pros know you always need a few tricks to get the perfect shot. Make sure you capture some of those epic adventures in style this holiday season with our favorite photo hacks. Read on to get snapping.
1. The Hack: Expect the Unexpected
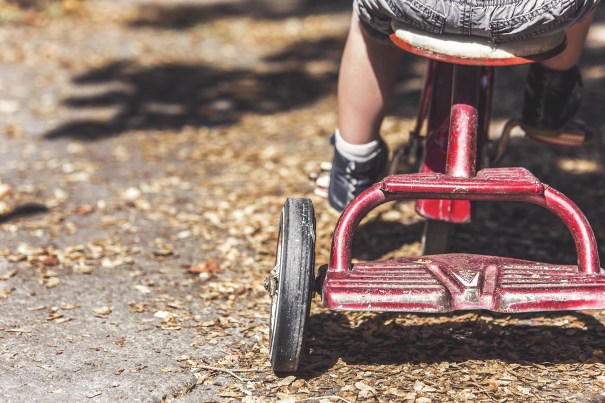
Hannah Harding, professional family photographer and family photo expert at Vices & Virtues in Photography, reminds parents out there trying to capture that perfect moment: Appreciate unplanned photos. "Posed photos have their place," Hannah says, "but my heart lies with candid photos."
Yes, of course you want that quintessential image of your kiddos smiling at the camera with something iconic in the background (i.e. the giant ornament display downtown). But don't forget to snap images of the kiddos in their natural environment, at play, when you can. Just before you conduct the scene, take a minute to capture the spontaneous beauty of the holiday magic.
2. The Hack:Disable the flash.
Skip the whole "how-do-I-use-this-flash??" drama by snapping your pics during the day and preferably outdoors (or near an open window). Pictures that have to be taken with a flash often have a strange, yellow hue, which is not what you want for your wee subjects. Unless you're using night mode on the new iPhone 11, flash-images can be tricky for the average photographer.
When your photo needs extra light (but you know the flash will ruin the pic), grab a friend. Have her turn on her phones flashlight as your source of light. She can hold it towards one side of your subject to naturally mimic the sun as you take the shot. So. Pretty.
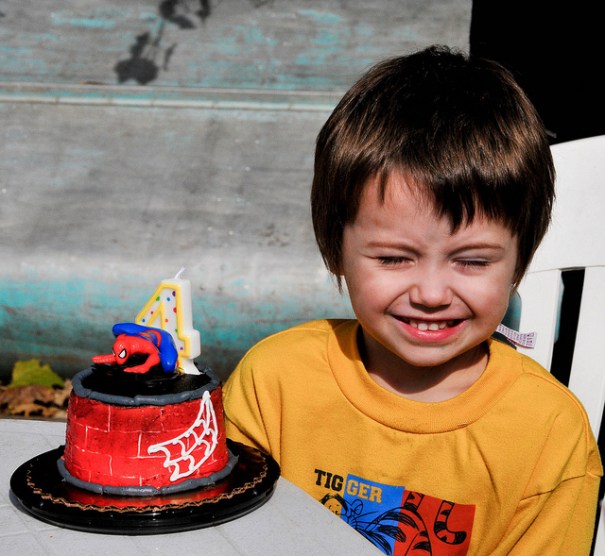
3. The Hack: Use a car window foil screento prevent glare.
Even in winter months the sun can ruin a shot. If you're getting nothing but squinty eyes and scrunchy faces courtesy of the sun's glare (see photo below), try this. Have you or your little one hold car window foil screen outside the shot. The screen makes a great reflector thats perfect for redirecting light in outdoor shots.
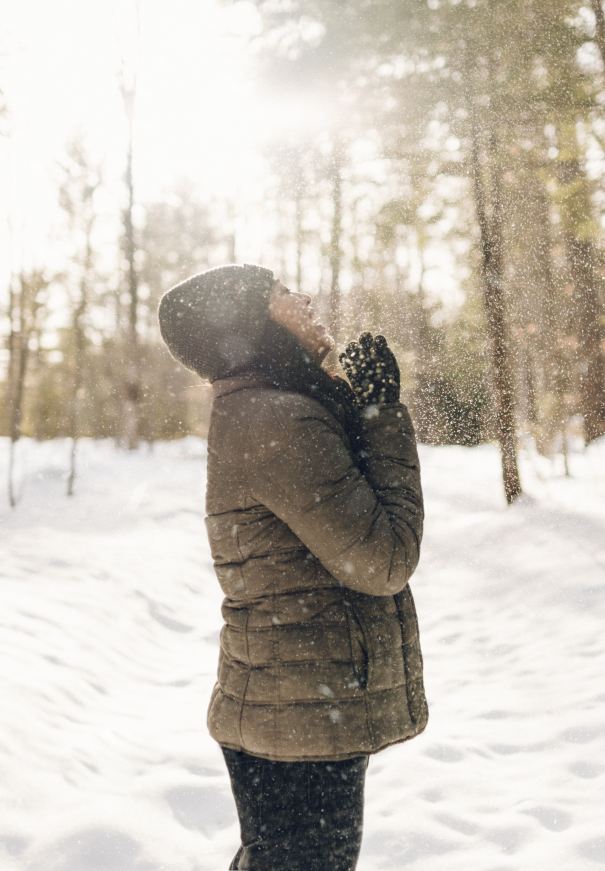
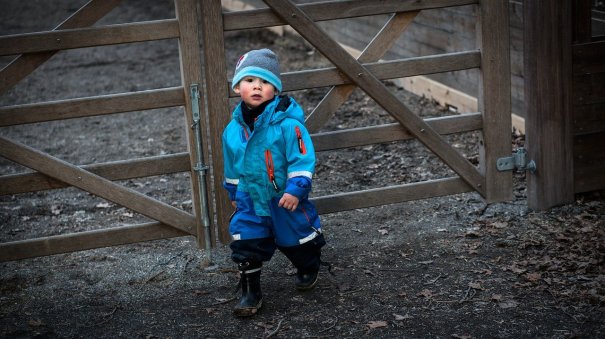
4. The hack: Use natural surroundings to your advantage (and to block the sun).
You've probably heard a million time to stand with your back to the sun to keep your subject from appearing too dark in a photo, but if you are strategic about what blocks the sun, you can get an enchanting outdoor photo.

5. The Hack: Use a coffee sleeve as lens hood.
Another secret weapon to cut down on glare? Save those java sleeves for your next photo session. You can use them for when the sun causes a glare on your camera lens, ruining your snapshot.

6. The Hack: Stick a lovie on top of the camera.
For little ones who are looking in every direction, except for the direction of the camera, duct tape a small stuffed animal to the top of the camera to encourage them to look at that object (and ta-da! at the camera). So sneaky. Anything with a rattle or bells works well for younger kids too (and sometimes even pets!).
Hannah Harding also reminds us about making kids comfortable, If youre having trouble getting a child to stay still for a shot, use something to distract them. For example, questions like, 'What does that cloud look like?"

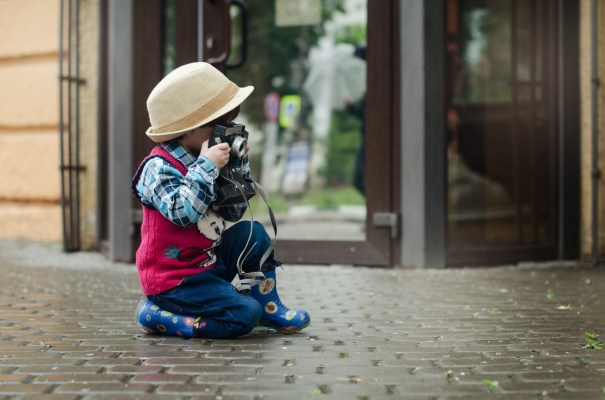
7. The Hack: Get close. And then get closer.
Those cheeks. Those eyes. That wispy hair. That's the kind of detail that you can't capture by snapping a photo of your kid from a distance. Get right up on them (and don't worry about cutting off a tip of their ear or part of their cheek) for a must-frame photo of your littles adorable face.
Harding says, Get down to their level. Its a great way to get a fantastic shot and it makes them feel less intimidated, rather than an adult towering over them making demands.

8. The Hack: Use your iPhone headphones as a shutter button.
Taking a family selfie is no easy feat ... unless you're an iPhone user. You can actually take photos using the volume control on your iPhone headphones (the ones that come in the box). Prop the camera up, pose, and shoot. Easy-peasy. Those of you with Apple watches are probably already doing this hack right from your wrist!
9. The Hack: Go off center.
Every good photo has three points of interest; achieved by allowing each third of any image to include one point of interest. Remember, it doesn't have to be perfectly even. Go off center for a natural pro vibe.
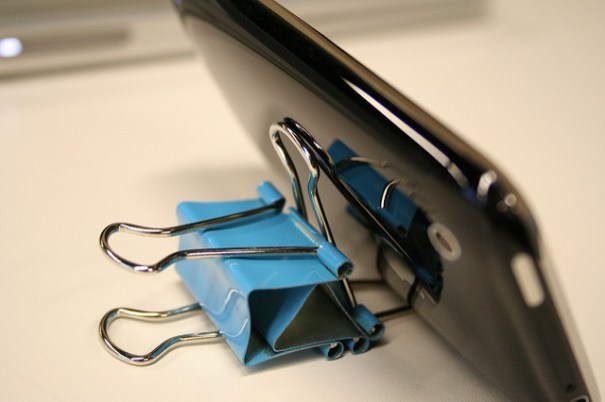
10. The Hack: Make an insta-tripod with binder clips.
No matter how well-behaved your mini models are acting, a shaky hand can make the perfect smartphone shot look blurry or crooked. Prevent this phenomenon by attaching two binder clips to the side or back of your mobile phone. If you want in on the photo, use the headphones hack from above.

11. The Hack: Tilt headsjust soto prevent red eye.
If red eye constantly ruins your family photos, try this: When using flash, have everyone look slightly above the camera so that their eyes wont catch the flash head on (assuming you ignored rule #`1 here).

12. The Hack: Turn your garage into a photo studio.
Surprise! Your garage isn't just good for storing sleds and scooters. Garages work well as a DIY photo studio because an open garage door lets in the perfect amount of soft, directional light. Simply hang a sheet as a backdrop beforehand.

13. The Hack: Use Vaseline to create an old school vignette-y look.
You don't have to be a fancy-pants photographer to give your photos a great vintage feel. The insider's secret is to rub a little Vaseline on the sides of the lens and snap away. If you use a phone for your photos this hack also works but go sparing with the goo.

14. The Hack: Stagger heads in family pics.
A straight line of heads in a fam photo can look boring and super-staged. Your crew may get into the perfect pose naturally, but if not, just try to position them so that no head is directly on top of or beside one another.

15. The hack: Use the grid to achieve the rule of thirds.
Every good photo has three points of interest; achieved by allowing each third of any image to include one point of interest. Remember, it doesn't have to be perfectly even. If you are using a camera phone, turn the grid option on to help you figure it out. Line up your subject into one-third of the right, left, top, or bottom of the grid.
Ayren Jackson-Cannady & Amber Guetebier
featured image:
RELATED STORIES
15 Tips for Taking Better Photos with Your iPhone
30 Spontaneous Ways to Play Outdoors Today
5 Easy Tips for Taking Better Photos of Your Kids
10 Tips for Photographing Your Child Authentically