As one of the largest and most impressive ski resorts in North America, Whistler Blackcomb is comprised of two mountains that offer 200+ trails. In this Whistler Blackcomb ski guide, we break down how to plan the perfect winter trip.
The resort covers approximately 8,171 acres with fun yet challenging terrain that has something for skiers of all levels. The sheer size and range of the mountains are what makes it worthwhile, but if you’re lucky enough to be there for a bluebird day then it’s the vistas and panoramic views of the BC interior that will really make it an epic trip.
After spending five days on the mountain with friends (one of whom works at the mountain as a ski instructor and our unofficial tour guide!), I’ve written this Whistler Blackcomb ski guide to help you plan your trip. Whether you’re a novice rider or a powderhound looking for extreme terrain, Whistler Blackcomb has got the goods.
Looking to plan your next ski trip? Our Whistler Blackcomb Ski Guide has all the info you need!
Where is Whistler Blackcomb Ski Resort?
Just 75 miles north of Vancouver in beautiful British Columbia you’ll find Whistler Blackcomb Resort. Easily accessible by car, the Sea-to-Sky Highway (BC-99) is a long and windy road with stunning views of the Howe Sound and mountain ranges that populate the area. Since it’s only a two-hour drive from Vancouver, it’s easy to squeeze in a few very worthwhile stops at Horseshoe Bay, the town of Squamish and Tantalus Lookout to take it all in.
Although this is a beautiful and scenic ride you do have to be cautious. All cars are required to have snow tires or chains from October through March, so if you’re renting, be sure to get a car with proper tires.
If you’re coming from Vancouver, another option is the Whistler Shuttle which offers direct routes from the city and airport straight to the mountain.
The closest airport to Whistler Blackcomb is Vancouver International Airport (YVR) (2-2.5 hours).
Best Time to Visit Whistler Blackcomb
The answer to this question really depends on what kind of experience you want to have. Go in January or February and you’ll have the best snow conditions for your Whistler Blackcomb ski trip with the least amount of people. This is great for the skier who wants to get in as many runs as possible, explore the mountain without the crowds and spend very little time on lift lines.
Go in March and you’ll get to enjoy spring skiing, which is arguably everyone’s favorite time of the season, so be prepared for college kids, families, and crazy long lift lines. But hey, at least you’ll have the best chance for great views and weather!
How to Save on Whistler Blackcomb Lift Tickets
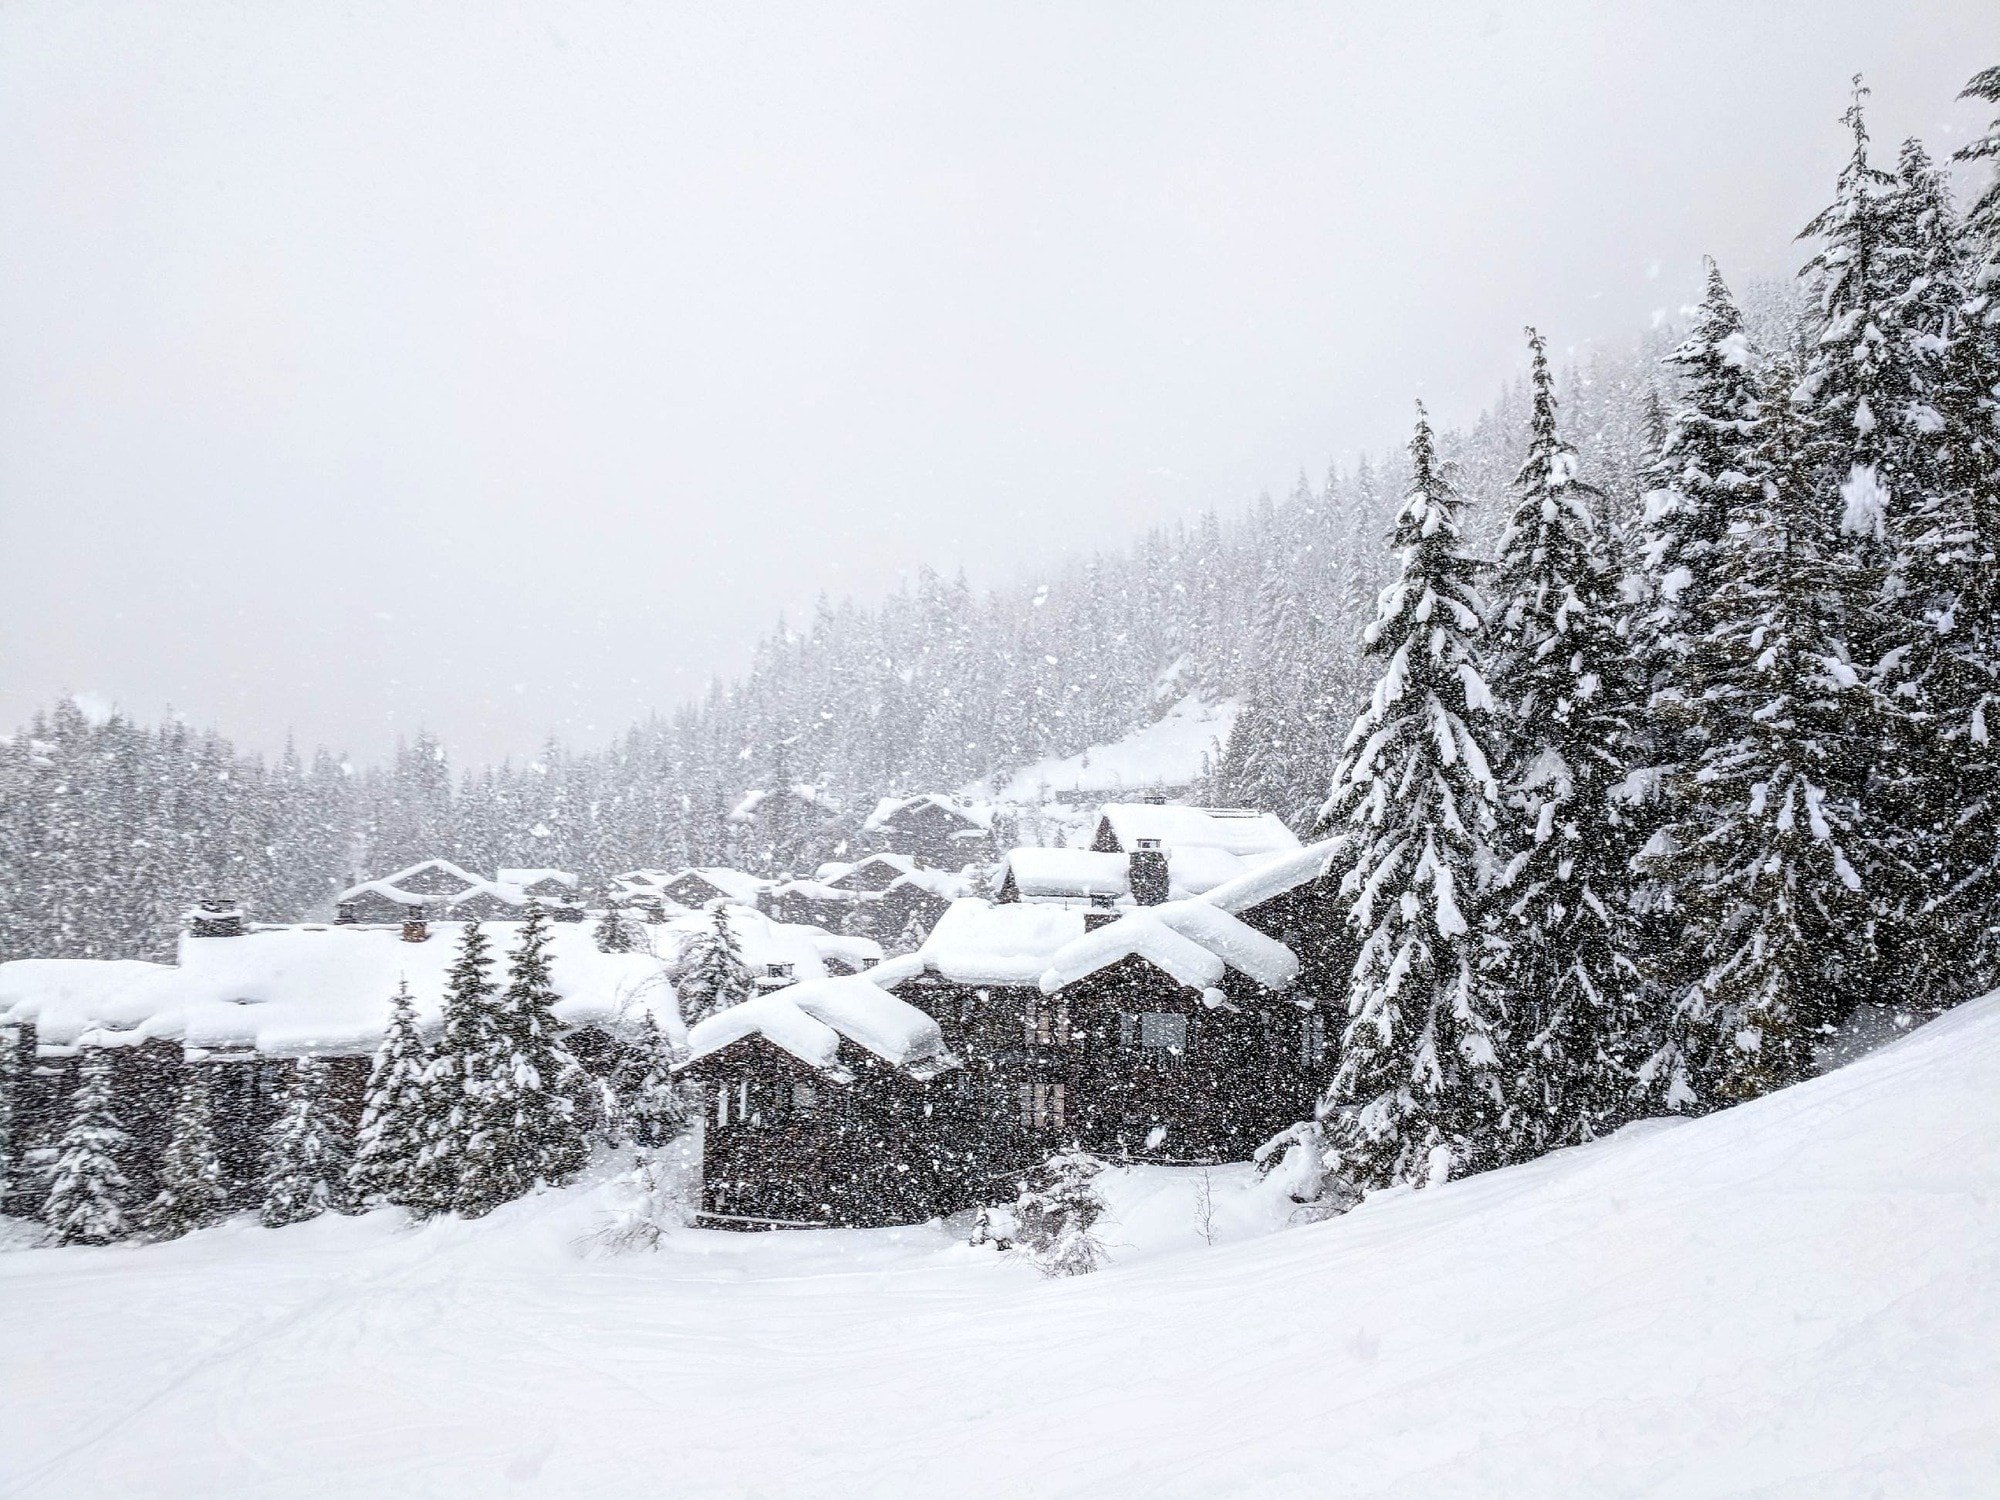
Taking sage advice from locals, lifties, and loyal Whistler skiers alike, I discovered that the only way to save on your Whistler Blackcomb lift tickets is to buy early. Since Whistler Blackcomb was bought by Vail Resorts, if you have an Epic Pass, it is valid here.
For Canadians or residents of Washington state, the Edge Pass is your best way to save. Load up a 5 or 10-day Edge Card during the preseason, sometime in October, and always buy online to get the best price. This pass gives you a bunch of days at Whistler, plus the option to use 2 or 3 days at one of the other Vail Resorts.
Missed the October cutoff? A good rule of thumb is to buy your tickets at least two months in advance for the best price.
I’d also recommend checking Liftopia before your trip, where you can score deals on rental equipment, backcountry tours, and in the case of some resorts, lift tickets.
Where to Stay in Whistler & Blackcomb
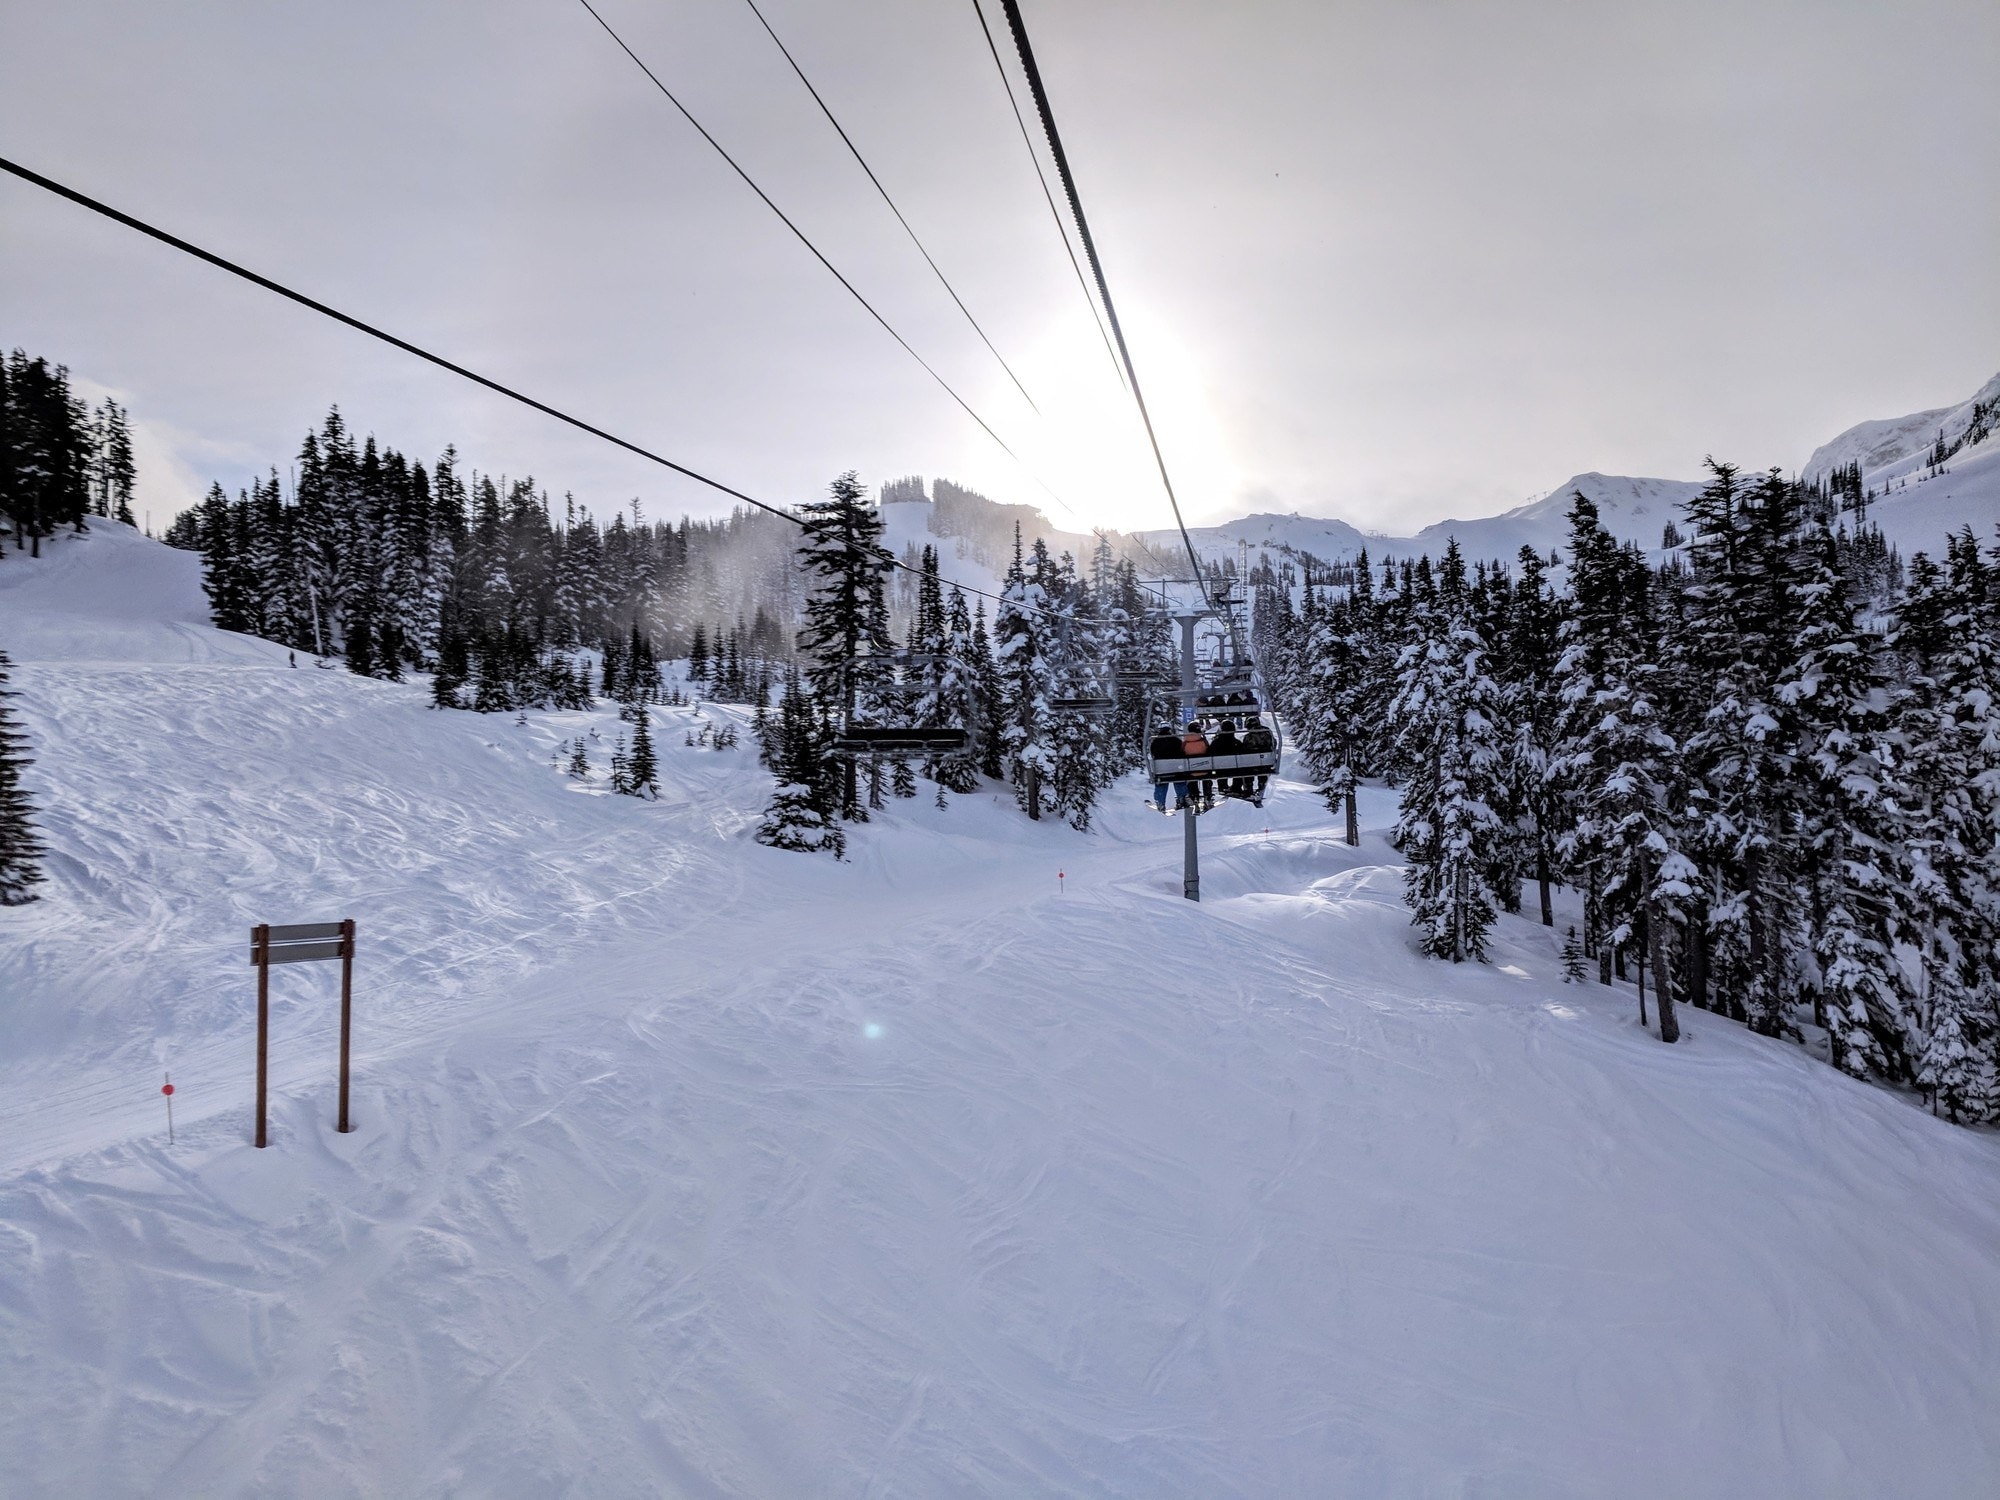
In case you skimmed through the intro too fast, Whistler Blackcomb is two separate mountains. That’s right – two. The good news is both are connected by the Peak 2 Peak Gondola so staying at the base of either Whistler or Blackcomb doesn’t necessarily keep you from shredding both hills.
The location of your accommodations simply gives you a different experience and easier accessibility to one more than the other. Again, the best way to save is to book early.
Accommodations are broken up into four main areas between the two bases:
- Upper Village – The swankiest of them all, Upper Village gives you a quick ride up to Blackcomb but isn’t suitable for anyone who has their heart set on doing laps at Whistler’s alpine. What it does have is luxury, ski-in, ski-out, five-star hotels at The Fairmont Chateau and Four Seasons. Not too shabby.
- Whistler Village – The heart of the resort and your best bet for getting first chair, Whistler Village is centrally located for easy access to dining, nightlife, shopping, and skiing. Here, you can even do some Olympic site seeing and relive the 2010 events. While you’re certainly more likely to pay a pretty penny here, there are some affordable options like the Crystal Lodge and Aava Whistler Hotel.
- Village North – Get the most bang for your buck at Village North, where you’ll find cheaper accommodations and a convenient shuttle bus for transportation to and from the mountain. Located caddy corner to Upper and Whistler Village, it’s an easy 10 minute walk to the center of town. Book a cozy room at the stylish Summit Lodge Boutique Hotel or stay at the Whistler Pinnacle Hotel.
- Whistler Creekside – My spot for the week was at a friend’s place in Whistler Creekside. We were spoiled to stay in this ski-in, ski-out locale and if we were to return for a solo visit, it’d totally be worth staying here again. Just a five-minute drive to the main village, Creekside has the added bonus of its own marketplace, access to a gondola and my very favorite eatery, Dusty’s BBQ (more on that later). Check Airbnb to see what’s available in this neighborhood.
If you’re willing to stay a bit farther away from the mountain, you can also find accommodations at Whistler’s three additional areas, Blueberry Hill, Nicklaus North, and Alpine Meadows.
Where to Eat & Drink at Whistler Blackcomb
While the village certainly has the gourmet scene covered, there are also more down-to-earth options that give you that nostalgic, old school ski town feeling. I got a chance to sample a bit of both and here are my favorite spots to eat:
Bar Oso
When you’re finally ready to ditch your snow pants and hit up Whistler Village, stop by the newly opened Bar Oso for a fancy, handcrafted cocktail. Sip on one of their specialties like the cedar-infused Canadian Kid, or a White Negroni, for a twist on a traditional drink. You can even sample a slew of local spirits that are made in British Columbia.
(Please Note: Bar Oso is currently closed, but planning to reopen in 2022)
Whistler Brewing Company
If you’re willing to venture a few minutes outside the resort for a dinner and drinks, Whistler Brewing Co is worth the trip. Its friendly bartenders and family-style dining make you feel welcome, while featured art by local makers line the walls for an even cooler local experience. With good food that’s priced just right and creative (but not too creative) brews on tap, it’s easy to hang here with friends for hours. Ask the bartender or server for the Brewer’s Choice beer for a real taste of BC.
Dusty’s Bar & BBQ
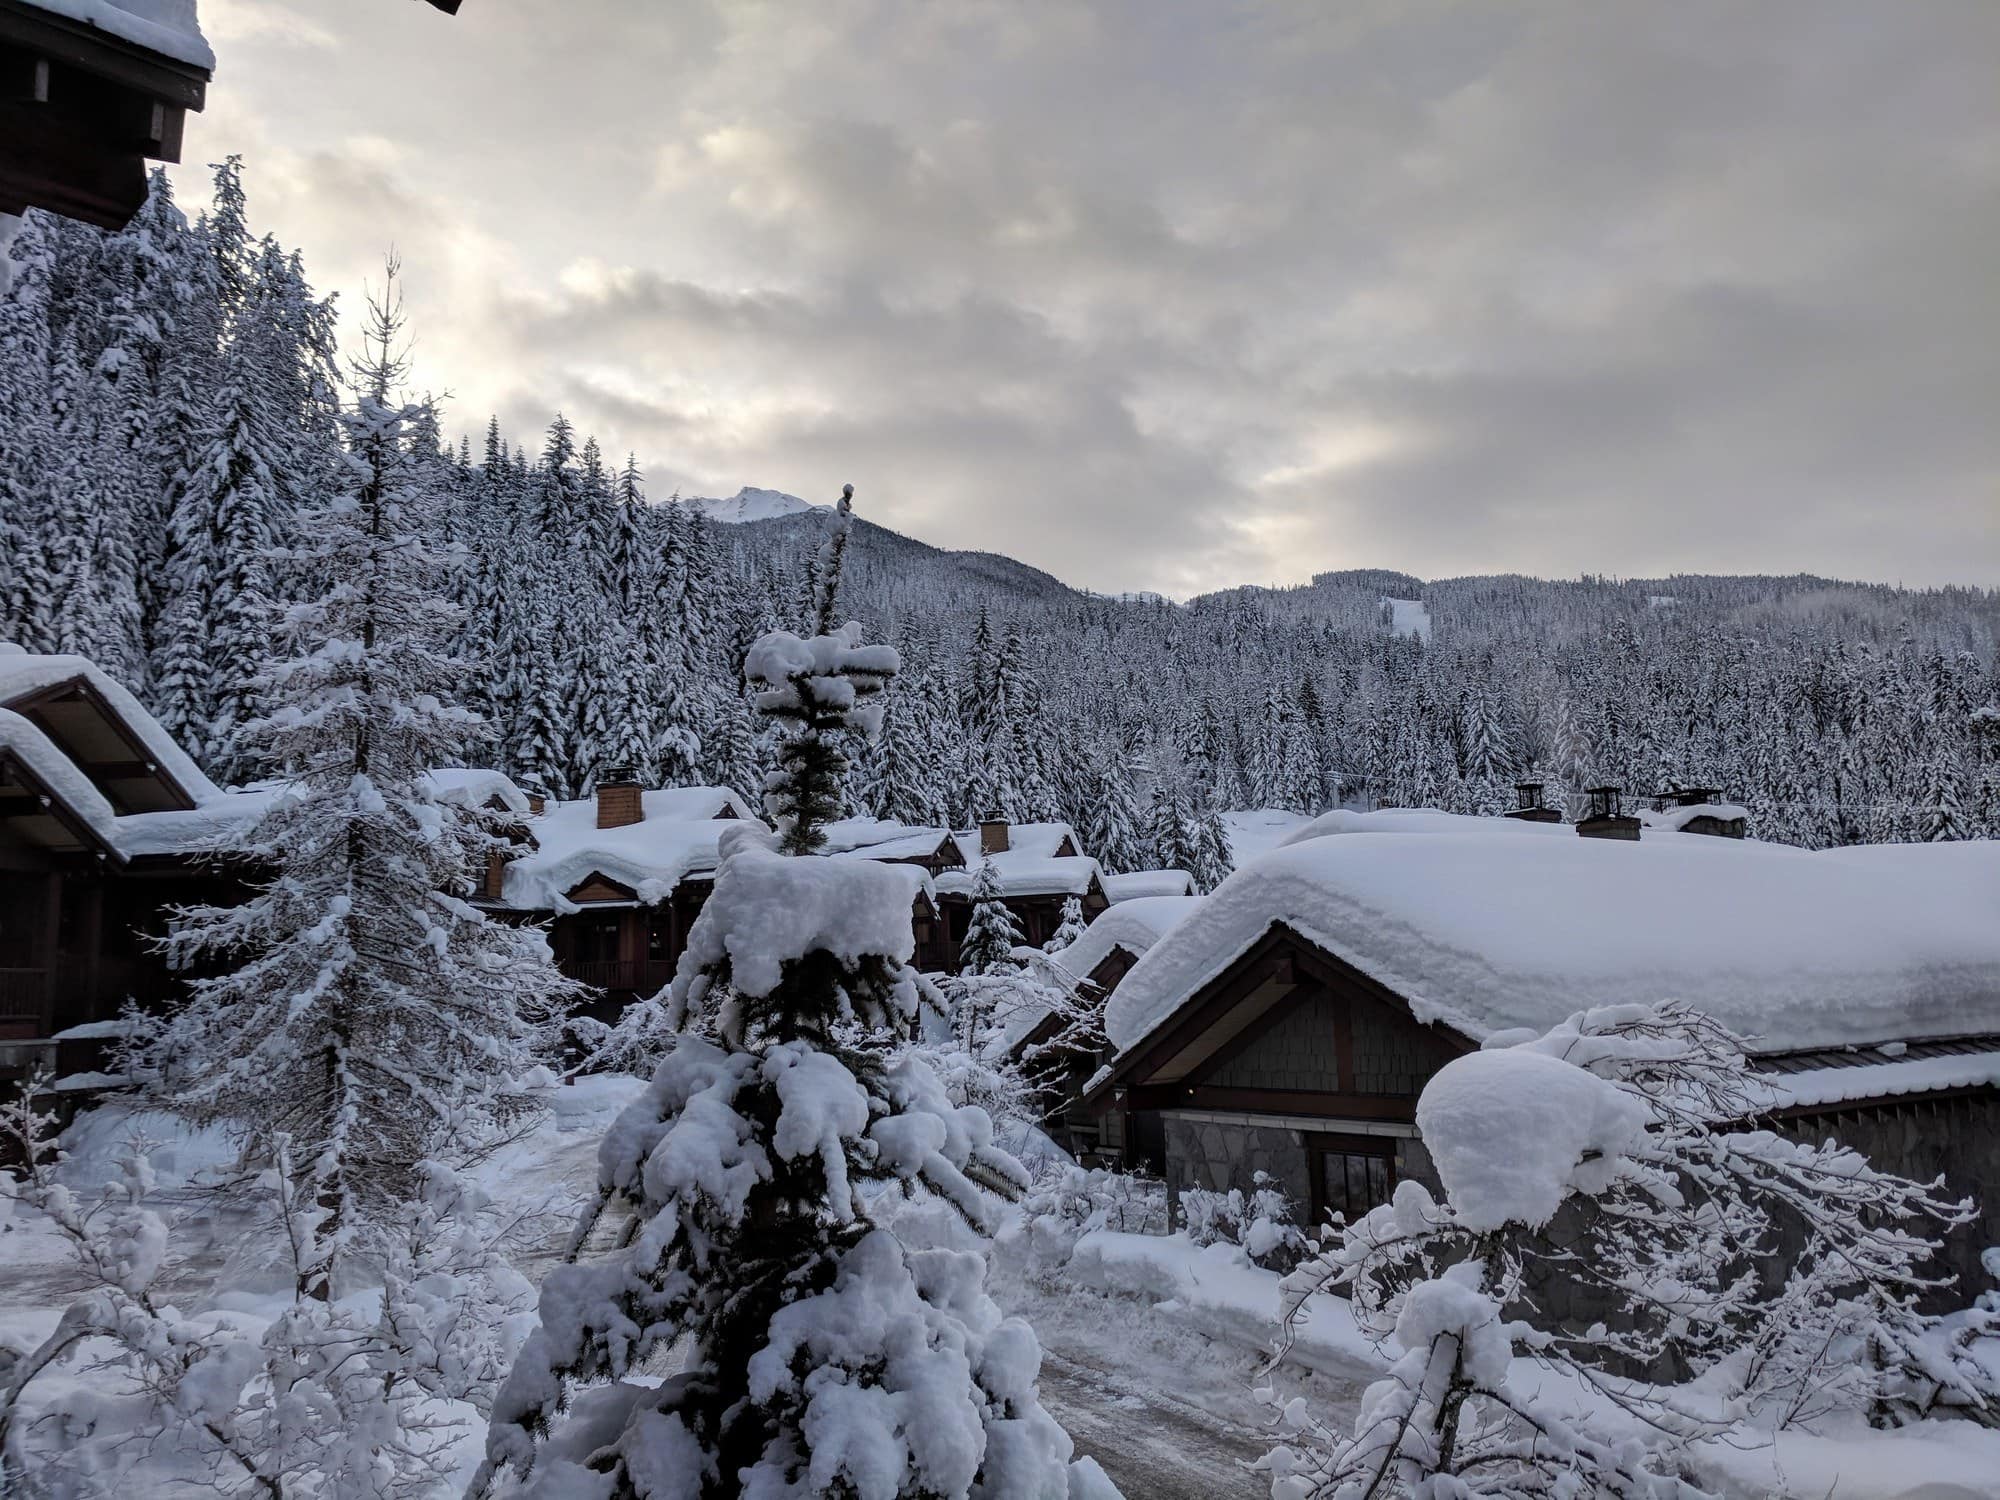
A favorite local joint, Dusty’s has been a Whistler staple for over 60 years. With a rustic look and vibe to match, it’s got live music, big shared plates and even bigger racks of ribs for all the hungry powderhounds out there. Situated at the bottom of the Creekside gondola, Dusty’s has an outdoor patio and two floors that you can ski up to, so it’s the perfect spot to meet up with all your friends for aprés.
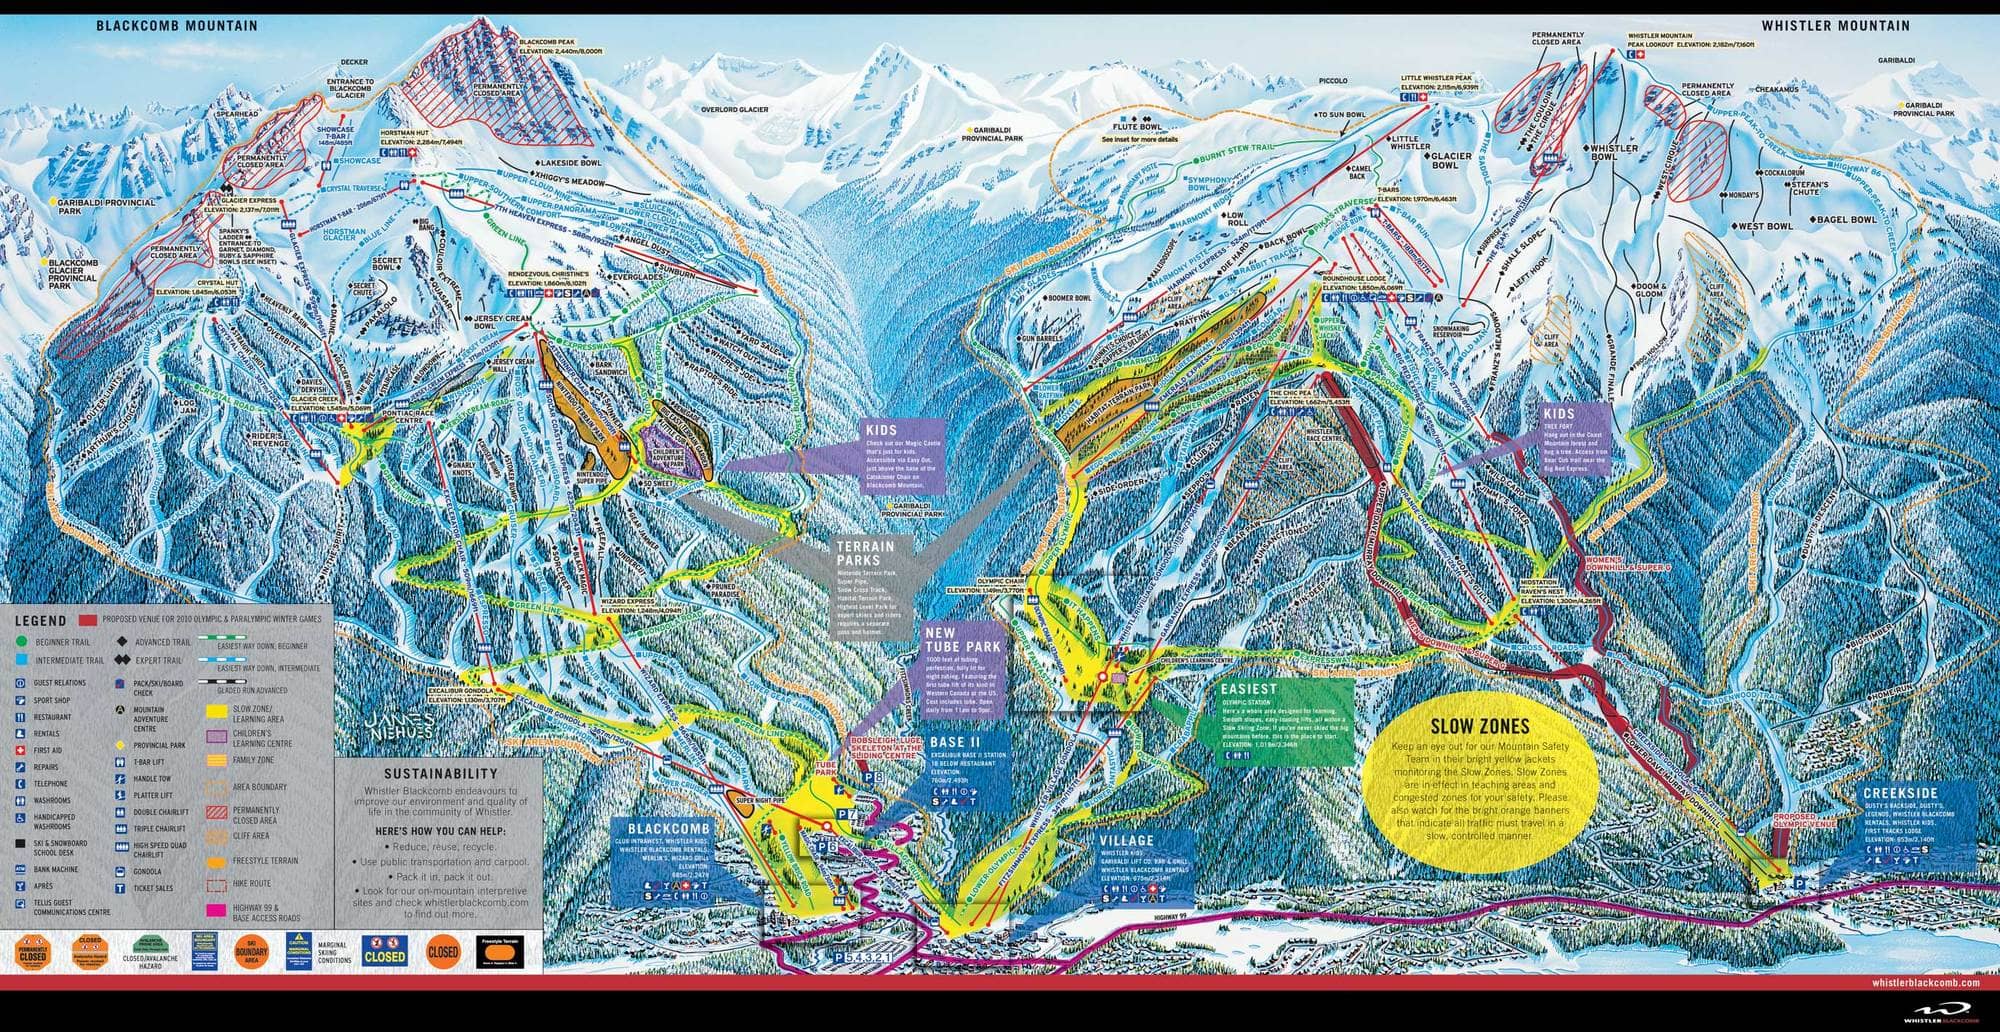
Whistler Blackcomb Ski Guide and Map
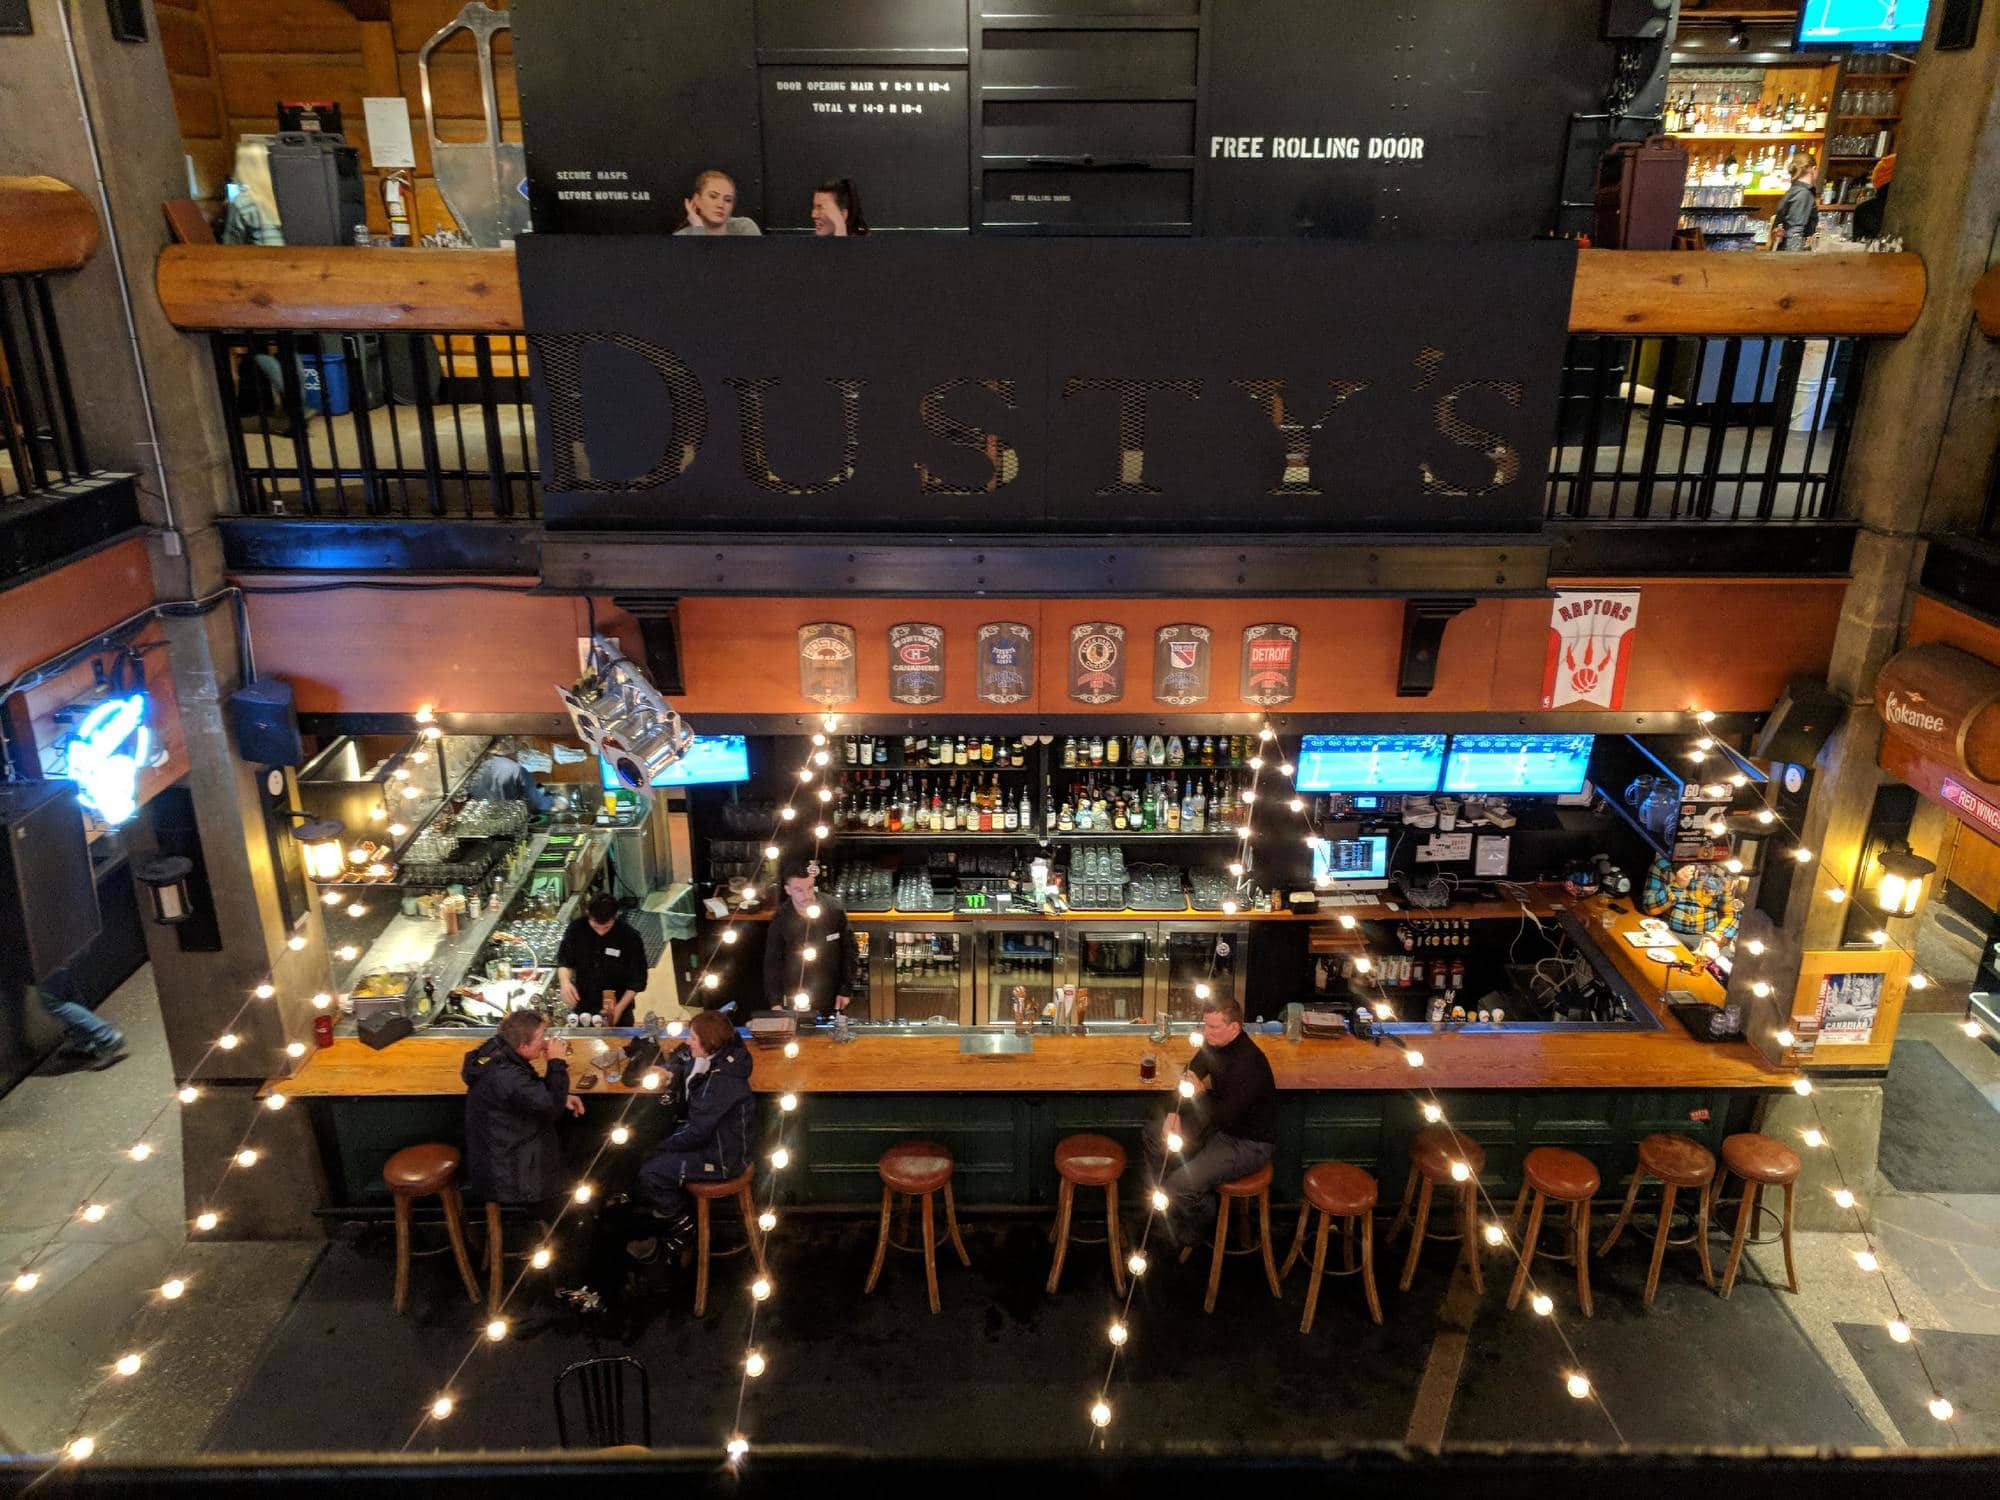
A Whistler Blackcomb ski trip offers some of the most varied terrain in North America. The merger of these two mountains in 2003 now offers riders over 200 trails and 8,000+ acres of inbounds skiable terrain (not counting the amazing backcountry area) to choose from. It gets an average of 396 inches of snow per season but given its maritime conditions, the weather can often turn to very wet snow or even rain.
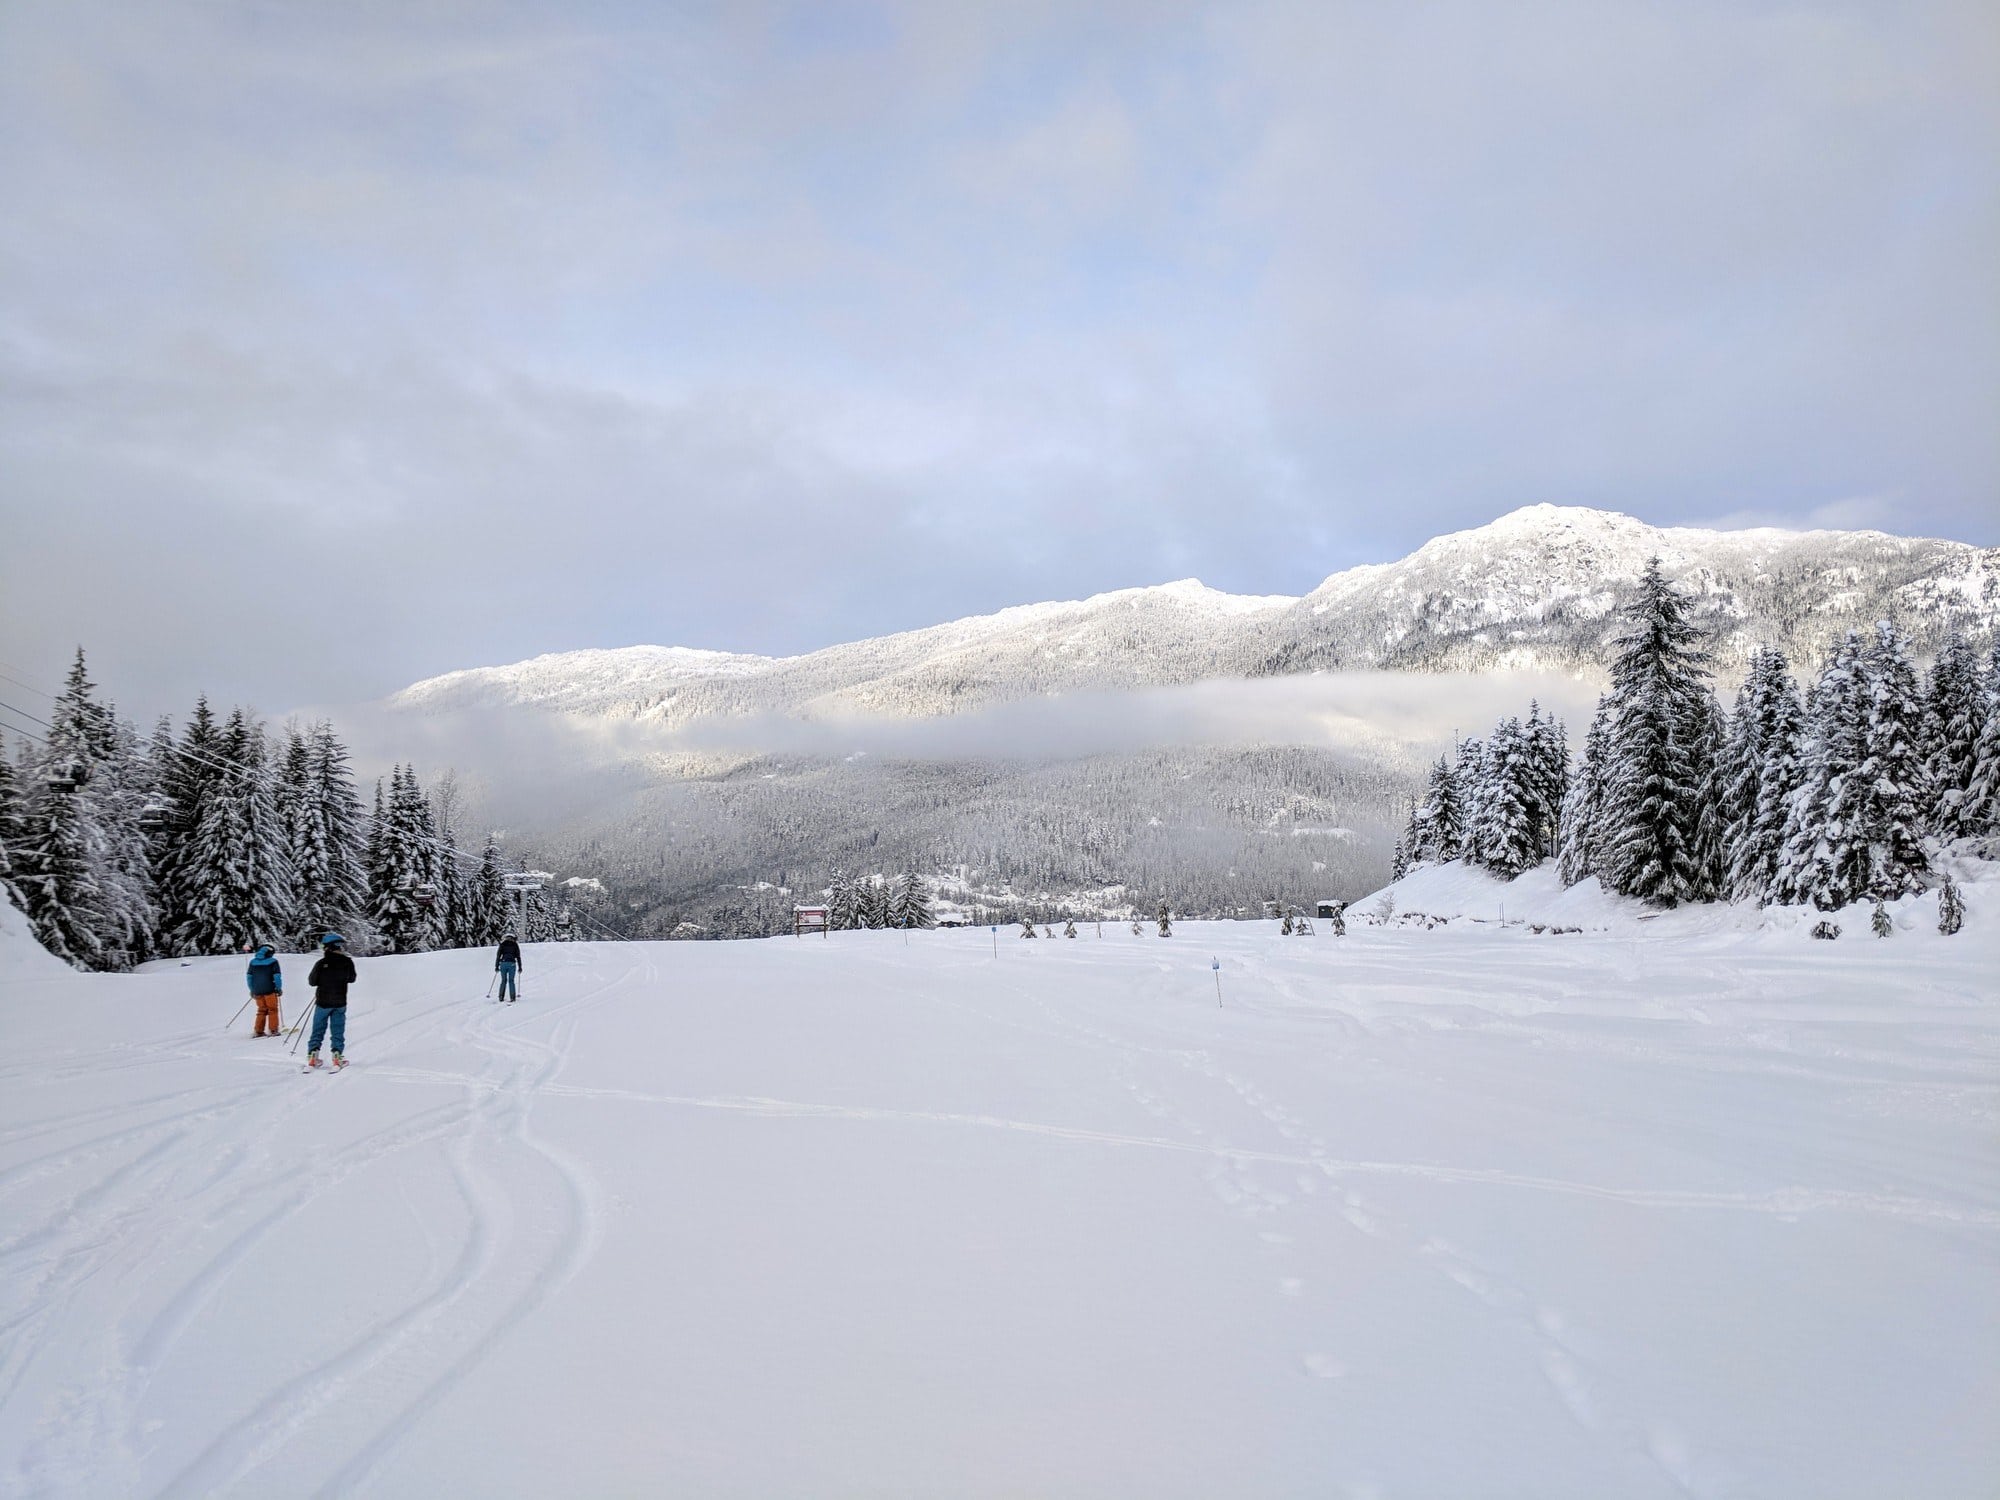
Beginner Terrain
Despite the steep elevation at Whistler it’s easy to find beginner terrain just about everywhere on this mountain. Except for the Peak and Creekside lifts, there are green trails off every Whistler lift. Enjoy the cat tracks on Upper Whiskey Jack and down to the Pony Trail or head over to the Harmony Express Lift for some beautiful views along the ridgeline and a peek into the impressive Harmony Bowl as you coast down the Burnt Stew Trail.
On Blackcomb, novice skiers can cruise some quality terrain on the scenic Sunset Boulevard trail that’s carved into the side of the mountain, looker’s right. Here, you can take a few laps on Solar Coaster which gives you access to a handful of green runs and even a few blues (!).
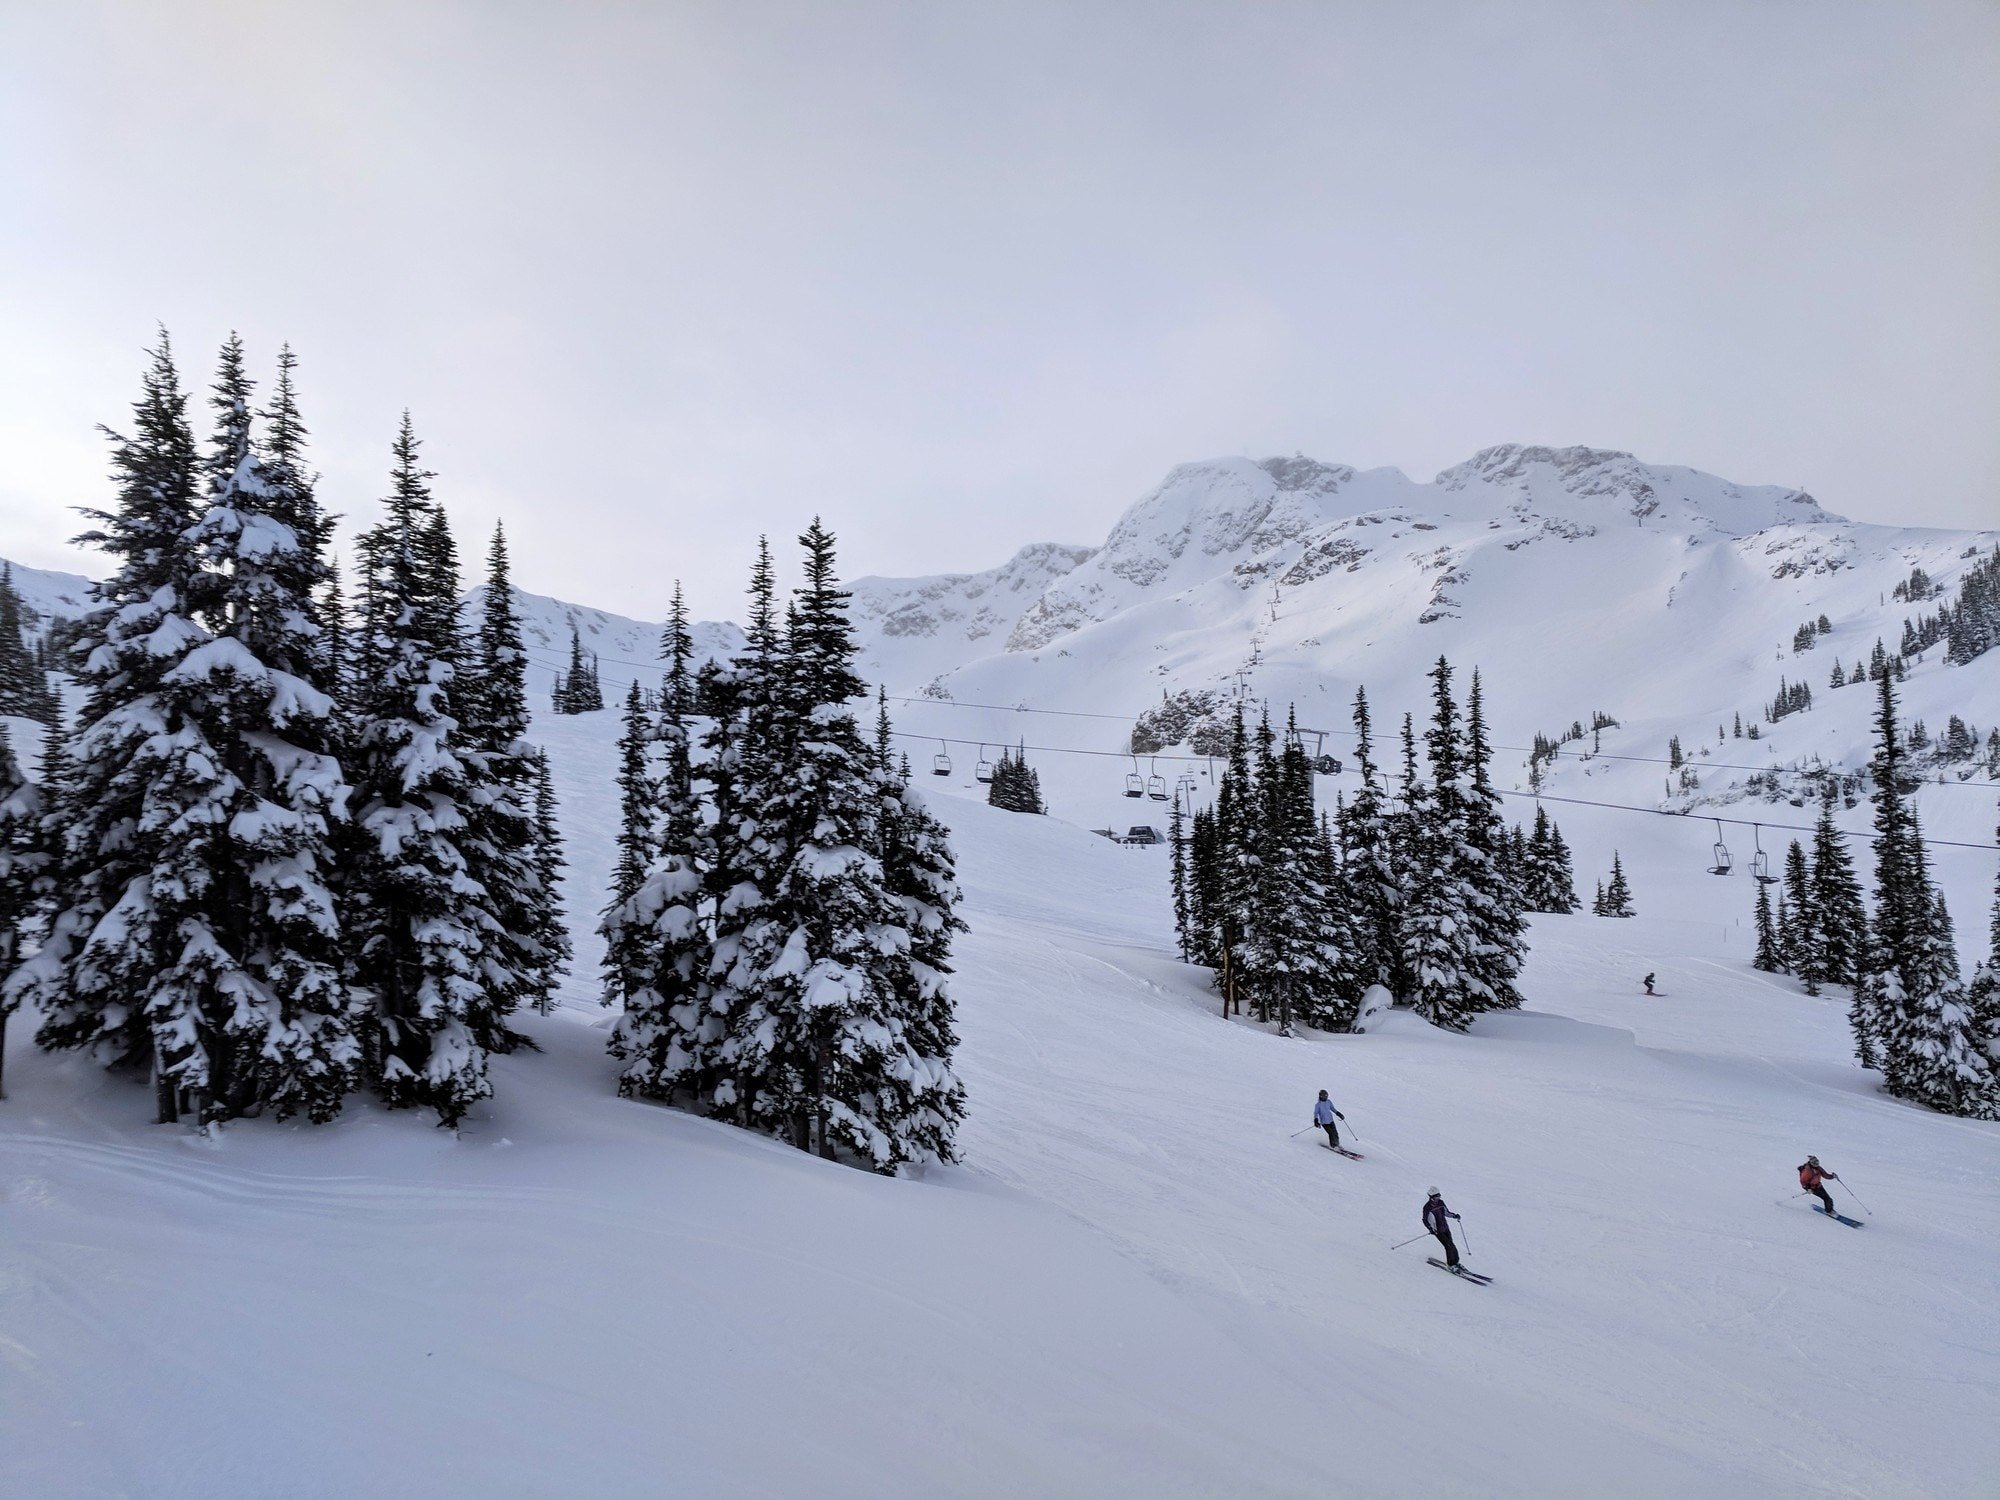
Intermediate Terrain
If there’s one thing Whistler Blackcomb has to offer it’s variety. About half the mountain is rated intermediate terrain, which is great news for people looking to challenge themselves or improve their skiing. At Whistler, the Big Red Express Lift will give you access to some of the best intermediate skiing on the mountain. Here is where you can also hop on the Peak Express Lift and ski the ridge line for a look down Whistler’s most extreme peak runs and cruise down The Saddle, skier’s left of the mountain back to Big Red. Of course it’s worth your while to ski over to Harmony Express Lift where you can enjoy such runs as Harmony Ridge, Symphony Bowl, and Jeff’s Ode-to-Joy.
Take the Peak 2 Peak Gondola to Blackcomb for an equally extensive range of intermediate trails. Ski down Jersey Cream to get over to Glacier Express Lift where you can ski big, wide open terrain (if you’re lucky, they’ve turned into powder fields!) and take Crystal’s Traverse over to 7th Heaven for a few more blue runs.
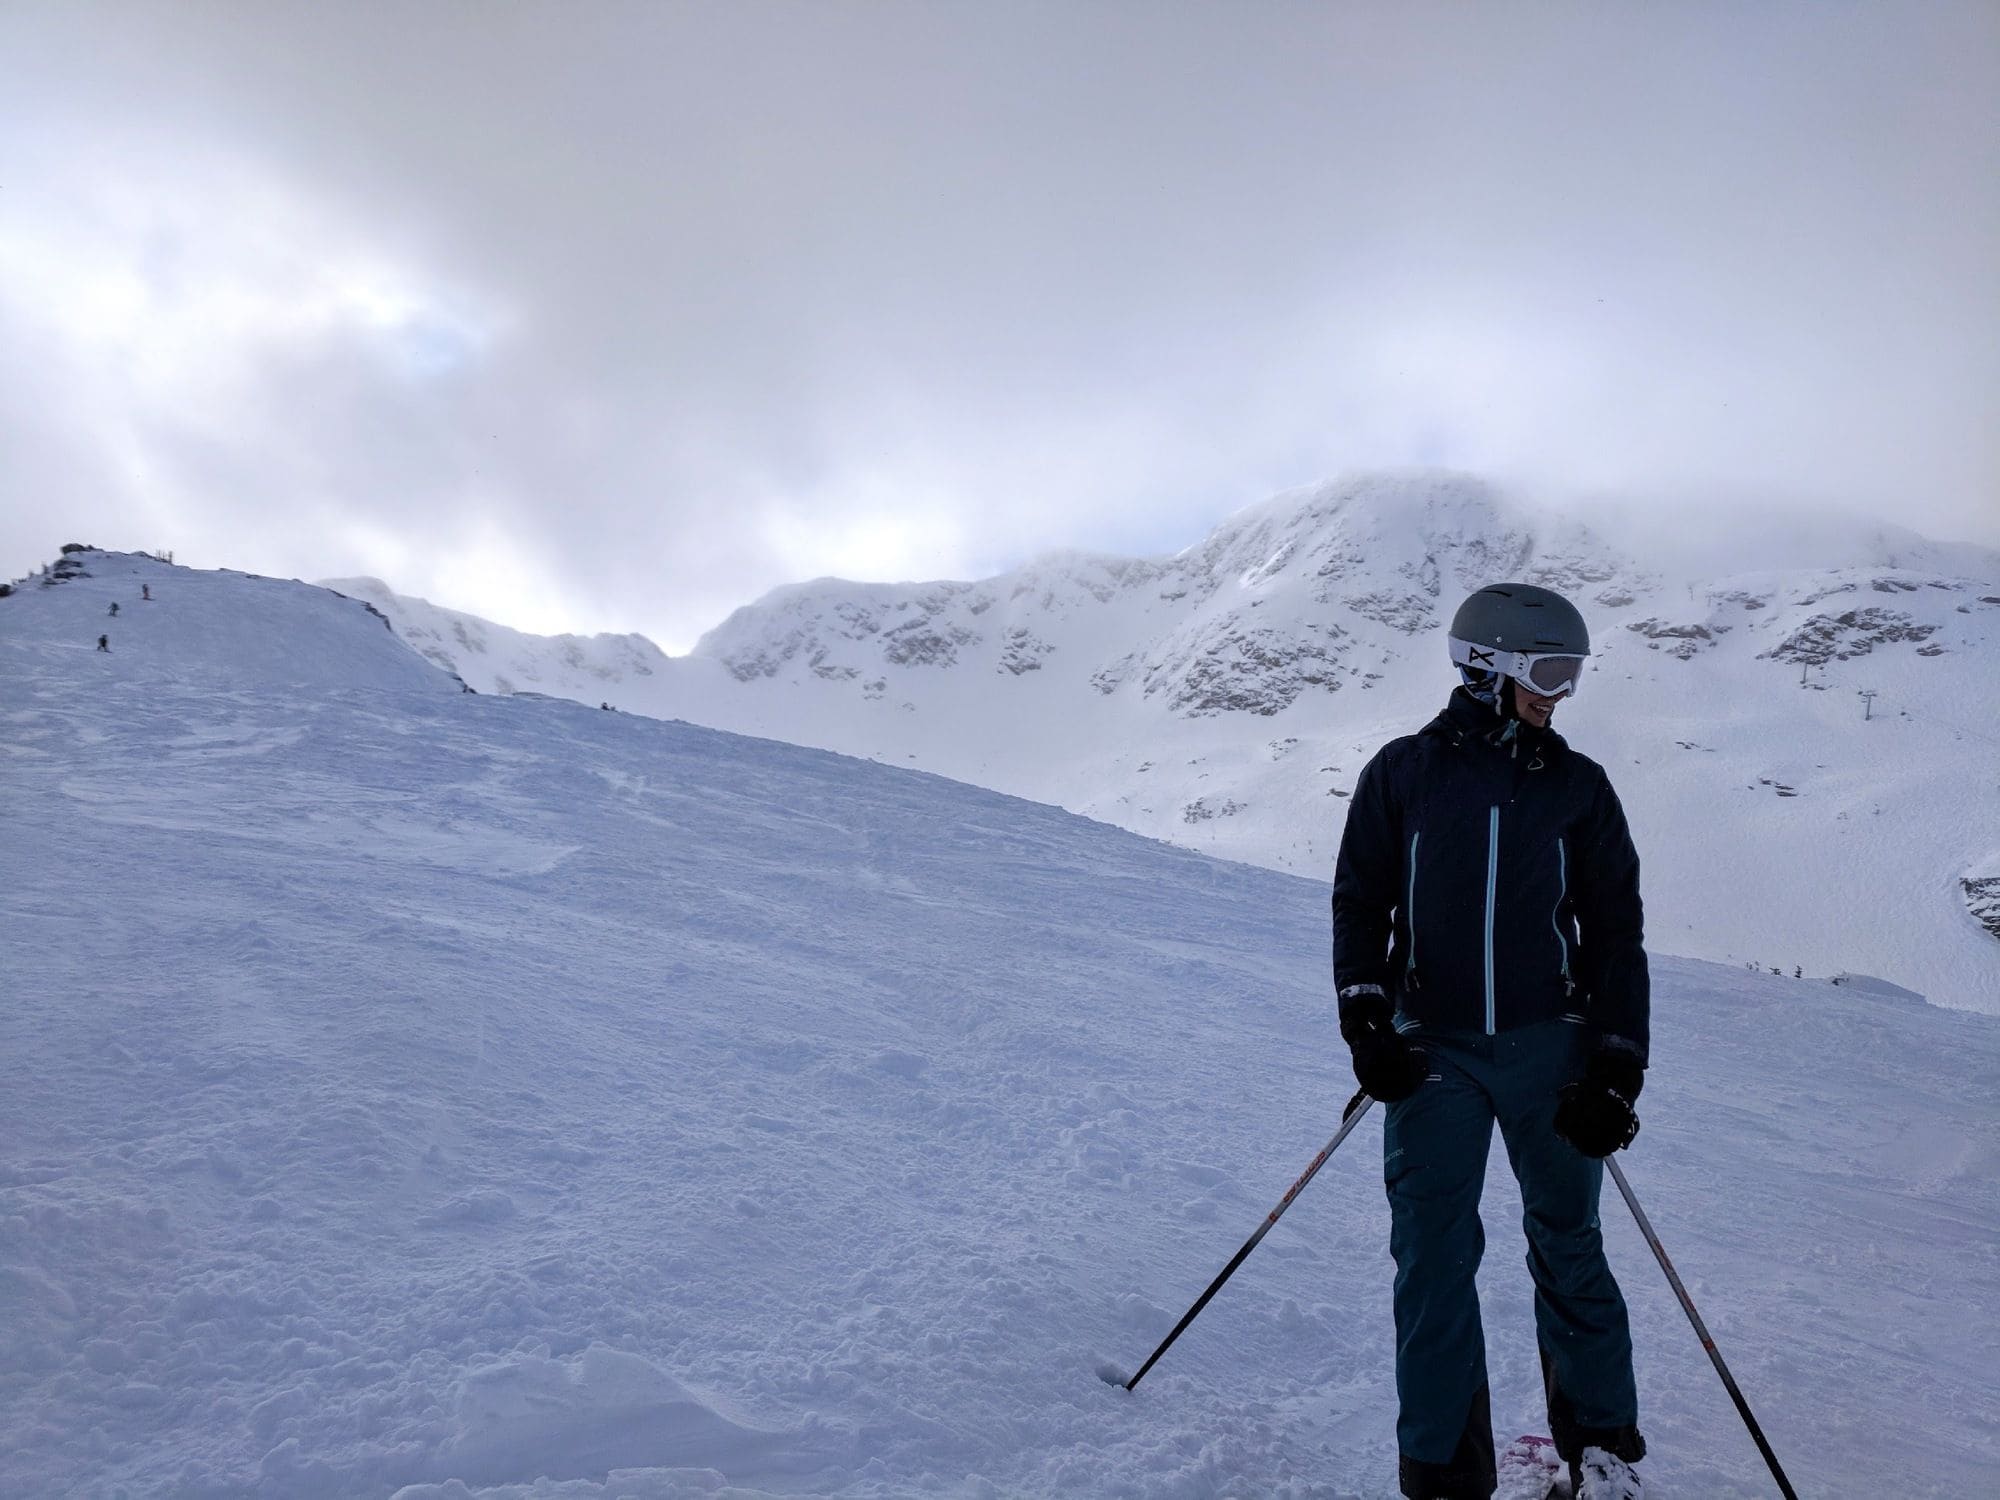
Advanced to Expert Terrain
Few places in the continent offer as much advanced skiable terrain as Whistler Blackcomb. It’s sheer size and verticality suggests taking more precaution than risks. However, this is world-class skiing, so if you want to up the ante and improve, this is the place to do it.
Stick to the Peak Express at Whistler for some epic bowls and chutes with seriously steep pitches. From the black diamond Whistler Bowl to famed double black runs, The Couloir and Cirque, every peak run is an adventure. On the way up Peak Express, our instructor friend pointed out an unmarked steep and narrow chute aptly called, The Coffin. I think you get the idea…
For some amazing boot packing and unbeatable vistas, Spanky’s Ladder is the go-to for advanced skiers on Blackcomb. We hiked up to Spanky’s during a total whiteout, with gusting winds and slick conditions that made it all the more gnarly. Once we got up and over the ridge, it was nothing but powder bowls and wide open terrain that was thankfully a wind protected area. On a sunny day, the line of people waiting to climb up Spanky’s Ladder can easily deter you. So, while you wait for the crowds to die down, ski over to the Blackcomb Glacier or do a few laps in Secret Bowl to Pakalolo.
Looking for more winter Canada content? Check out our Jasper National Park winter guide!
I hope this Whistler Blackcomb ski guide inspires you to plan a trip and provides the information you need to get there. Got questions? Leave them in the comments below!
The post The Ultimate Whistler Blackcomb Ski Guide appeared first on Bearfoot Theory.